 Today, removing the background from an image provides several benefits. Usually, users in graphic design, marketing, and photo editing require this skill. Additionally, a clear background draws attention to the subject immediately. This is perfect for logos, product images, and print portraits. One of the famous tools that can do it is Adobe Photoshop. As a standard for photo editing, it offers a one-click option to remove background from an image. Furthermore, it even offers manual tools to do it. So in this post, let's cover how to remove background in Photoshop. From its AI method up to the manual adjustments, let's dive in!
Using the 'Remove Background' Button
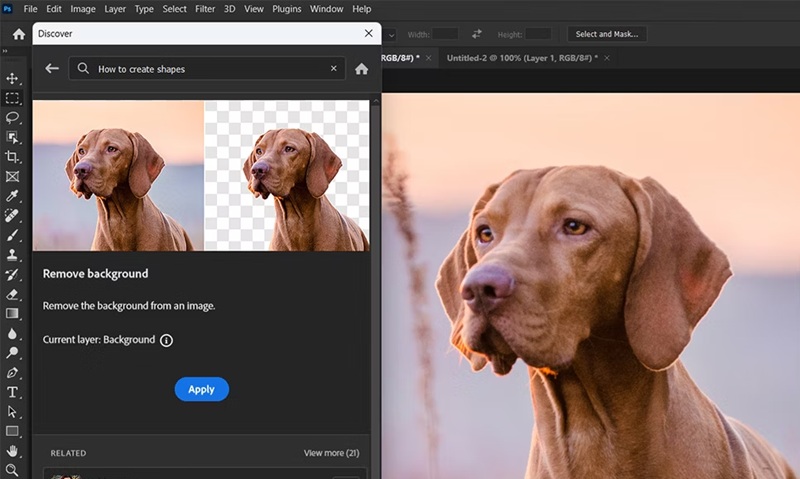
If you're looking for the fastest way to remove a background in Photoshop, the ‘Remove Background’ button is your go-to tool. Here, it uses AI technology to automate the background removal process. Additionally, this is necessary for beginners or for those you just want a quick background removal. Moreover, images with a non-complicated subject with a simple background are perfect for this. However, keep in mind that it might not perfectly remove a detailed background. Also, images with complicated details like shadows, fur, hair, and others might be a nuisance. While not always perfect, it provides an excellent starting point for beginners.
How to Remove Background from Image Photoshop using AI
- First, open Photoshop if you have it installed already and upload the photo.
- Then, go to the search icon and access the "Discover Panel." From here, hit "Browse" then select "Quick Actions."
- Next, select "Remove Background" then finally click the "Apply" button to erase the background from the image. Once done, download it.
Use the Select Subject + Layer Mask Method
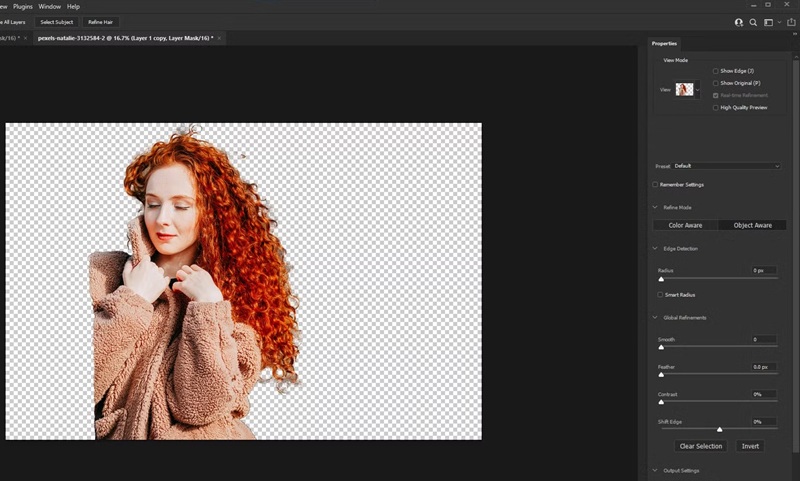
For those who can use Photoshop before and want to have more control for the process, they can use the Layer Mask method. Here, it still uses AI technology so beginners can still learn how to use it efficiently. With its Select Subject option, it can identify and analyze the main subject of your photo. Additionally, this method is perfect for subjects with complicated edges like hair or fur. Furthermore, the layer mask only hides the subject, not deleting it permanently. With this, the user can still refine or restore parts of the image quickly.
How to Erase Background Photoshop using Select Subject + Layer Mask
- First, upload the image you want to edit.
- Next, go to the Layers panel and double-click the background layer. From here, click "OK" to convert it to an editable layer.
- Then, use the "Select Subject Tool" and let Photoshop analyze the image subject automatically.
- After that, hit the "Layer Mask" icon and it will mask out the background not selected by the subject tool earlier. If you're satisfied, you can save the image or continue editing the mask if you want.
Manual method: Use the Pen Tool
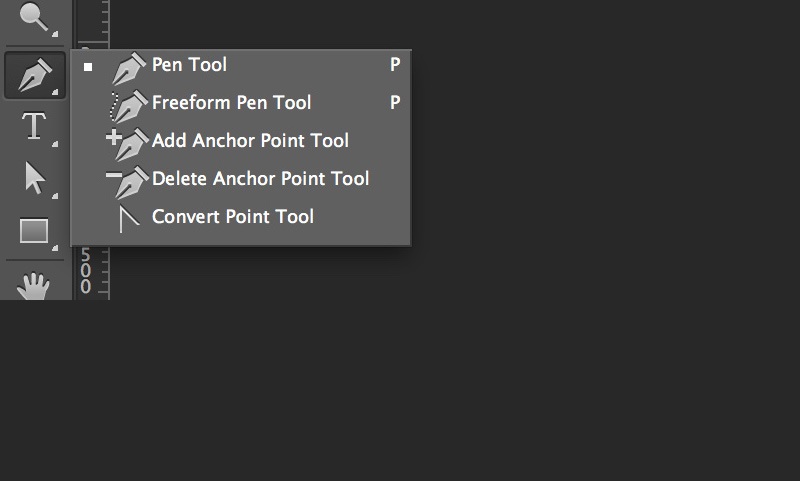
This magic eraser method is highly recommended for users with photo editing skills that also know how to unblur images in Photoshop. Although it requires skills, it provides maximum precision and control to background removal. Meanwhile, the Pen Tool lets you trace the subject on your own. As a result, it ensures perfect edges and clean cutouts, compared to automatic selection. Yes, it will take more time but it delivers the most precise cutout. Moreover, the pen tool works by creating a custom path using anchor points. Here, you can click and place the anchor points to create straight lines or smooth curves.
How to Make Background Transparent Photoshop using the Pen Tool
- Open your image in Photoshop and hit the "Pen Tool" located at the toolbar.
- Set the Pen Tool to "Path" and start tracing around the subject. From here, click to create anchor points around the subject.
- Circle around the subject and hit the starting anchor point to close the path. After that, right-click anywhere on the path and select "Make Selection."
- Soften the edges and select between 0.5 to 1.5 ox for the small feather radius. Once done, hit the "Layer Mask" icon to hide the background. Clean it up further if you want then save the image afterward.
Quick Selection Tool + Select and Layer
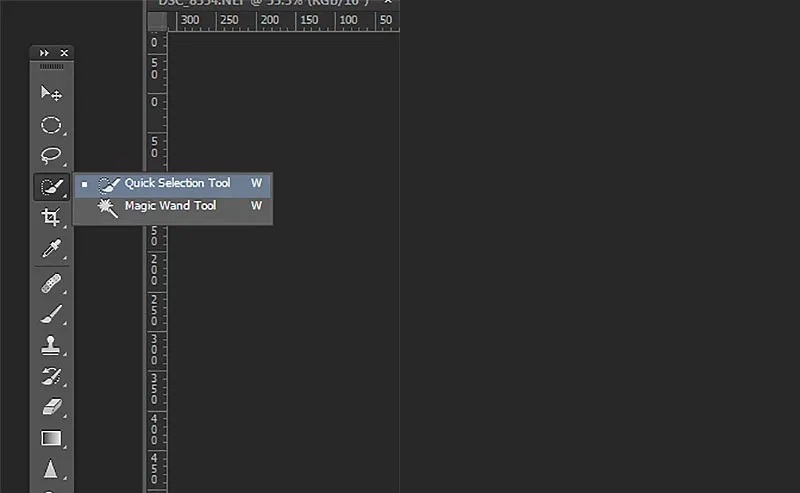
Another combination of automatic and manual background removal methods is the Quick Selection Tool. If you combine it with Select and Mask, it offers a more efficient method to remove background on Photoshop. Additionally, it lets you paint over the subject while Photoshop analyzes the edges of the subject. That's where Select and Mask comes next. It refines the quick selection to achieve perfect results. What sets this method apart is the level of control it provides. It presents a preview for the selection against various backgrounds. As a result, it ensures accuracy before applying a non-destructive layer mask.
How to Remove White Background from Image Photoshop with Quick Selection Tool + Select and Layer
- Open the image on Photoshop and click the "Quick Selection Tool" located at the toolbar.
- Set it to "Add to selection" mode. Click and drag the selection tool all over the subject. Meanwhile, you will see that Photoshop will automatically detect the edges.
- After that, go to the "Select and Mask" tool at the options bar to refine and clean up some areas.
- Once done, go to the "Output Settings" section and select "Output To: Layer Mask" and hit the OK button afterward to remove the background. Save it once you're satisfied with the results.
Alternative: AI-Powered Photo Editor
Yes, Photoshop is the standard when it comes to photo editing tools. However, we could not deny its steep learning curve even for simple processes such as remove background in Photoshop. Luckily, there are now AI powered photo editing tools available today. For instance, AceThinker PicWish lets you remove background from photos automatically. With its advanced AI technology, it detects the subject accurately and separates it from its background. Additionally, it produces smooth cutouts even with subjects with intricate details. Furthermore, it has a batch process method where you can remove the background in bulk. Thus making it perfect for product images, logos, and others. Also, it offers an intuitive interface where you only need to upload the images to start the background removal.
Try it for Free
Free Download
Windows 8/10/11
Secure Download
Free Download
Mac OS X 10.15 and above
Secure Download
Step 1 Download and Install the Photoshop Alternative
First, hit one of the download buttons provided to acquire the installer file of AceThinker PicWish. Next, open the file and follow the installation prompt until the end. Once done, open PicWish to access its main interface.

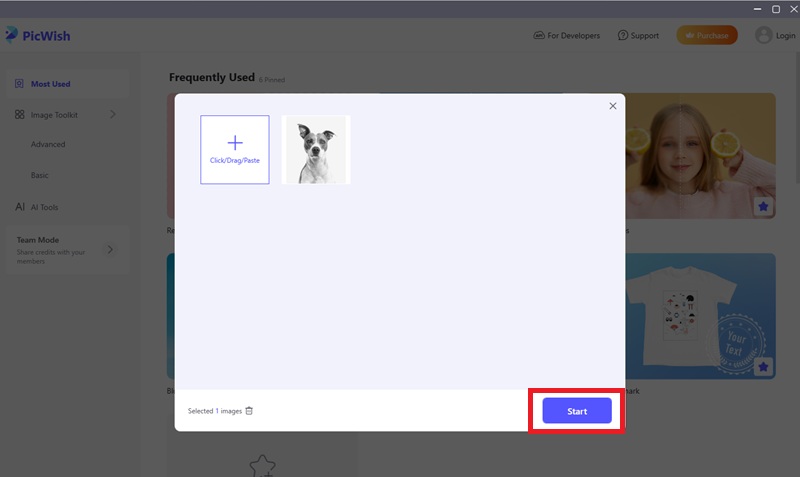
Step 2 Upload the Image
From here, go to the "Remove BG" tool and upload the photo. You can upload several photos or an entire folder if you want. Once done, hit the "Start" button to initiate the process.
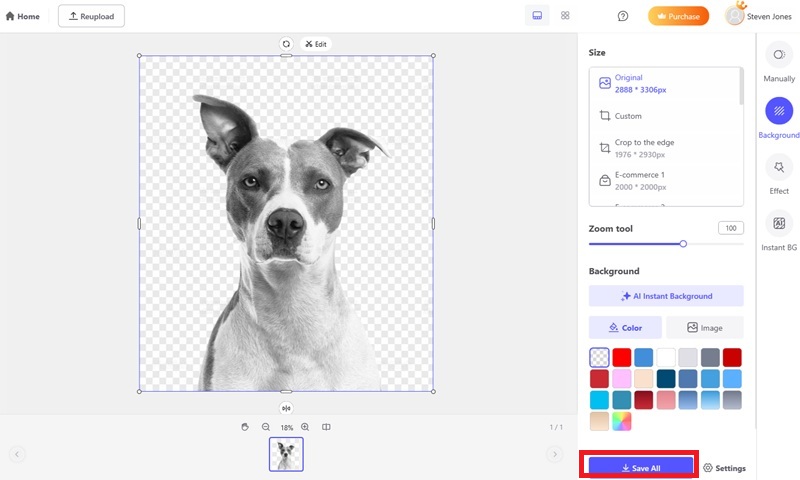
Step 3 Download the Photo
Wait and let PicWish remove the background. Once done, you can further edit the photo with tools like resize, background changer, and others. If you're satisfied with the results, hit the "Save All" button to download the image.
Conclusion
Photoshop background removal doesn't have to be hard. Especially if you know what tools to use and how to apply them. Also, Photoshop provides a variety of techniques to meet your needs. From the beginner friendly remove background button, up to the layer mask method that provides more control. Additionally, programs like AceThinker PicWish offer a great choice for people looking for a more straightforward method. So whatever technique you decide on, becoming proficient in background removal can improve your workflow. Try these methods out and see which one best suits your artistic objectives!
