
- Acquire the file installer of Aqua Demo and run it on your PC.
- Launch the tool after installing and open your Zoom and commence the recording.
- Save the recoded zoom meeting on your PC

Zoom was popular in the business and education sectors during the pandemic days. When people had no choice but to isolate themselves inside their homes, the only way of communication was through the internet. It served as a tool for us to continue our daily routines and work despite being at home. It also serves as a memory of all our meetings, helping us document important discussions, meetings, and presentations. But have you ever asked yourself "Where does my Zoom recording go?" once? Find out how to locate your recorded meetings in different ways by reading this article so you can play them back at any time of the day.
Where Are Zoom Recordings Stored: An In-Depth Explanation
Done recording a conference but wondering where does your Zoom recording go? Don’t worry because it’s not lost. In this article, you’ll find storage locations where Zoom recorded meetings go.
1. Locating Recordings through Default Storage Path
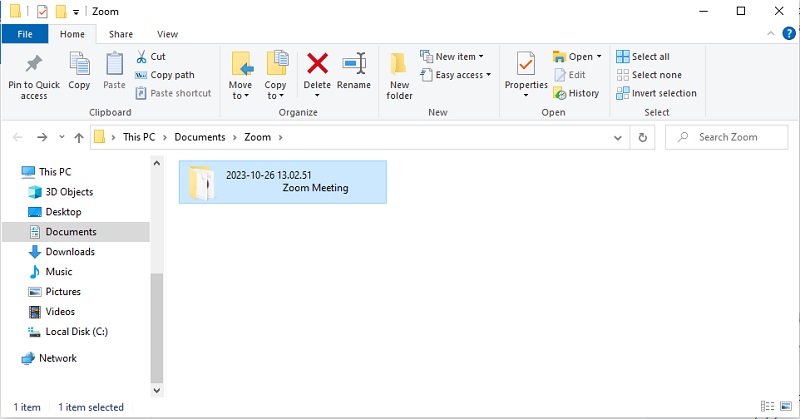
The usual path of files when saved is on your computer’s storage. If you want to check, open your PC or Mac computer and locate it on your file manager.
PC: C:\Users\User Name\Documents\Zoom
Mac: /Users/User Name/Documents/Zoom
2. Locating Local Recordings through the Zoom App
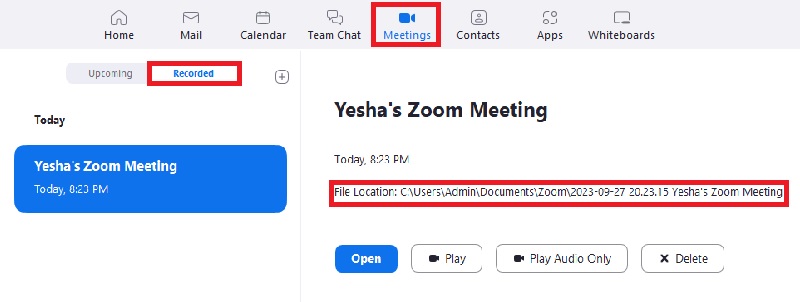
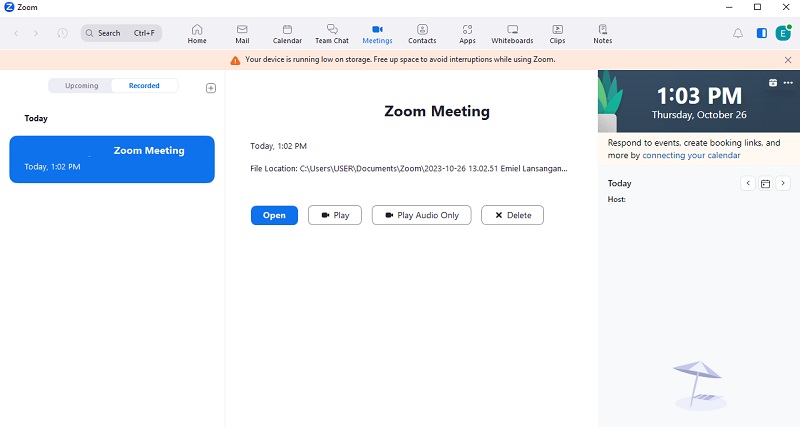
Another solution would be locating your local recordings within the Zoom app. Do this by simply opening your Zoom App, and locating and clicking the ‘Meetings’ button through the top horizontal bar. Find the ‘Recordings’ option and open your desired file. With this solution, you can also find the location of your recording written at the top.
3. Locating Local Recordings through Zoom Website
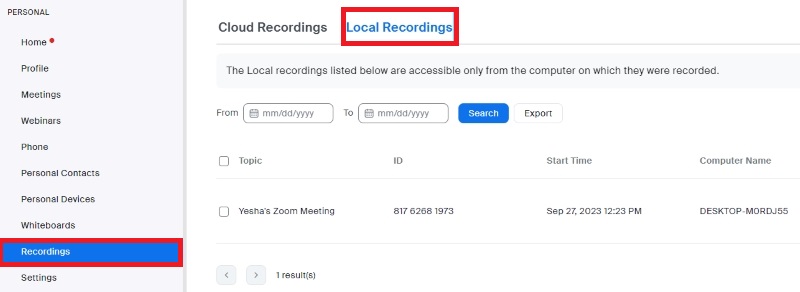
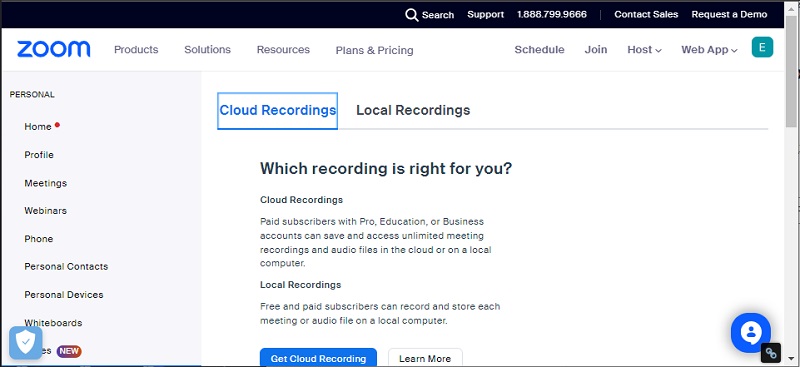
Don’t worry if you want to access your recordings online. In this last solution, you can open your recording by simply going to Zoom’s website, logging in, and clicking ‘Recordings’ on the vertical menu bar on the top left of your screen. With that, choose ‘Local Recordings’ and find the path of your file.
4. Locating Cloud-based Recordings through Email
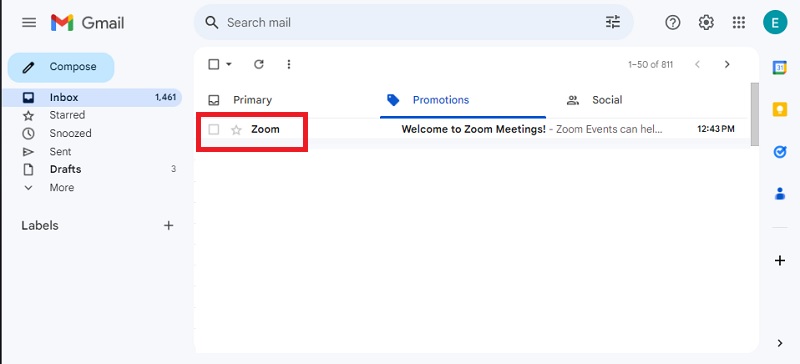
You can find where do recordings go on Zoom by checking your email if Zoom has sent you a link to your recorded video. Remember that this solution only applies to those who have a Zoom cloud storage.
5. Locating Cloud-based Recordings through the Zoom App
However, if you want to access your recording through the application, simply open the Zoom app and locate ‘Meetings’ on the top part of your screen. Simply find the ‘Recordings’ and if you see a ‘View’ option, that is a recording saved on your cloud.
5. Locating Cloud-based Recordings through the Zoom Website
Of course, you can also locate your cloud recording through their website. Open Zoom.us on your browser, click ‘Recordings’ on the top left menu, and find ‘Cloud Recordings’.
Retrieve your Recordings within the Zoom App
Where does the recording go on Zoom if it has been deleted? If ever you delete an important Zoom recording, you can retrieve it within the Zoom app as long as it hasn’t been 7 days or else you can record online meeting on PC again with Zoom. If it has been deleted longer than a week, you can no longer retrieve it. To do this, find the ‘Meetings’ or ‘Webinars’ on the menu. Locate where ‘Recently Deleted’ is and find the recorded file you want to retrieve. As simple as that, your file is ready to be recovered.
Retrieve your Cloud Recordings through Zoom Cloud: If the file you deleted is a cloud recording, you can also retrieve it for as long as it hasn’t been 30 days. Zoom Cloud has a 30-day time limit before it deletes your file. Launch Zoom, and click ‘Recordings’ and ‘Cloud Recordings’. From there, find the ‘Trash’ button and click your file from the deleted list. Click ‘Recover’ to begin recovery of your file.
Share Local Recordings with Participants: Looking for how to share a previously recorded Zoom meeting? Unfortunately, you cannot share a local recording with participants as the file size may be big. But, you can use third-party apps such as Google Drive, Dropbox, and similar applications to share it with others. Upload the file you want to share and copy the sharing link to forward to your participants.
Share Cloud Recordings with Participants: On the other hand, having a Zoom cloud saves you time and effort. If you want to share a cloud recording, locate the ‘Recording’ tab and click ‘Share’. From there, you can copy the shared information and paste it into your email to send to your participants. You can customize the shared information to those who can view it or limit it to specific people.

Zoom Playback Options and Control
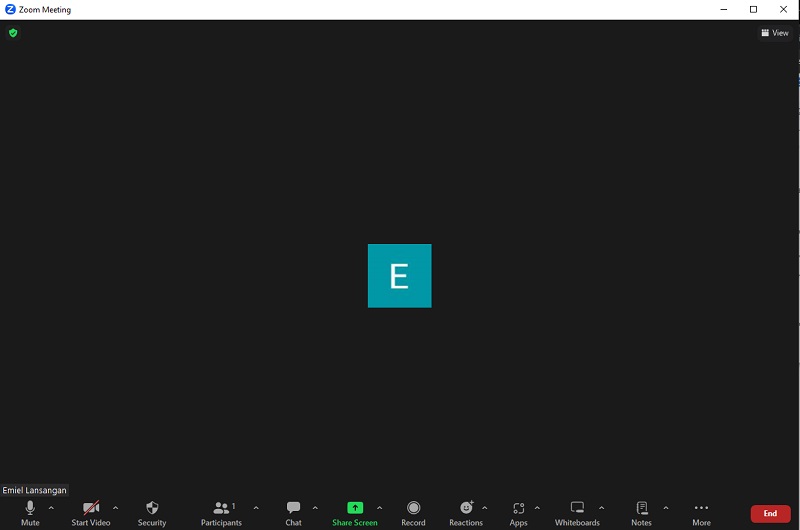
Zoom offers controls for both participants and hosts to manage and enhance engagement during meetings. These include:
Share-screen: Feel free to share your PowerPoint or screen with your participants so they understand what you’re talking about.
Record: Keep track of your meetings and review them anytime you want.
Play\Pause: Control the video you are sharing with these two buttons.
Volume: Adjust the volume of what you’re sharing even while the video is playing.
Fullscreen: For a better viewing and listening experience, you can change your shared screen to full-screen.
How to Customize Zoom Local Recording File Path
You can customize your storage path settings for a more organized environment by following these steps.
- Open the Zoom desktop client and find ‘Settings’.
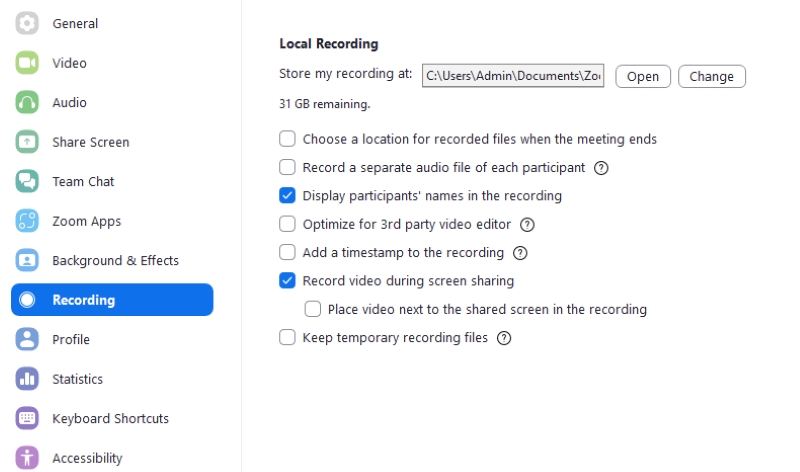
- Click the ‘Recording’ app to open recording settings. Below are some of what you can customize on the settings:
- Store my recording at: From here, you can change your default local storage path.
- Choose a location for recorded files when the meeting ends: If you want Zoom to open a prompt every time a recorded meeting ends. With this, you can choose where you want the files to be saved.
- Keep temporary recording files: You can save your files in Zoom in case your recorded file gets deleted.
Extra Tips: Record Any Meeting with Aqua Demo Screen Recorder
Be that as it may, Zoom never restricts you from using other software to record a meeting. Guess what? We’ve found a screen recording tool that can enhance your online interactions within any platform! Aqua Demo Screen Recorder is a screen recording software that lets you record your whole screen or just a portion of it. Additionally, you can record your webcam and screen simultaneously in high resolution. Not only that, but you can also mirror your phone’s screen and record it on your computer! This tool is best to record live meeting, teaching and even producing online content. More of its features are annotation, task scheduler, and more. If you want to record using Aqua Demo Screen Recorder, follow the steps below.
Try it for Free
Free Download
Windows 8/10/11
Secure Download
Free Download
Mac OS X 10.15 and above
Secure Download
Step 1 Download and Install The Screen Recorder
Before anything else, start by downloading Aqua Demo Screen Recorder. You can opt to download it from AceThinker's website or by clicking the download link below. We assure you that this link is safe.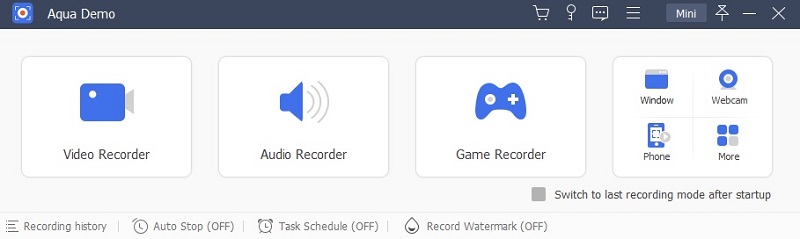
Step 2 Choose the Source
Aqua Demo offers multi-platform recording options. You can choose from Video Recorder, Audio Recorder, Game Recorder, Webcam, and Phone. Also, you can record a selected region of your screen. To do that, click Video Recorder > Custom > Select region/window.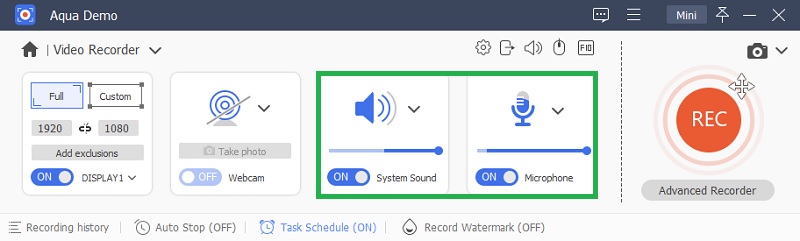
Step 3 Record Your Screen
After deciding on your video source, start recording by hitting the red circle on the right side. A three-second countdown will appear on your screen if the recording is successful. During the recording process, you can take a snapshot, set a time length, and annotate on your screen. After recording, you can also edit your clip to your preference before saving.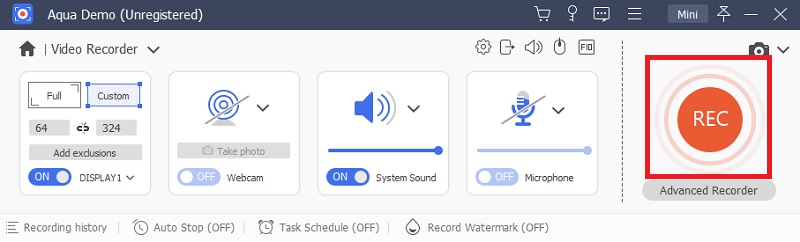
Step 4 View Recording History
After editing your video, you can find it in the ‘Recording History’ below. Aqua Demo also provides a category for each recording in an organized file folder. Locate your video recording files by hitting the History drop-down button above.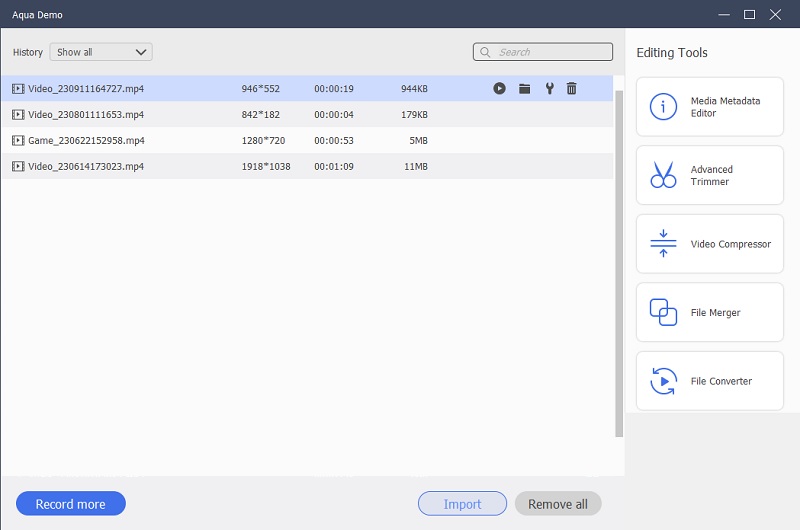
Frequently Asked Questions
Is there a time limit for recording meetings on Zoom?
There is a 40-minute time limit for basic Zoom users. However, paid subscribers have unlimited time for their meetings.

Can I record a meeting hosted by someone else?
You can record a meeting even if it is hosted by someone else as long as the host provides permission. But by default, only the host can record the ongoing video conference.
Can I download recorded Zoom meetings for offline viewing?
Yes, as long as you have your Zoom Cloud account, you can download your videos after it has been converted.
What happens to Zoom recordings if a user leaves the organization?
If a user doesn’t specify to transfer saved recordings to another licensed account before leaving, it will be deleted after 24 hours.