 Many video editors use transitions to tie their clips and shots together. Video transitions are the visual effects that change smoothly from one video clip to another. These transitions are important to keep the viewer's attention and create a cohesive storyline. Transitions can take many forms, including cuts, fades, dissolves, wipes, etc. Properly executed video transitions can elevate the quality and professionalism of a video project, providing continuity and visual interest. Incorporating video transitions into your project can make your videos more engaging and visually appealing, keeping viewers interested in what's coming next. Moreover, we listed three tools to add video transition effect to your video. So, continue reading this article to learn more.
Understanding Video Transitions
What is Video Transition? Video transition is a visual effect used in video editing to smoothly change from one clip to another by creating a seamless transition between them. Creating a professional-looking video that can help maintain the flow and continuity of your story is essential. Also, video transitions are crucial in making your video visually pleasing and engaging to the audience. Using video transitions in your editing can make a huge difference in the final product. Moreover, video transitions play a vital role in automatic video analysis by detecting and creating disjoint contiguous video segments that can be indexed, annotated, and browsed. Therefore, it is important to understand video transitions and their importance in producing high-quality videos that captivate your audience's attention.

1.1 Different Types of Video Transitions
Video transitions are the effects that occur when one video clip ends and another begins. They can help to smooth the transition between clips and add visual interest to a video. Different types of video transitions can be used depending on the desired effect. See them below.
- Cut
The most basic type of transition is cut, which instantly replaces one cut with another. While cuts are certainly the simplest type of video transition, there may be more effective ways to convey the sense of visual continuity between shots. These transitions often go unnoticed; therefore, you can make hard cuts between scenes for dramatic, jarring, or use them for comedic timing. - Fade
Fades are another common type of video transition. Using fades can convey a sense of time passing, change in location or create an artistic effect. You can often use fades to add a sense of conscious perception for the audience and to aid in storytelling. For example, a fade to black can indicate the end of a scene or the passage of time. - Dissolve
Another popular video transition is the dissolve. This type of transition involves merging one shot into another over time, gradually replacing the first scene with the second. For example, it can show a character's memory or a flashback. - Wipe
A wipe is a transition where one shot slides off-screen to reveal the next shot. It is often done with a geometric shape, such as a square or a circle. Also, there are other variations of wipes, such as clock wipes and matrix wipes. For example, wipes can be used in action scenes to create a sense of energy and motion. - Zoom
Zoom transitions are used to make the transition from one shot to another in a visually appealing way that often adds depth and drama. It can convey a frenetic pace, switching quickly from one scene to the next. For example, zoom transitions can be used in music videos to create excitement and energy.

Top 3 Solutions to Add Video Transitions
1. AceThinker Wind Cut
AceThinker Wind Cut is a powerful video editing software to help you create a creative video. This tool offers a variety of visual effects, including the transition. There are 50 dynamic transitions in this program that can help you create a smooth video and look more natural. Moreover, you can add video filters, overlays, and elements available to take your video to the highest level. Aside from adding effects, it also has offered editing features such as trim, cut, split, rotate, combine, and many more. Furthermore, these tools allow you to add your logo or watermark to your video. Below is the guide on how to add transitions to videos.
Try it for Free
Step 1 Download and Install the Video Editor
Obtain AceThinker Wind Cut from its official website by selecting the download button provided. Once the tool has finished downloading, click the downloaded file and follow all the prompts for a successful installation. After installation, launch the software and begin by exploring its features to acquaint yourself with its navigation and functionality.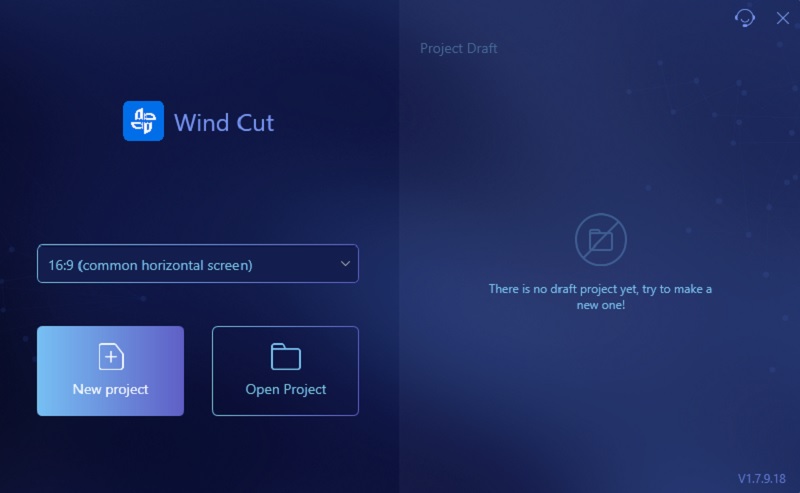
Step 2 Import a Video File
To import a video into the program, navigate to the "Import" tab and click "Import File" beneath it. Later, a new window will appear on your screen displaying your files. Locate the desired video within your file folders and double-click on it to add it to the software. Repeat this process for each video you wish to upload. Once imported, drag the videos to the editing timeline and incorporate transitions as desired.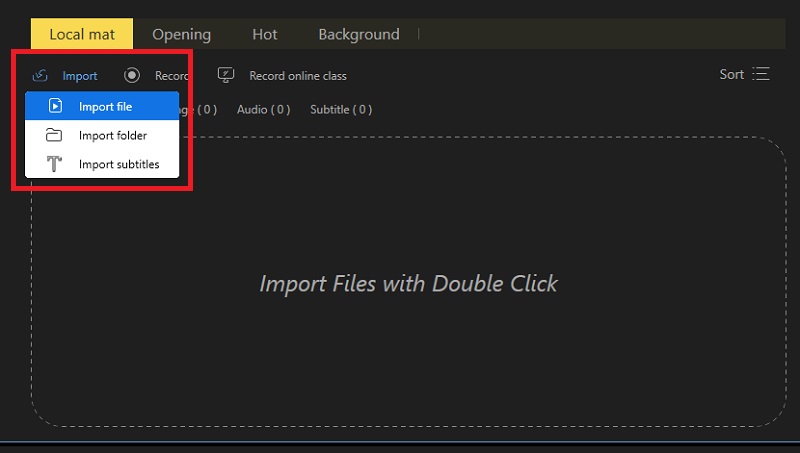
Step 3 Add Transition to Video
Before adding a transition to the video, you must locate the one that needs transition. Next, click on the "Transitions" tab and browse the transition library until you find the right transition you want. Then to add the transition to the video, right-click on the chosen transition and tap "Add to Project. " Repeat the process until you put the transition to the video that needs transition.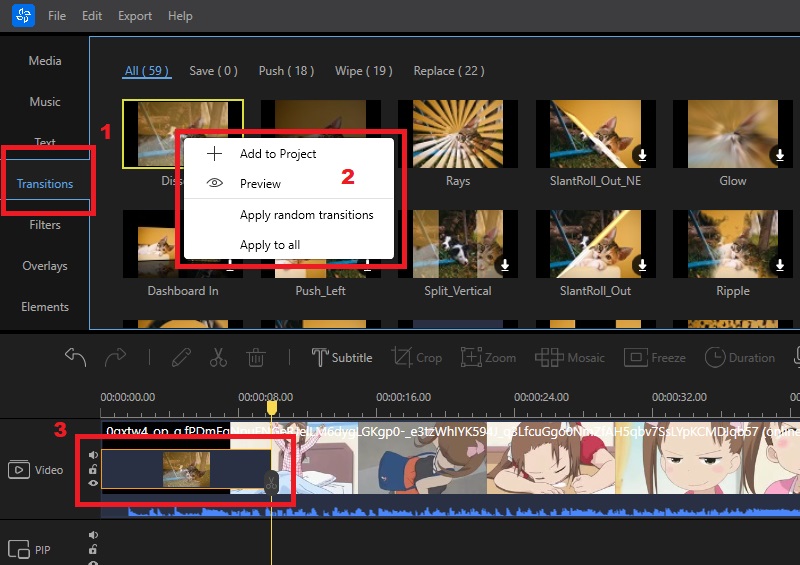
Step 4 Play and Preview the Video
Before saving the edited video, preview it first on the real-time preview window of the program. Once satisfied with the outcome, click on the "File" tab at the software's top. Then, tap the "Save As" option under the file tab. A window will pop out on your screen with your files. Select an output folder where you can save your video.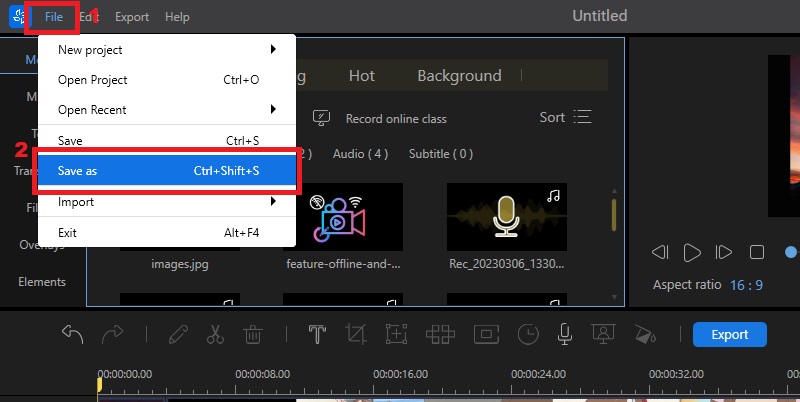
2. iMovie
iMovie is a video editing software exclusively available for macOS and iOS platforms. Like the other video editors, you can also use this tool to add transitions to your video. There are 20+ standard iMovie video transitions available in this software. Aside from adding transitions, iMovie also allows you to perform a wide range of editing features, such as trimming, splitting, merging videos, and adding background music or sound effects. It also offers some advanced features like color correction, stabilization of shaky footage, and the ability to use green screen effects. See the guide below on adding transitions using this tool.
User Guide:
- Since the iMovie is pre-installed on iOS devices, you don't need to install it. You can download it from the App Store unless you uninstalled it on your phone. Open the application, click the "Create New" tab on its interface, and tap the "New Project" option. Next, upload a video by clicking the "File" menu and selecting the "Import Media" option.
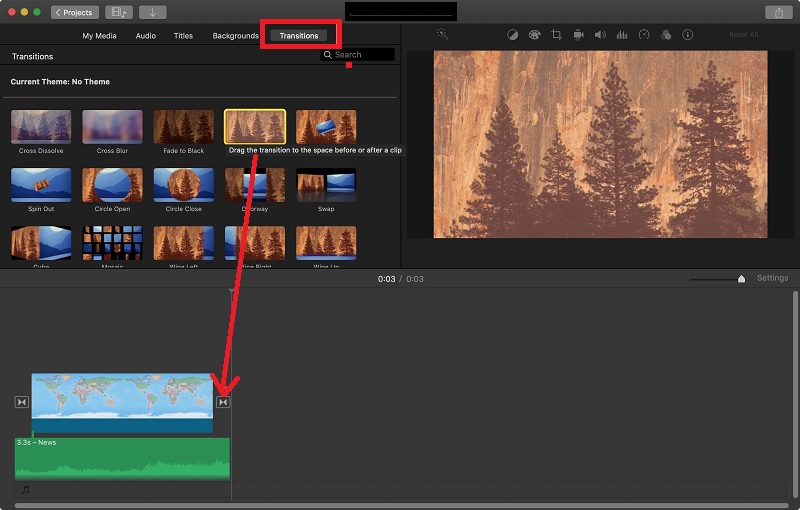
- Afterward, drag and drop the videos you imported into the editing timeline. To add video transition, click the "Transition" button in the toolbar to see all the available transitions. Find a transition you like, click on it, and drag it to your project between the video clips that need transition effects.
- Suppose you are done applying transitions to your video. Play and preview it first before saving it. Once satisfied, click the "File" menu, then select the "Share" option and tap "File" to save it on your iOS device. Once exported, locate the output folder, and you can now share it on your social media.
3. Kapwing
Kapwing is an online video editor where you can add video transitions online. There are 70 modern transitions available in this online tool to your videos. In addition to video transitions, it offers a wide range of editing features, including resizing, adding text, trimming, etc. Moreover, it also has other features, including speech-to-text conversion, meme maker, and subtitle maker, to help users create engaging video content. Follow the tutorial below on adding a transition to a video using Kapwing.
User Guide:
- Open the browser on your computer and search for Kapwing. Then, sign in first using your Google or Facebook account. Then, click the "Create New Project" button to go to the editing interface. To upload a video, tap the "Click to upload" button or drag and drop the video directly to the online tool. Keep in mind that only two videos can add first.
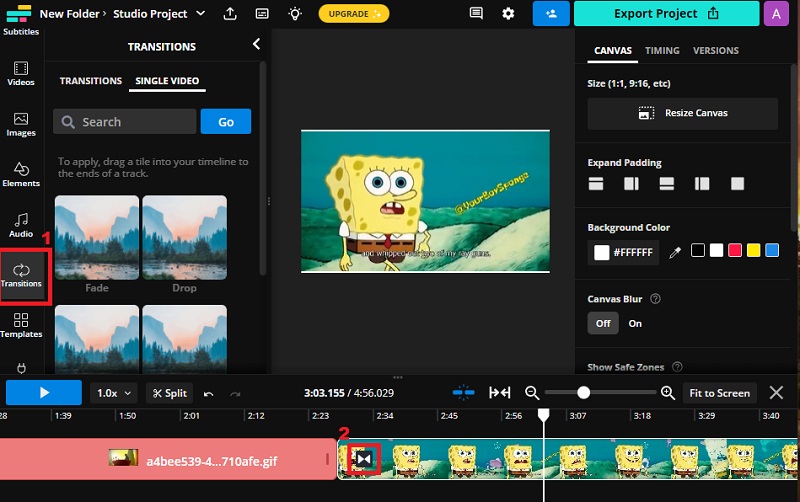
- Once the videos are successfully imported, they are automatically added to the editing timeline. To add transitions, click the "Transitions" tab to see the available transitions effect. Choose the proper transition and drag and drop it between two video clips.
- After making the final edits, preview the video before exporting it. Afterward, click the "Export Project" in the upper right corner of the tool. Then, choose format and resolution, and lastly, hit the "Export as (chosen format)." Next, if you want to save it on your computer, tap the "Download File."
Tips on Adding Video Transition Effectively
Here are a few quick tips for using video transitions well.
- Keep it simple and consistent: Avoid using too many flashy or overwhelming transitions, as they can distract the viewer from the content. Also, be consistent with your transitions throughout your video to maintain a cohesive look and feel.
- Keep it smooth: use transitions when we need to show the flashback stories, change of mood, change of direction, or change of subject. Try to make the transition as seamless as possible to flow smoothly into the next scene.
- Keep the meaning behind the transition in mind: Ensure that any transition you use is relevant to the content and helps convey your message effectively. For example, if you are showing a progression of time, using a fade transition may be more appropriate than a slide transition.
- Timing is key: Play around with the timing of your transitions to find the sweet spot that feels visually engaging without being too abrupt or dragging on for too long. In video editing software, you can practice putting transitions into your videos and experiment with different timing options.