Screen Grabber Pro is a powerful screen recorder who offers seamless recording. However, there are still cases where the recording is not satisfactory as it should be. One case is when the recording does not have audio. Below are some of the most common questions asked, and some of the steps to fix the sound issue.
Troubleshooting For Windows Users
Check if the speakers are installed properly
Step 1 Open the sound dialog
Launch the Sound dialog from the notification toolbar, right-click on the "Volume" icon and click "Sounds."

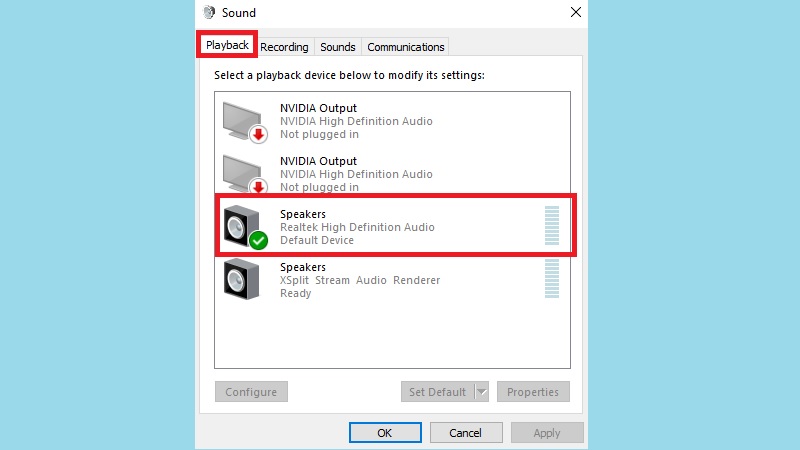
Step 2 See if the speakers are connected
Click the "Playback" tab, and check if the speakers are chosen as the default device.
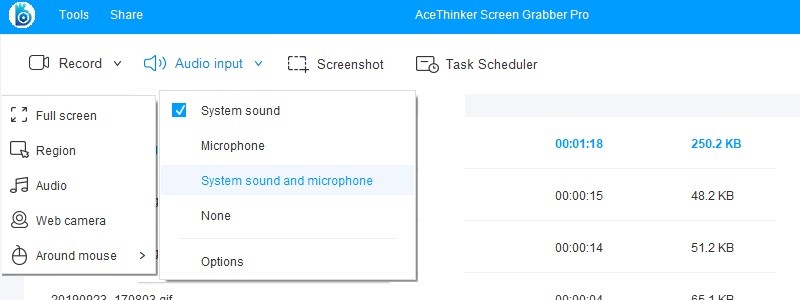
Check the audio source of the screen recorder
Launch Screen Grabber Pro, and on the home screen, click "Audio input." From the list of options that appeared, select the one that you want, "System Sound" records the sound on the computer, select "Microphone" to record using a mic, or select both. However, if "None" is selected, there will be no sound on the recording. Note that this is important because when the recording process starts, you will not be able to change the audio source.
Upgrade the Windows version
Note that Screen Grabber Pro works well with Windows, however, not for all. The tool does not support the older version of Windows, like Windows XP, due to advanced system requirements. Although most PCs are running on Windows 7 and up, few choose to use Windows XP. To be able to use the tool, it is recommended to upgrade the Windows version.
Tips to capture WebEx windows with sound
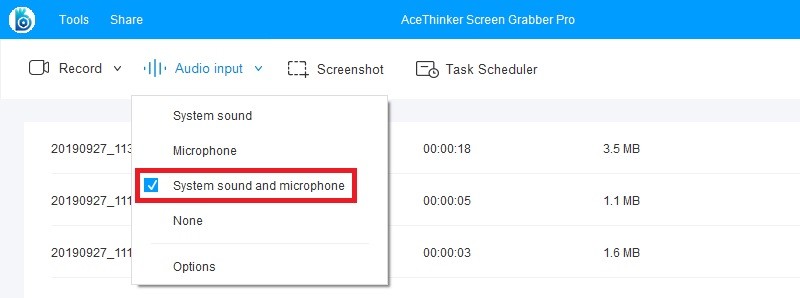
Step 1 Open Screen Grabber Pro
Open the screen recorder and set the Audio input to "System sound and Microphone" to record both sounds.
Step 2 Start WebEx
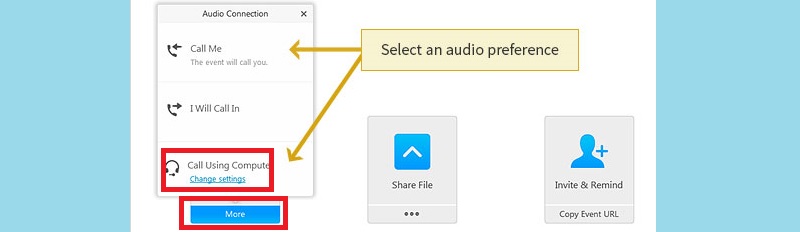
Open WebEx and click the "More" button and click "Change settings."
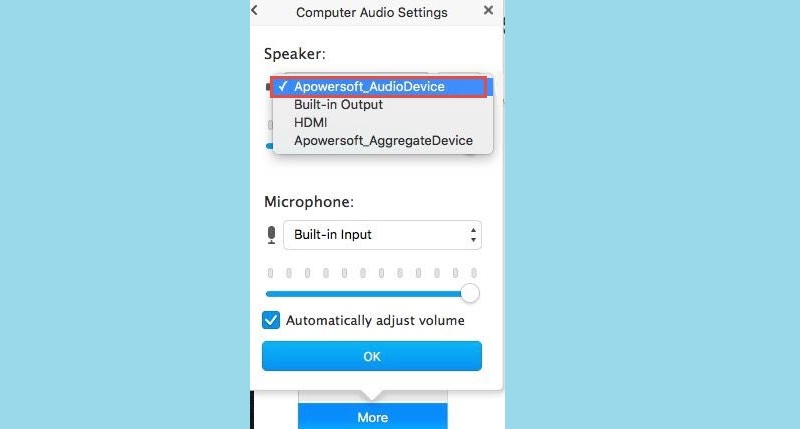
Step 3 Change the speaker
On the drop-down button for the "Speaker," select the "Apowesoft_AudioDevice."
Methods for Mac Devices
Set the Audio Settings of Mac Screen Grabber Pro
Step 1 Get the latest version of the tool
Sometimes the cause is simple that people overlook them, like when the tool is just outdated and just needs to be updated to the latest version. To get the latest version of the tool, click the buttons below.
Try It Free
Free Download
Windows 8/10/11
Secure Download
Free Download
Mac OS X 10.15 and above
Secure Download
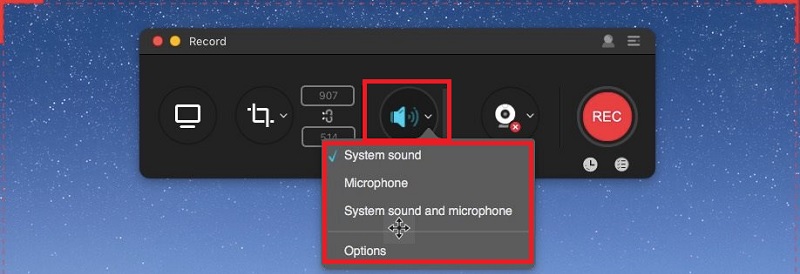
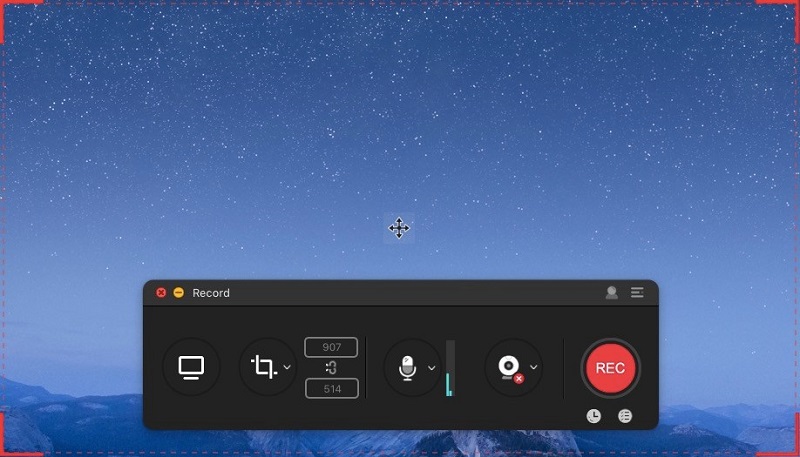
Step 2 Set the audio source
Launch the tool and select the audio source. Just click the "Audio Input" tab and select from the list of options.
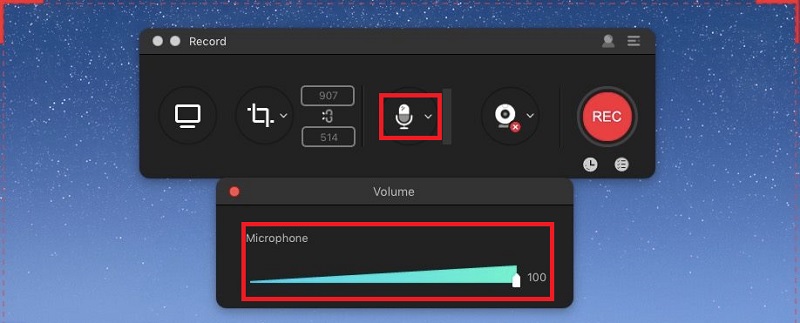
Step 3 Adjust the recording volume
Before starting the recording process, ensure that the volume is maxed out.
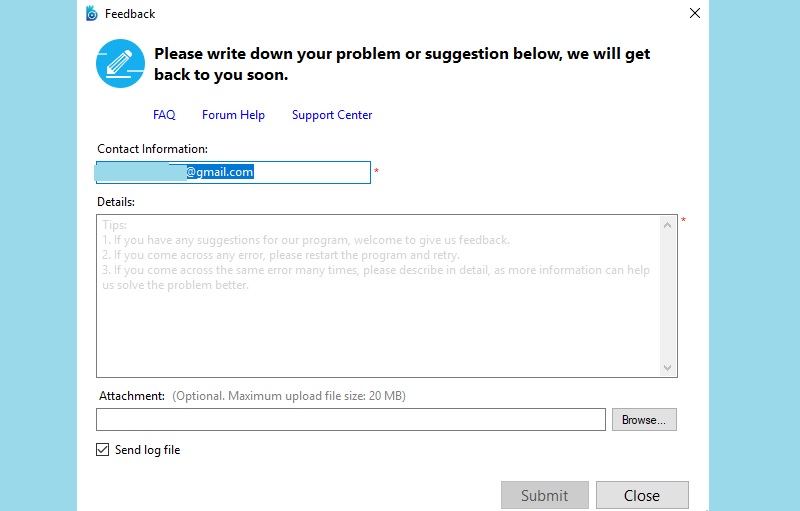
Step 4 Submit a log file
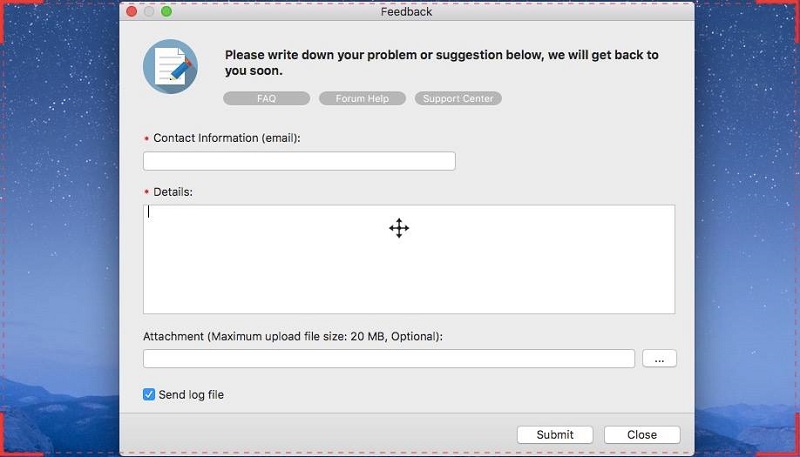
If ever the steps above did not work at all, then you can send us feedback by sending a log file. Just click the "Help" button and select Feedback, fill out the information, and click submit.
Tips for recording Skype on Mac with audio
Step 1 Launch Skype on Mac
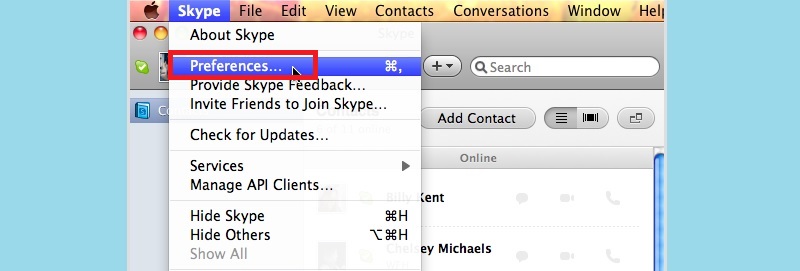
On the Mac device, open Skype and click the "Preference" option.
Step 2 Check the audio settings
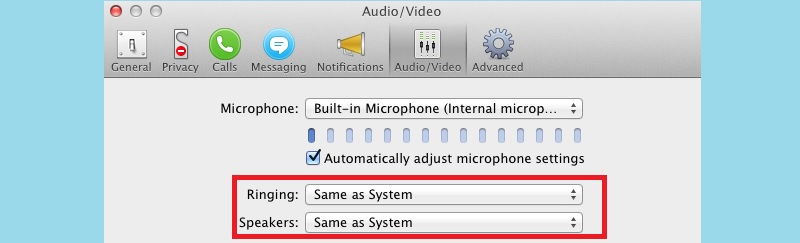
Click the "Audio/Video" tab, and check "Microphone," "Ringing," and "Speakers" if they are set to "Same as System." If not, change them to the said settings. Once everything is set, start the recording process using Screen Grabber Pro.
Tips to Record Google Hangouts with audio
Step 1 Select the settings
On Google Hangouts, select the "Settings" icon from the toolbar.

Step 2 Change the audio input and output
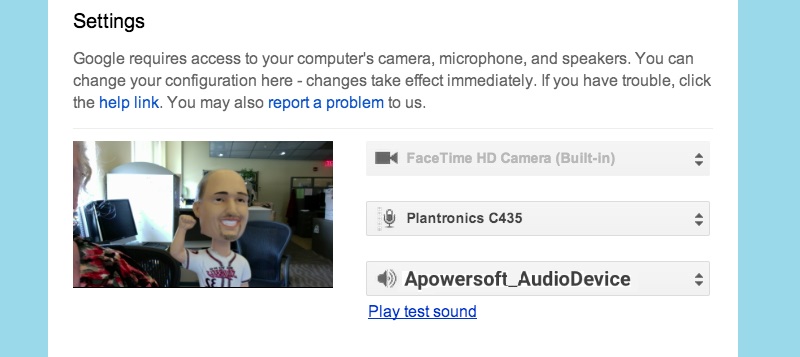
The settings window changes the audio source to the built-in microphone and the output to "Apowersoft_AudioDevice."
Step 3 Start the recording process
Launch Screen Grabber Pro on the device and check the audio with the "Play test sound" button and start recording.
Steps to record Facetime with sound
Step 1 Launch Facetime
Start by launching Facetime and click the "Video" tab from the menu.

Step 2 Toggle audio settings
From the list of options, under the Microphone tab, select any of the available options except "Apowersoft_AudioDevice," do the same for the "Output" tab.

Submit a Log file
Step 1 Click the help tab
The "Help" tab is located on the upper part of the tool interface. Navigate and click the tab. From the set of options that will appear, click "Support" and select "Feedback."
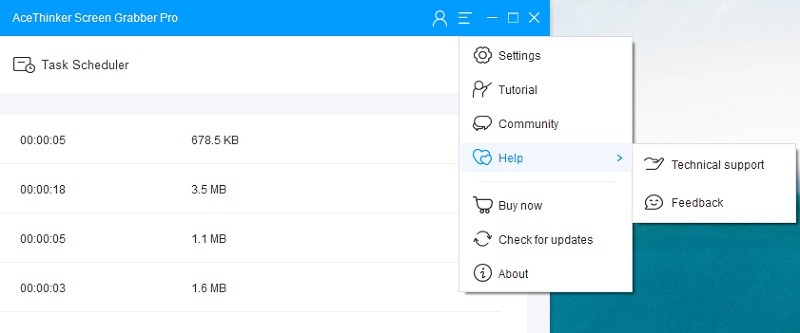
Step 2 Send the log file
Fill out the information needed on the text box and tick the checkbox for "Send log file" and click "Submit."