
 As many people think, taking a screenshot is very simple. A screenshot is an ultimate way to go, whether you capture the entire display or want to capture a particular scenario. Windows 10 offers built-in tools and allows some keyboard shortcuts to let you take a screenshot in an instant. Furthermore, you might screenshot Windows 10 frequently in your daily work or study. It can help you save essential details without writing them down. However, what if you want to remove unwanted parts or show an important part of the screenshot? At that time, you need to think about cropping the screenshots for a better presentation. This raises a new challenge on learning how to crop a screenshot on Windows 10. You can check the complete tutorial below to help you crop screenshots effortlessly in different but effective methods.
Best Way to Crop Screenshot on Windows
Installation Packaged Size: 61.53 MB
System Requirements: Windows 7 to 10/ For CPU-2.0GHz and above/ For RAM-4GB and higher/ For Processor-Intel i3 and higher
If you wonder if it’s necessary to run third-party screenshot software, the answer is yes. Shortcut keys and prebuilt Windows 10 screenshot apps are very limited in functionality. They do not support applying real-time editing effects to your screenshots. With that, you need to open Paint or other image editing tool to put annotations and other effects. It is inconvenient to do so, specifically if you need to edit and draw screenshots.
During this time, you can run AceThinker Aqua Demo to save time and get a better output. This versatile tool lets you crop the screenshots on Windows 10 by dragging the mouse cursor around the area you want to capture. The best thing about it is it allows you to add annotations in different colors and sizes after capturing. You can add shapes, highlights, texts, and other annotations to enhance the screenshot. Besides, the tool can move the borders to crop the selected area for the screenshot. In addition, the tool supports saving the screenshots to famous image formats. That includes PNG, JPEG, BMP, TIFF, and even GIFs. Follow the tutorial below to know how to take a cropped screenshot on Windows 10.
Try it for Free
Step 1 Install the Screenshot Tool
First, save the tool on your computer by clicking the installer for Windows 10 located above. Run through the wizard prompt that will appear on your screen until you completely install the tool. Once done, the tool’s interface will automatically be displayed on your computer screen.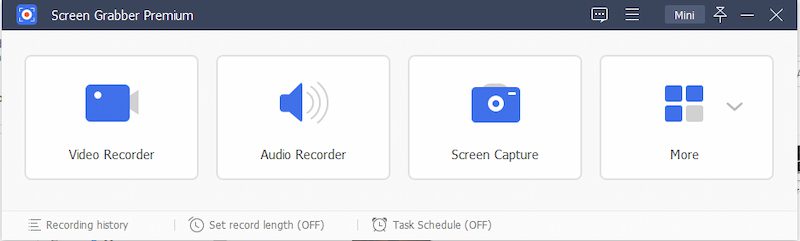
Step 2 Adjust the Tool’s Settings
After that, move on to the menu bar (☰) located in the top right corner of the tool. Then select “Preferences” from the options to launch the tool’s main settings. Hit the “Output” tab and locate the settings for screenshots. Here, you can change the location of the screenshot and the output format. Make sure to hit the “OK” button underneath to apply the changes you’ve made.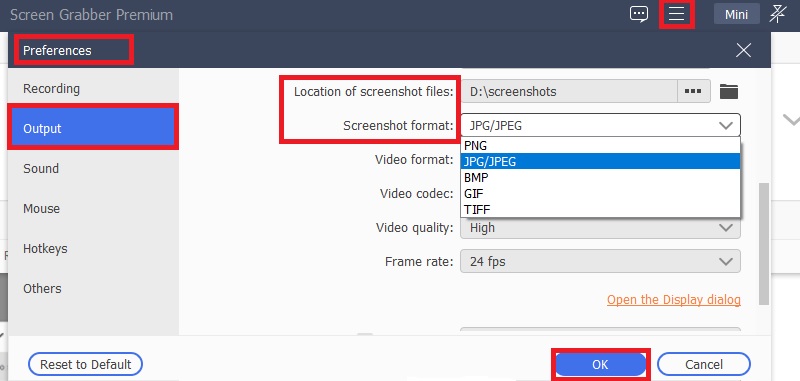
Step 3 Start to Take a Cropped Screenshot
Once you are done with the steps overhead, go to the area you want to capture. Then relaunch the tool and hit the “Screen Capture” button from the interface. Drag the mouse around the area to crop it and release the mouse to take a screenshot. Before saving it, you can use the annotation tools to highlight important details. If you are satisfied, hit the “Save” button.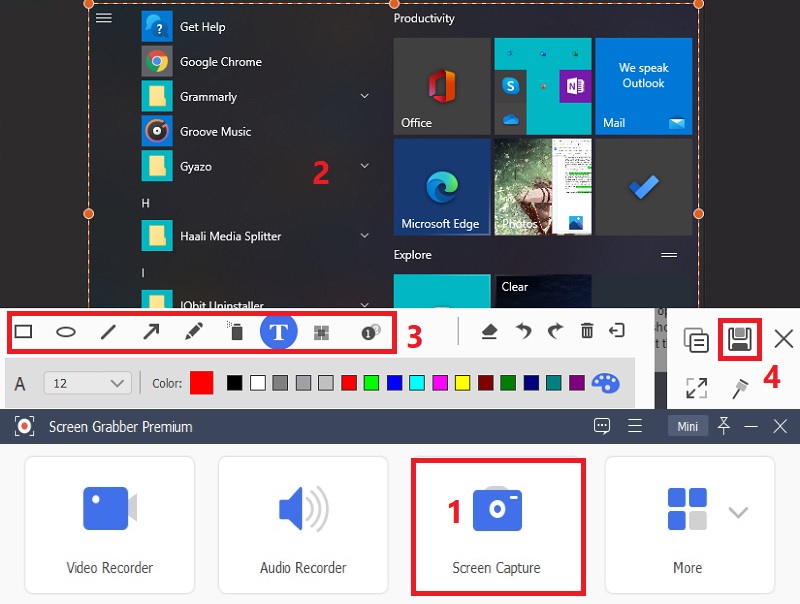
Step 4 View the Cropped Screenshot
Finally, open the output folder you set up in the previous step. Click it and locate the screenshot from the options. To view it, double-click the file name, and the screenshot will appear. You can now share the cropped screenshot on your social media accounts or transfer it to other devices like smartphones.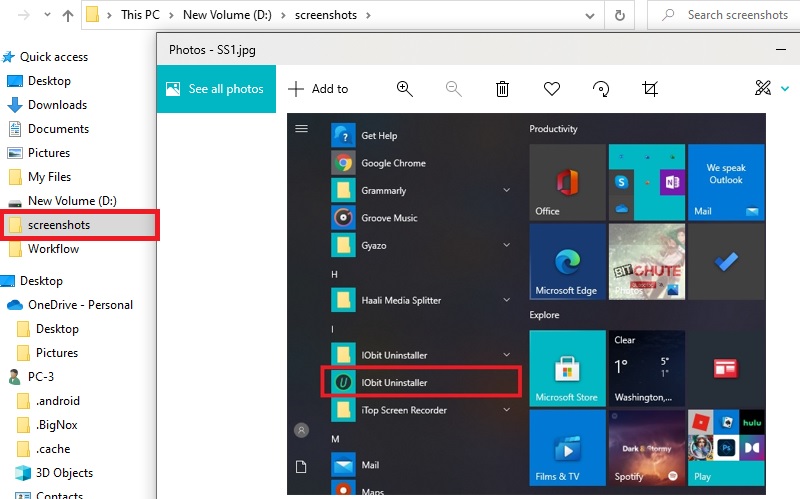
Other Ways to Crop Screenshot
1. Paint
Installation Packaged Size: 57.53 MB
System Requirements: Windows 10 Version 1703/ For Architecture- ARM64 is natively supported
Paint is a prebuilt editing software on Windows PC. It is a convenient and helpful tool for the simple editing of images. With Paint, you can add texts, shapes, cut and copy images, drawings, and a lot more. Furthermore, you can crop a screenshot within this tool. So if you want a quick and simple way to crop any images, Paint is a reliable tool to consider. Additionally, you can save the screenshots in many image formats. That includes PNG, BMP, HEICC, TIFF, and GIF format. See the user guide below to know how to crop a screenshot with Paint.
User-guide:
- Go to your computer's "Start Menu" and enter "Paint" on the search bar. Open it and paste the screenshot within the tool.
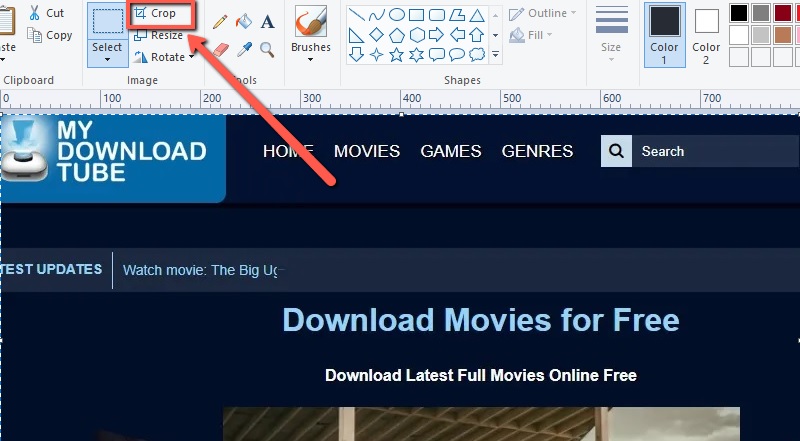
- Next, hit the "Crop" button from the upper left corner of the tool. Choose the area you want to crop by dragging the mouse click around it.
- Release it to see the cropped screenshot. If you want to crop out other details, click the "Select" button. Then, save the file on your computer by clicking the "File" button.
2. Snipping Tool
Installation Packaged Size: 41.86 MB
System Requirements: Xbox, Windows 10 version 16299.0 or higher/For Architecture- x64, x86
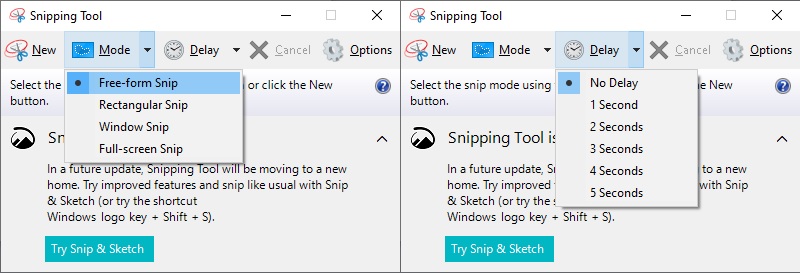
Snipping Tool is a free screenshot app from Windows Vista. Aside from Vista, it is also compatible with Windows 7, 8, and 10. In Snipping Tool for Windows 10, there is a new “Delay” feature. With this, you can start a screenshot first and wait for the program to freeze the screen to capture what you want to portray. Besides that, you can choose from different snipping modes. It offers free-form, rectangular, window, and full-screen snip. If you want to take cropped screenshots, it would be best to use the free-form snip. So, you can have complete control and what to emphasize in the screenshot. The listed guide is provided below to help you on how to crop a screenshot on Windows with Snipping Tool.
User-guide:
- Open the Snipping Tool app on your computer. You can search for it on the “Start Menu,” or you can use the tools shortcut keys, “Windows + Shift + S.”
- Then, hit the “New” button to take a screenshot. You can also choose the screen capture mode by hitting the “Mode” drop-down list.
- Snipping Toll will freeze your computer screen and fade out to crop a screenshot. Finally, save the screenshot to your local drive.
3. Snip & Sketch
Installation Packaged Size: 9.07 MB
System Requirements: Windows 10 version 17763.0 or higher, Xbox, Windows 10 version 22000.0 or higher/ For Architecture- ARM, ARM64, x64, x86
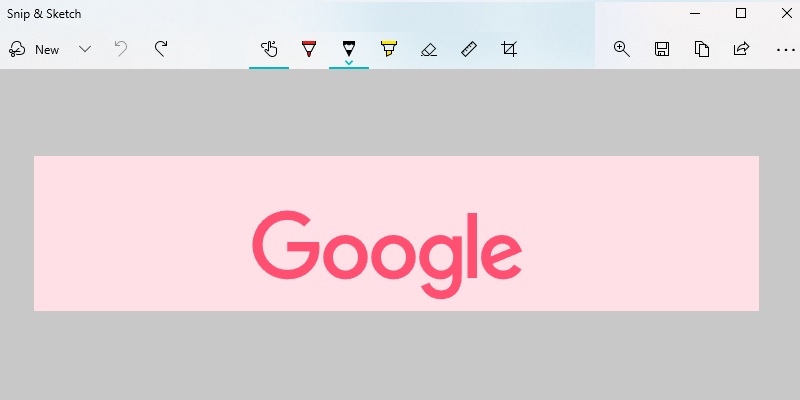
Snip & Sketch is another built-in tool available on Windows 10. It is a new tool after Windows 10 was updated last October 2018 to help users quickly edit screenshots and other images. Unlike Snipping Tool, Snip & Sketch allows you to edit the image after capturing. You can add drawings, use a ruler or protractor, and crop the screenshots. Furthermore, you can undo and redo the editing, giving you total control over the process. Also, you can save the cropped screenshots in formats like PNG, JPG, and GIF. Observe the steps written below to discover how to screenshot and crop on Windows 10 with Snip & Sketch.
User-guide:
- First, find the Snip & Sketch on your computer's "Start Menu." Then hit the "New" button on the top left corner of the tool.
- Select the screen capture mode to take a screenshot. Once you take a screenshot, it will initially appear on the tool's interface.
- From here, click the crop icon to start cropping the screenshot. You can also edit it depending on your liking. Afterward, save the screenshot on your computer.
4. Paint 3D
Installation Packaged Size: 65.79 MB
System Requirements: Windows 10 16299.0 or above/For Architecture- ARM, x64, x86
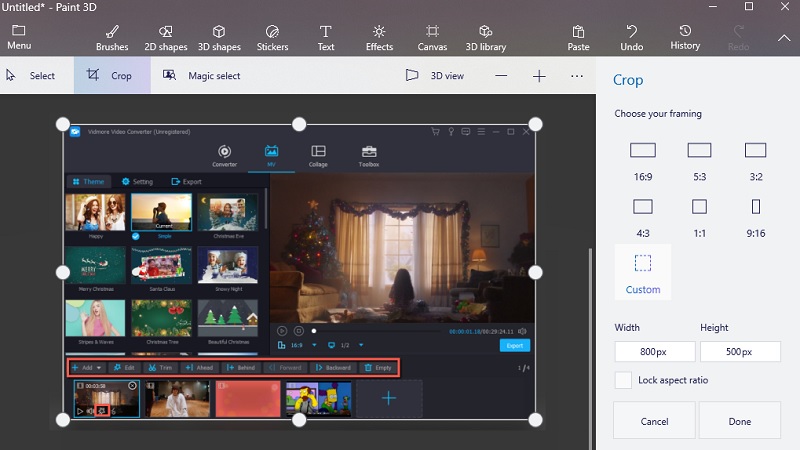
The last tool that you can use to crop screenshots on Windows is Paint 3D. Whether you are an artist or want to try out some fun Doodles, Paint 3D is a recommended tool for you. Paint 3D is the elevated version of Paint with an updated interface. The tool allows you to edit the screenshots and create 2D masterpieces or even 3D models that you can work around at every angle. Besides, you can edit any images by adding texts, overlaying images, creating cut-outs, and a lot more. Also, you can crop screenshots to remove unwanted parts and edit the latter part. Learn how to crop screenshot Windows through the guide below.
User-guide:
- Access the Paint 3D from your computer’s “Start Menu.” Click the “New” button and choose a screenshot that you want to crop from its interface.
- Now, hit the “Crop” button on the upper left part of the tool. Then adjust the ratio to crop the screenshot. You can also choose from the available frame to lessen your time.
- Once complete, hit the “Menu” button and choose “Save as” from the options. Set your preferred format and click the “Save” button to store it on your computer.
Frequently Asked Questions
Why does my screenshot output look blurry?
When you crop a screenshot with “PrtScn,” the screenshot will be automatically copied to the clipboard. Then, you need to paste it into an image editor like Paint. If the image editing tool compresses it, the screenshot will be blurry. So you need to save the screenshots in complete pixel count.

What to do when the screenshot shortcut stops working?
Check if there is an "F mode" or "F lock" key on your keyboard. If yes, press it to enable the Print Screen key again. Also, you can update the keyboard driver and stop running other background programs to solve the problem. If it's not solved, you can use some free screenshot software to capture your computer screen.
Comparison Chart
| Tools | Output Format | Editing Features | Screenshot Mode |
|---|---|---|---|
| Aqua Demo | PNG, JPG, GIF, BMP, etc. | Crop, shapes, texts, drawings, etc. | Entire screen, specific window, specific area |
| Paint | PNG, JPG, HEICC, etc. | Crop, drawing, overlay, etc. | Edit only |
| Snipping Tool | JPG, GIF, PNG, etc. | Trim, cut, crop, etc. | Entire screen, rectangular, free-form, etc. |
| Snip & Sketch | PNG, JPG, and GIF | Crop, drawing, undo/redo, etc. | Entire screen and customized area |
| Paint 3D | PNG, JPG, TIFF, etc. | Crop, rotate, draw, overlay, etc. | Edit only |