-
lmage Al
-
Photo Effects
- Image Effects
- Photo to Ghibli
- Photo to Art
- Photo to Sketch
- Photo to Cartoon
- Photo to Anime
- Photo to Watercolor
- Photo to Oil Painting
- Photo to Emoji
- AI Background Changer
-
Photo EditorBasic Image EditingGenerate Image from TextAI Art Generator AI Face Generator AI Character Generator AI Anime Generator AI Logo Generator AI Sketch Generator AI Emoji Generator AI Pixel Art Generator AI Texture Generator AI Sticker Generator AI Animal Generator AI Family Crest Generator AI Album Cover Generator AI Realistic Photo Generator AI Line Art Generator AI Fantasy Landscape Generator
-
More Apps
-
AcePDFProducts
-
Pro Packs
- AI Center
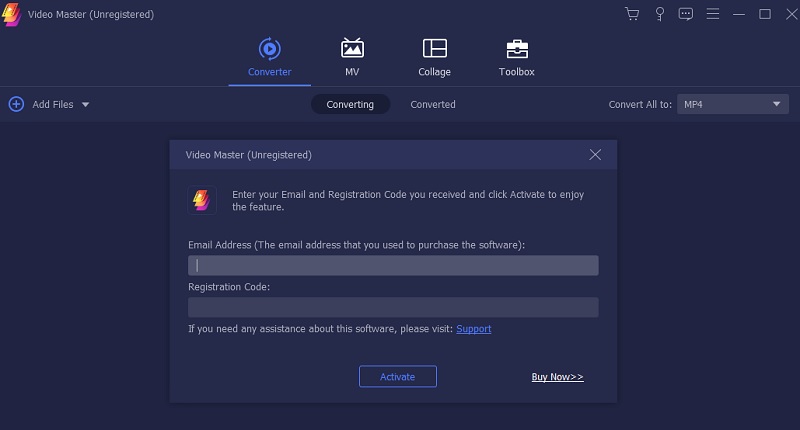
 Once done, a key code of the tool will be sent to your email. Copy the key code and navigate to the “Key” icon on the top right part of the tool. Then, enter your email and the key code on the registration box. Finally, hit the “Activate” button to access the premium version of Video Master.