As a society, we have become increasingly reliant on our smartphones, especially the iPhone. Our iPhones are used for communication and hold a vast amount of personal and professional data. With so much sensitive information stored on our devices, it is essential to protect that data. That's where backups come in. Backing up your iPhone is critical for data security. Losing your phone can happen to anyone; if it does, you don't want to risk losing all your data. Also, it ensures that all of your data is safely stored and easily recoverable if you lose your device. While iCloud backup is the most popular and convenient way to backup an iPhone, it does have its limitations. If you need additional storage beyond the 5GB that iCloud provides for free, you must purchase it at an additional cost. The price starts at $0.99 up to $10.99. Additionally, iCloud backup can be slow; if your internet connection is weak, it may take longer. Fortunately, there are alternative methods to backup iPhone without iCloud. You can use iTunes, Finder, and third-party backup tools. Let's explore alternative ways to back up your data and see what's best for you.
Different Types of Backup Options
Backing up your iPhone is crucial to keep all your important data in case your device gets lost, stolen, or damaged. There are different backup options available, and it's essential to understand each one to decide which backup method works best for you. In this section, we'll focus on iCloud and local backups and how they differ, as well as an overview of iTunes as an alternative backup method.
- iCloud backup is a feature that enables you to back up your iPhone data to Apple's servers automatically. The primary benefit of iCloud backup is that it provides a convenient way to restore your data to a new or repaired device without needing a computer. It also offers a secure way to store your data since it's encrypted and stored on Apple's servers. Additionally, you can access your iCloud backup from any device signed in to your account.
- On the other hand, local backups are created on your computer using iTunes. Local backups offer a way to store your data locally, which is ideal if you have limited internet access or want to keep a copy of your data on your computer. It is also ideal if you want to keep multiple backups of your device or want to restore your device to a specific backup.
- It's worth noting that iCloud and local backups differ regarding the backup frequency. iCloud backup automatically backs up your data daily while your iPhone is connected to the internet and charging. In contrast, local backups require you to manually initiate a backup by connecting your iPhone to your computer.
- iTunes is another alternative backup method that allows you to back up your iPhone data to your computer. You can create a backup using iTunes by connecting your mobile device to your PC and selecting the "Backup Now" option. iTunes backup offers the same benefits as local backups, such as storing your data locally and restoring your device to a specific backup. However, one disadvantage is that you need a computer to create and restore iTunes backups.
In conclusion, understanding the different backup options available for your iPhone is essential to ensure that your data is safe and secure. Whether you use iCloud backup, local backups, or iTunes backups, create regular backups of your device to avoid data loss.
Back Up iPhone Without iCloud
Performing regular backups of your iPhone is a crucial task that you should always pay attention to. It ensures all your data, including contacts, messages, photos, and videos, is safe if your device gets lost, stolen, or damaged. While iCloud is a popular choice for backing up iPhones, other methods offer more control and flexibility. Here are the three ways how to backup iPhone without iCloud.
Method 1. Using iTunes
One of the most common approaches to backing up an iPhone without using iCloud is leveraging the iPhone backup files created with the iTunes backup utility. Many iPhone users are more familiar with iTunes, which is Apple's official media player and device management software. This method allows you to create a complete backup of your iPhone, including all synced data and settings, by connecting your device to your computer and initiating the backup process through iTunes. Also, iTunes allows you to change the backup location to a specific folder on your computer. You can visit this page for your guide on changing the backup location in iTunes. However, the backup process can take a few minutes to an hour, depending on the size of your data and your network speed. You can follow the guide below on how to backup iPhone photos without iCloud.
User Guide:
- The first step is to connect your smartphone to your computer using a USB cable. Once you connect your device, iTunes should launch automatically. Suppose it doesn't open iTunes manually. Also, make sure that your iTunes app has the latest version.
- After connecting to your iPhone, click the "Mobile" icon at the top left corner of the iTunes window to access the device settings. Then, in the left-hand sidebar, select the "Summary" tab.
- To back up your iPhone, click the "Back Up Now" button in the "Summary" tab. Then, select "This Computer" and check the "Encrypt iPhone backup" option to include your passwords and health data in the backup. Finally, hit the "Back Up Now" to start the backup process.
Method 2. Using Finder
You can use Finder as an alternative if you don't want to use an iCloud to back up your data. It is available on macOS Catalina and later. The Finder app is pre-installed on Mac computers and allows users to access and organize their files and data easily. Doing this will give you more control over your backups, and you can store them on your computer rather than relying on the cloud. Additionally, it has two ways to back up your data using Finder. One way is to connect your iPhone to your Mac using a Lightning cable. Another way is to use a wireless sync feature called Wi-Fi Sync. You can easily backup contacts on iPhone without iCloud via Finder with a few simple steps.
User Guide:
- Get a USB lightning cable to connect your iPhone to your Mac. Once successfully connected, open the Finder app on your Mac. Please note that it is the first time you connect your device to your Mac. A pop-up prompt on your iPhone says, "Trust this computer." You need to allow it by entering your iPhone's passcode.
- Next, in the Finder left sidebar, you should see your device listed under "Locations." In the menu provided, choose "General." From here, you can see your iPhone's details and options. Then, scroll down until you see the "Backup" section.
- Tick the "Back up all of the data on this iPhone to this Mac" from the Backups menu. Then, click the "Back Up Now" button to initiate the backup process. Finally, you can see all the backup files, including contacts stored on your Mac, by clicking the "Manage Backups" button.
Method 3. Using Third-Party Backup Tool
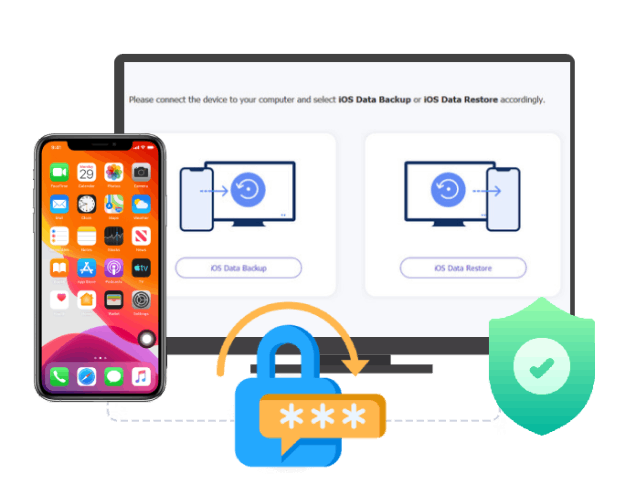
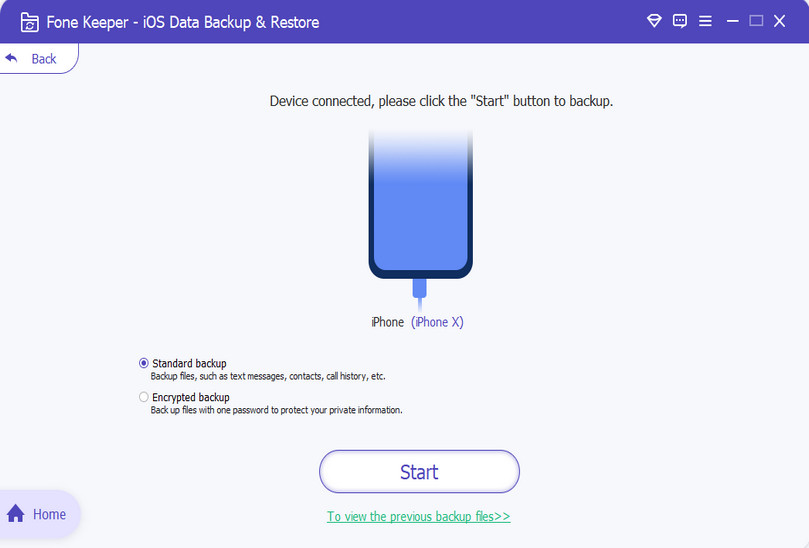
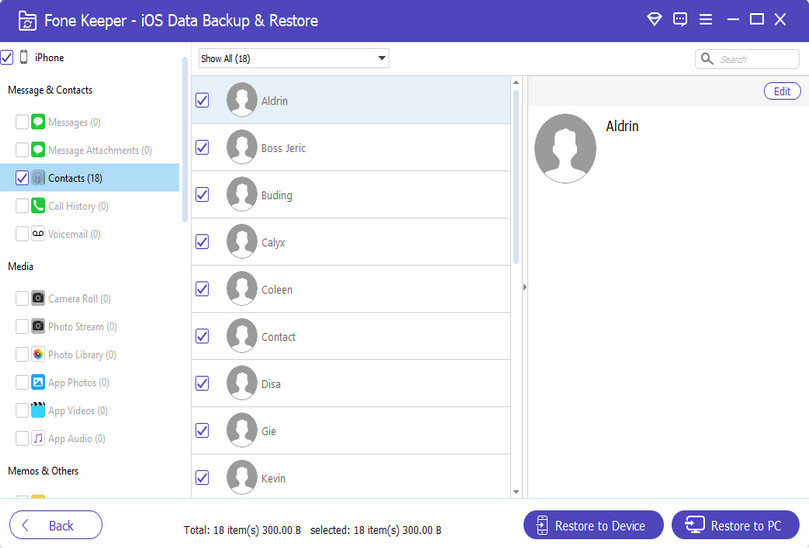
If you prefer the best way to backup iPhone without iCloud and without relying on Apple's applications such as iTunes and Finder, third-party backup tools offer additional features and flexibility. One of the reliable third-party tools is the AceThinker iOS Data Backup & Restore. of the reliable third-party tools is the AceThinker iOS Data Backup & Restore. This software allows you to back up your data, including contacts, photos, videos, messages, and more. The best thing about this software is that it can easily backup locked iPhone, damaged, etc. Additionally, it has two backing-up modes. One is the "Standard Backup," which is suitable for regular backups, and the other is the "Encrypted Backup," which provides an extra layer of security by encrypting your backup files. Follow the full instructions below to back up your iPhone using this software.
Try it for Free
Step 1 Install the Backup Tool
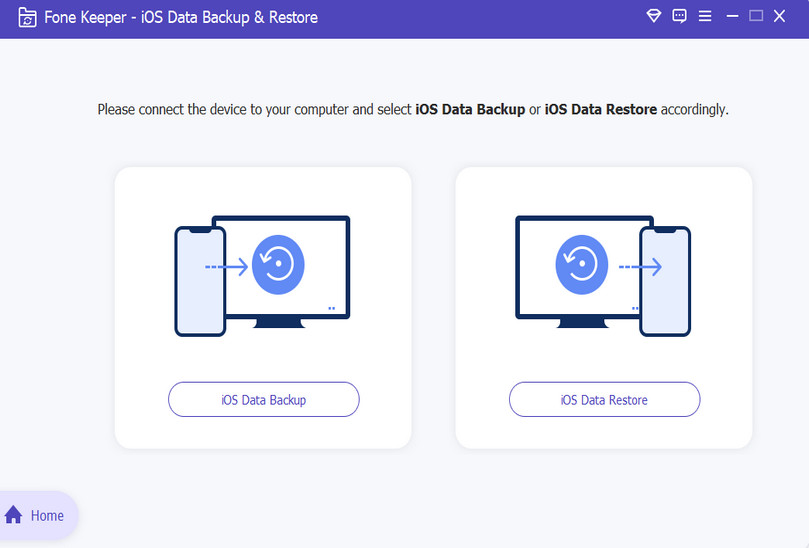
First, download the AceThinker iOS Data Backup & Restore on your Windows or Mac computer. Then, install it by passing through all the prompts. Afterward, open it and click the "iOS Data Backup" option on its interface.Step 2 Select Backup Mode
Next, connect your mobile device to your computer using a USB charger cable. Once connected, you need to choose a backup mode. Select Standard Backup to access all your files. Then, hit the "Start" button, and the software scans your device.Step 3 Backup All Your Data
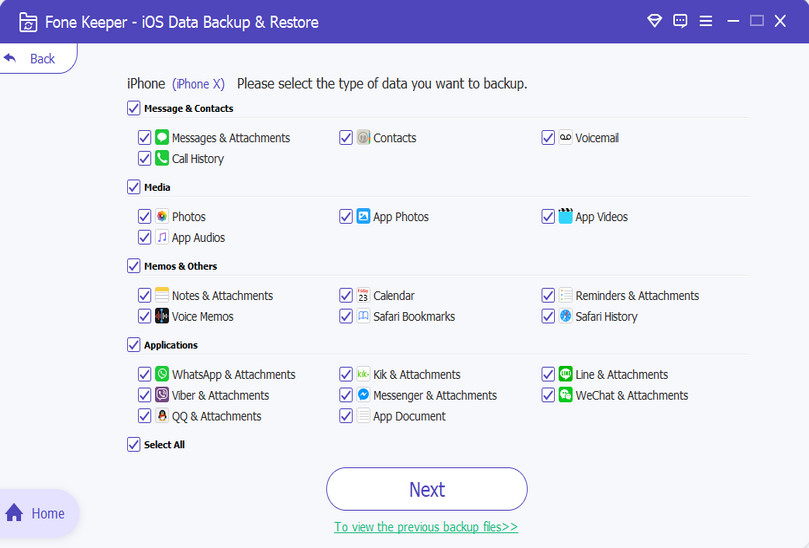
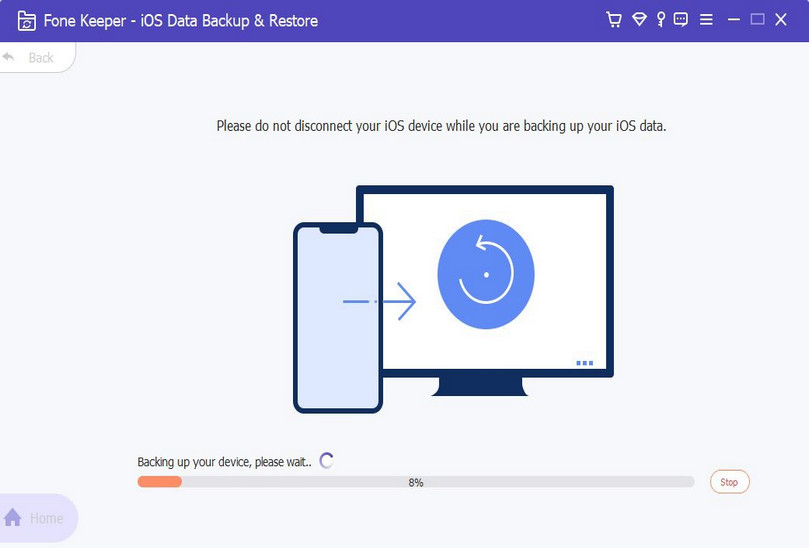
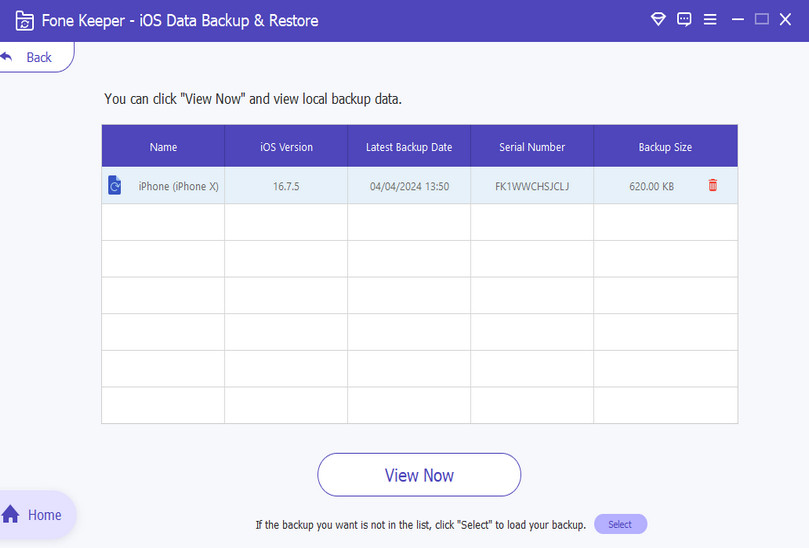
Here, you can select all your data by ticking the box beside "Select All." Alternatively, you can choose them individually; suppose you want to back up only some of your data. Once you select your data, hit the "Next" button to start the backing-up process. Once the indicator reaches 100 percent, you can see your backup files stored on your computer.Frequently Asked Questions
Tips To Ensure a Successful Backup
When it comes to backing up your iPhone, there are a few tips that can help ensure a successful backup. First and foremost, it's important to connect your iPhone to a stable power source during the backup process. It will help ensure that the backup is completed without any interruptions. Another important tip is to check the available storage space on your computer or external drive before initiating the backup. If your storage space is running low, freeing up some space before starting the backup process is important.
It's also a good idea to verify the integrity of the backup file before relying on it. This can be done by opening the backup file and checking that all data is present and correct. Finally, it's important to update your backup software to ensure compatibility with your iPhone. It will help ensure that your backup is successful and that you can easily restore your data if needed. By following these tips, you can help ensure a successful backup of your iPhone data and avoid potential data loss or corruption.