-
Multimedia
-
Doc & Utility Tools
- Professional Users
- Edit PDF
- Convert PDF
- Create PDF
- Annotate PDF
- Combine PDF
-
HowTos
-
Free AI Tools
-
More Free Tools
-
Support
-

AceThinker iOS System Recovery is one of the most powerful iOS system repair software that allows you to repair 150+ iPhone/iPad/iPod problems in numerous recoverable situations. Just connect your device, and you can move on with just a few clicks.
30-Day Money Back Guarantee
99.7% Recovery Rate
Many iOS device users encounter the issue of getting stuck on the Apple logo. This tool can bypass the Apple logo loop and restore your device to normal operation.
Occurs due to software or hardware issues, leaving the display unresponsive. This system recovery tool provides solutions to diagnose and fix the underlying causes.
When iOS updates fail to complete, causing frustration and hindering device functionality. The iOS system repair app offers methods to resolve update-related issues efficiently.
Device mistakenly stuck in headphone mode, resulting in audio playback issues. Our product offers solutions to exit this mode and restore normal audio functionality.
Device becomes disabled due to incorrect passcode entries or software glitches. This best iOS system recovery tool assists in recovering access without losing data.
Device continuously restarts, often due to software conflicts or corrupted files. Our product helps diagnose and repair boot loop issues, restoring normal device operation.
Rapid depletion of battery life affects user experience and device usage. Our product provides insights and tools to identify and mitigate battery drain causes.
No matter the reason behind a frozen screen on your device, this tool can quickly resolve this issue, allowing you to resume using your device.
iPhone stuck in recovery mode and become unresponsive? With iOS repair, you can get your iOS device out of the recoevry mode with a single click.

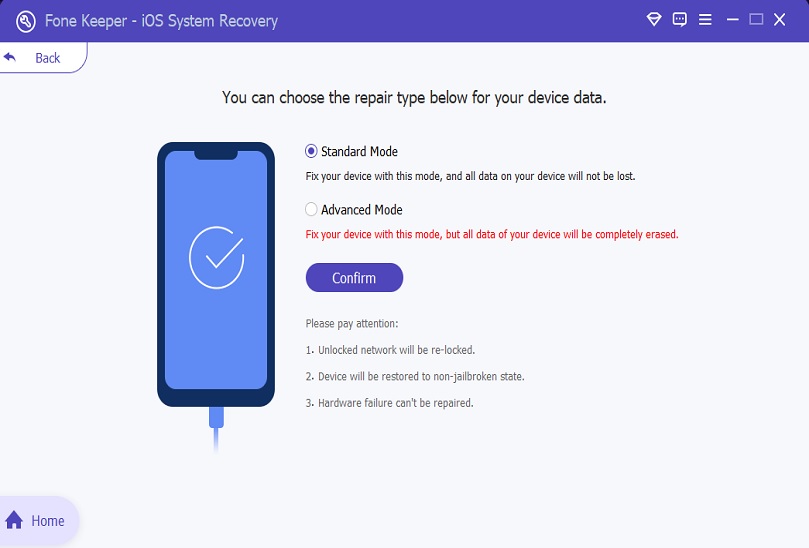
This iOS System Recovery tool is one of the best iOS repairing software available right now. It provides two dedicated modes to restore your iPhone, iPad, or iPod touch back to normal. The two options are Standard and Advanced Mode, which will help you fix any kind of iOS issues in a matter of minutes. You can choose between the 2 modes according to the problems you have encountered on your iPhone/iPad/iPod.
Standard Mode: In the Standard Mode, you can fix the common iOS system problems without losing any data.
Advanced Mode: Advanced Mode can fix iOS problems that are more severe. However, it will wipe all data from the device.
For optimal iOS device performance, it is recommended to avoid installing unnecessary apps.
Having trouble restoring your iPhone, iPad, or iPod to its default settings? Looking for a method to factory reset your iPhone without the passcode? This iOS recovery tool will help you reset iPhone to factory settings, granting full access without password in no time.
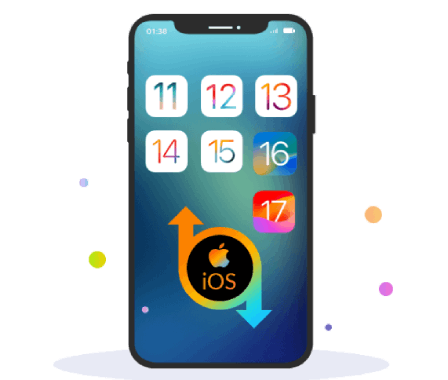
The program displays Apple-signed firmware versions, enabling seamless iOS downgrade or upgrade based on user preference. You don't need to jailbreak your device, or even use iTunes.
Note: Downgrading is impossible if Apple has ceased signing the IPSW file required for the process.
This iOS system recovery software supports all iPhone, iPad, iPod Touch models and iOS versions.
It will get your disabled system back to normal without leaking or changing any personal information.
With its advanced capabilities, this tool can fix various iTunes errors during device syncing.
This tool boasts fast repair processing, allowing you to resolve any iOS system issue quickly.
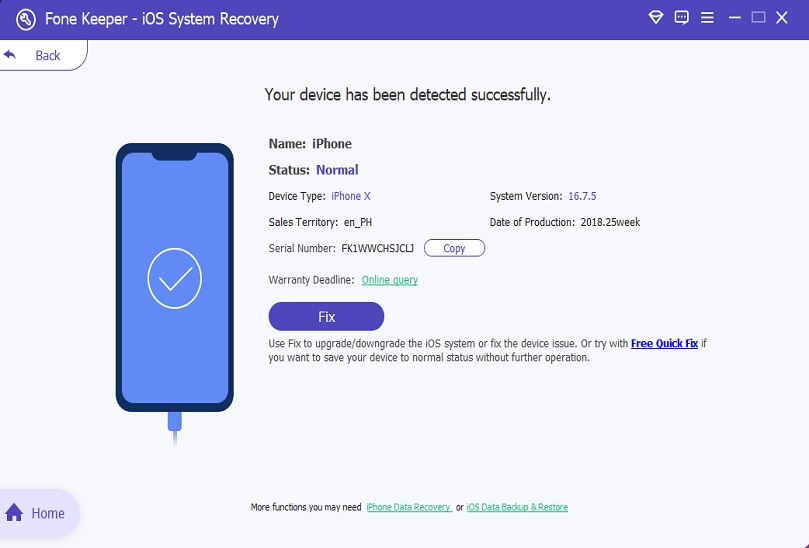
Link your device to your computer with the charging cable. When the tool distinguishes your device, you will see its name on the screen.
Click the "Fix" button, and a new window will appear. Choose which repair mode you will use. Then, click "Confirm" to proceed.
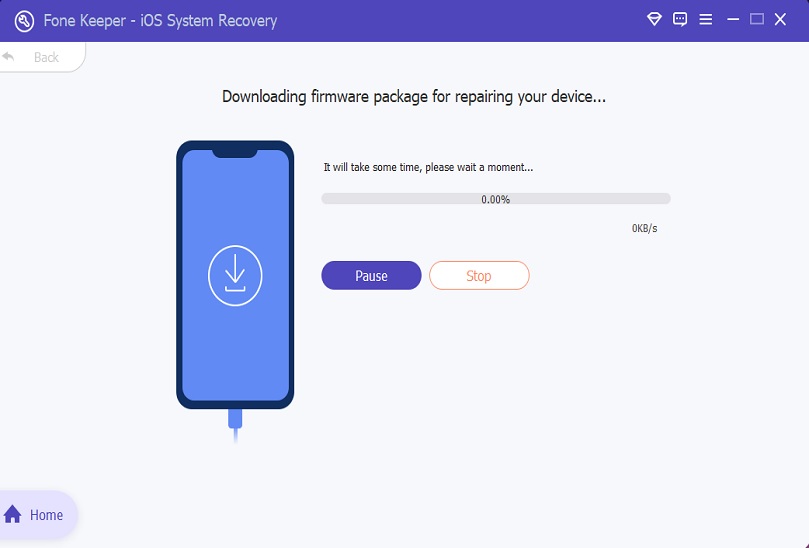
Then, you will see the firmware package available for your iOS device. Hit the "Next" button and wait until the tool fixes your device.
An iOS system recovery tool is a software program designed to help users fix various iOS system issues on their devices. These issues include software crashes, forgotten passcodes, iTunes errors, and more.
Yes, it is safe to use an iOS system recovery tool as long as you choose reputable software. Reputable software developers prioritize the safety of user data and ensure a secure repair process to protect your device and personal information.
No, an iOS system repair app is not specifically designed to recover lost data. However, there are tools that contain a data recovery feature, allowing users to retrieve their data.
Yes, you can use an iOS system recovery software on a jailbroken device. Nonetheless, it's important to note that using an iOS system recovery tool on a jailbroken device may result in the loss of the jailbreak and any associated modifications.
Yes, some iOS system recovery tools also offer the ability to downgrade your iOS device to a previous operating system version. Additionally, these tools can help you restore your device without using iTunes.
No, you don't need any technical knowledge to use an iOS system recovery tool. Most reputable iOS system recovery tools are designed to be user-friendly and intuitive, allowing users without technical knowledge to easily navigate and utilize the tool for fixing iOS system issues.


