 Nowadays, video watching has become one of the mediums to pacify our entertainment needs. With the development of different social media platforms such as TikTok, YouTube, etc., video enthusiasts innovate creative ways to beautify their project videos. One of these techniques is reversing videos. Reverse videos are a common trend on video-sharing platforms such as TikTok, Funimate, Vigo video, etc., that offer short-form videos. The reverse effect makes videos entertaining to watch, which is favorable to millennials. However, have you wondered how content creators reverse their videos? Well, if you are interested to know, this article curated walkthroughs on how to put a video in reverse on iMovie on your Mac and iOS device.
How to Reverse Video in iMovie on Mac
Distinctive Features: It can stabilize shaky footage, which is perfect for videos that were captured using mobile cameras.
Supported Formats: BMP, H.264, HDV, Apple Animation Codec, MP4. 3GP, MOV, and more.
iMovie is a video editing software developed by Apple Inc. in the 4th quarter of 1999. It is an intuitive video editor due to its comprehensive timeline editing function and three-pane-editing feature to enhance and edit video footage. It is equipped with basic editing functionalities, split a clip in iMovie, trimming video clips, merging GIFs, crop and rotate video and more. Additionally, it is equipped with advanced editing features such as video transition, 4K video support, Chroma Keying, and more. Most importantly, it can reverse videos into any duration speed quickly and smoothly. Lastly, users can enhance the Reversed videos with its various video filters and effects.
Beneath is the walkthrough on how to put a video in reverse on iMovie.
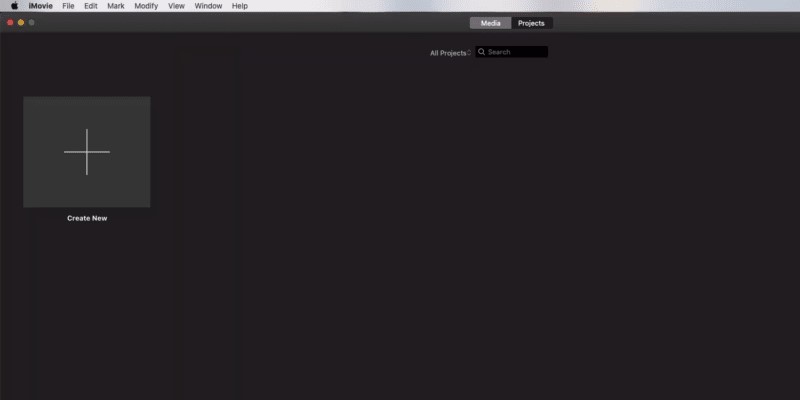
Step 1 Launch the iMovie Editing Tool
We all know iMovie is a pre-installed application on any macOS device. Therefore, all you have to do is manually launch the software on your Mac and familiarize its functionality. Afterward, click the add button to import video files that you want to reverse.
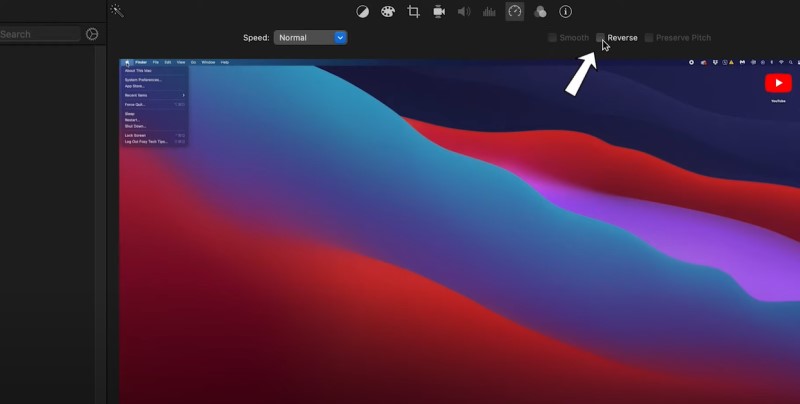
Step 2 iMovie Reverse Clip
Next, once the video file has been imported, drag the video into the timeline. Then, select it to highlight the video. You will notice a yellow box around the video which means it has been selected for edit. Afterward, click the Speed icon from the editing clip option located at the top-right part of the iMovie. Tick the Reverse box to reverse the video you have selected. You will know that the effect has been implemented on the clip once the video has a backward play button icon on it.
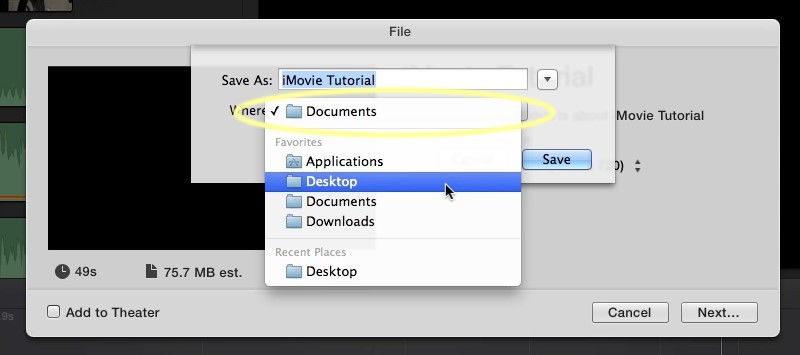
Step 3 Export and Play Reversed Video
Lastly, to export the video, start by ticking on the File button in the menu bar. Afterward, hover over the Share option and click on the File. A dialog box will open, modify the name of the file and the output selection. Once done, select the save button to render and export the reverse video fully. Once finished, go to the output folder and play the reversed video clip.
How to Reverse Video in iMovie on iPad/iPhone
Distinctive Features: It is equipped with a built-in screen recorder that iMovie does not have.
Supported Formats: MP4, MOV, and more.
Since most of the video-sharing platforms like TikTok and Snapchat are available on mobile devices. It is more convenient to utilize a video reverser on iPhone or iPad to reverse video clips. However, iMovie on mobile applications does not have a reverse clip feature just like in the Mac OS version. In line with these, users can conveniently utilize a third-party application to reverse video footage. One tool to use as iMovie alternative application is Reverser Cam. This tool is a straightforward tool that is intended for reversing video clips on iPhone and iPad. It enables users to directly record videos and reverse them on the application quickly and smoothly. This lightweight application is completely free to use. With only 2.5 MB, it does not compromise the storage of your device. It can also quickly share videos on different short-formed video platforms such as TikTok, etc. Below is collated steps on how to reverse a clip in iMovie using Reverser Cam on iPad/iPhone.
Step 1 Install the iMovie Alternative Mobile Application
First, go to your App Store to download and install the Reverser Cam. Tap the install button to save the software. Wait until the installation finishes. Once done, launch the application and familiarize its functionality.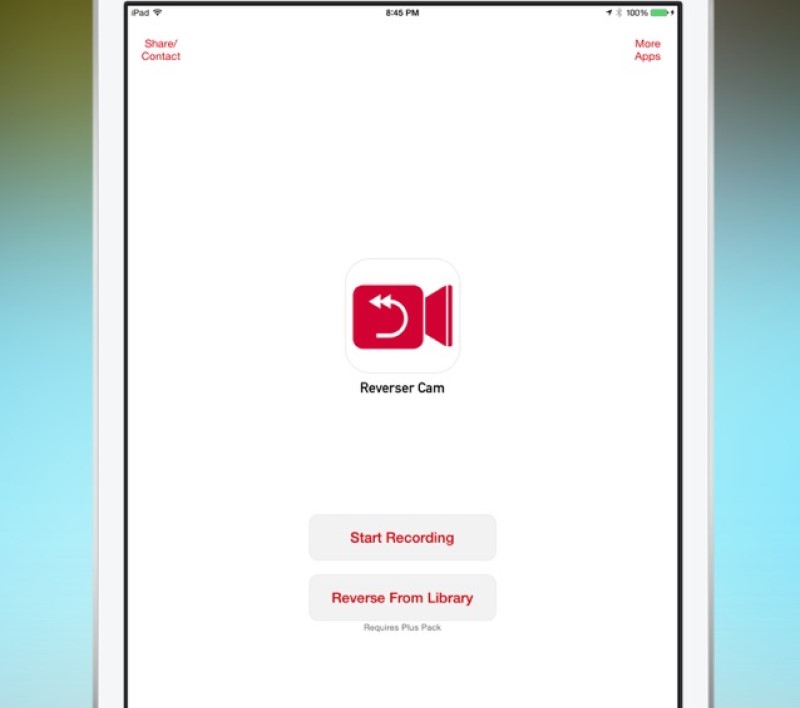
Step 2 How to Put a Video in Reverse on iMovie Alternative
Then, hit the Reverse From Library button to import your media files. Then, tap the next button to initiate the process. You can also choose playback speed for the reversed video. It has 3 options: normal, slow-motion, and fast-motion playback. A notification pop-up will appear to let you know how many percent of the reversing process is taking place.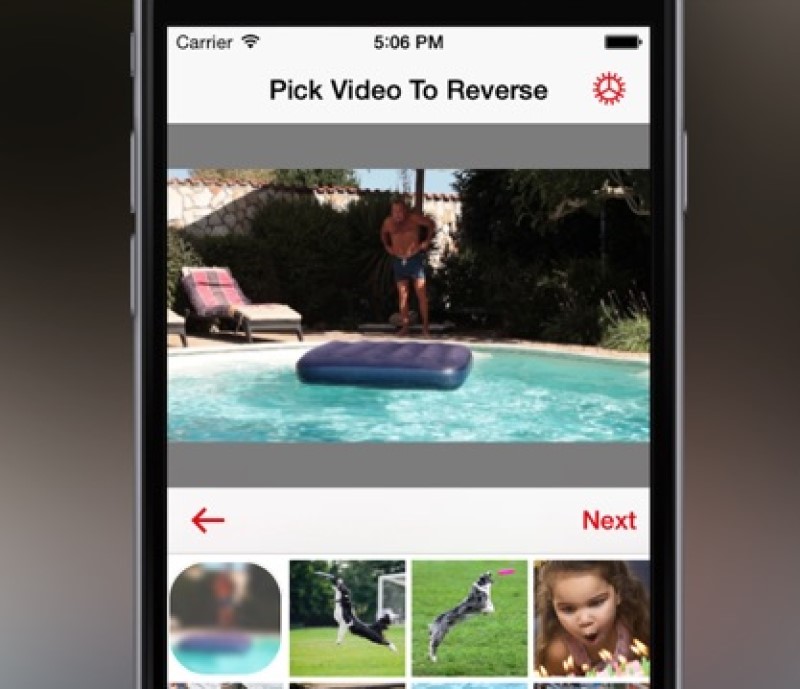
Step 3 Play Reversed Video
Lastly, once the process has finished, go to your media folders or gallery to open reversed media files. This walkthrough is feasible and plausible on both iPad and iPhone.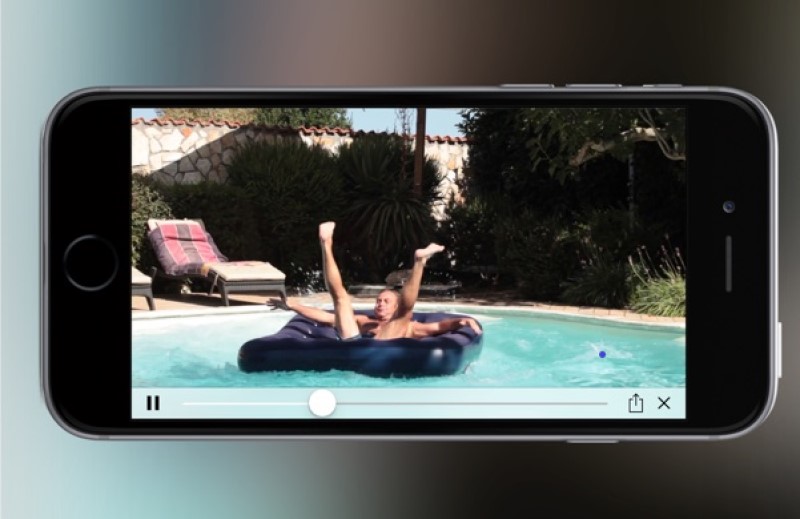
Best iMovie Alternative Editor to Reverse Video
Are you searching for a suitable video editor that can computer for iMovie? AceThinker Wind Cut is a favorable application that can be substituted for iMovie. We all know iMovie does not function on Windows computers. This application is a cross-platform application that can be installed on both Mac and Windows devices. In addition, it contains functions that are suitable for editing videos. It comes with royalty-free music that can be added to the videos you are editing to serve as BGM. You can also add and annotate texts with its Text templates. Filters are also available with this application to beautify and enhance the project video. Overlays or animations are also possible to use with this application to create more beatification on your video file. What is more, it uses a timeline editing technique in which users can drag-drop functions and edit them effortlessly.
Try it for Free
Free Download
Windows 8/10/11
Secure Download
Free Download
Mac OS X 10.15 and above
Secure Download
Step 1 Install Wind Cut
To begin editing your video with this application, install it first on your computer. You can get the file installer of AceThinker Wind Cut by going to its main interface and hitting the Free Download icon. Alternatively, use the download icon presented prior to this step to get the application quickly.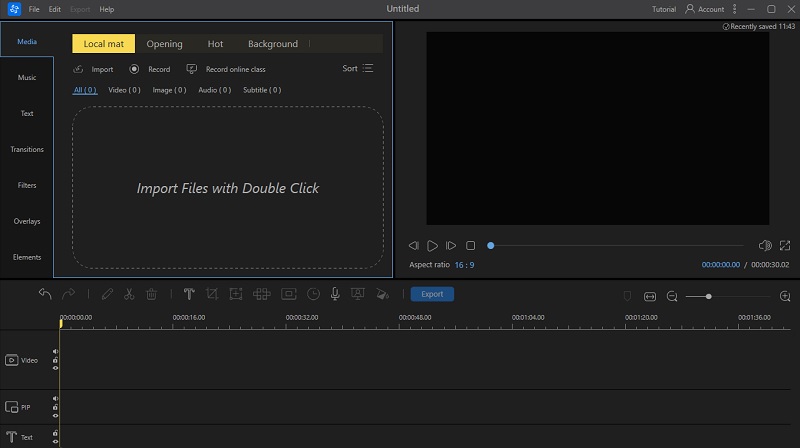
Step 2 Import and Edit Files
The subsequent step is to import files on its interface. Drag and drop the video on the Media tab to import it into the tool. Then, edit the file by dragging it on the timeline panel. Use a similar method for the tool’s feature to apply it to the video.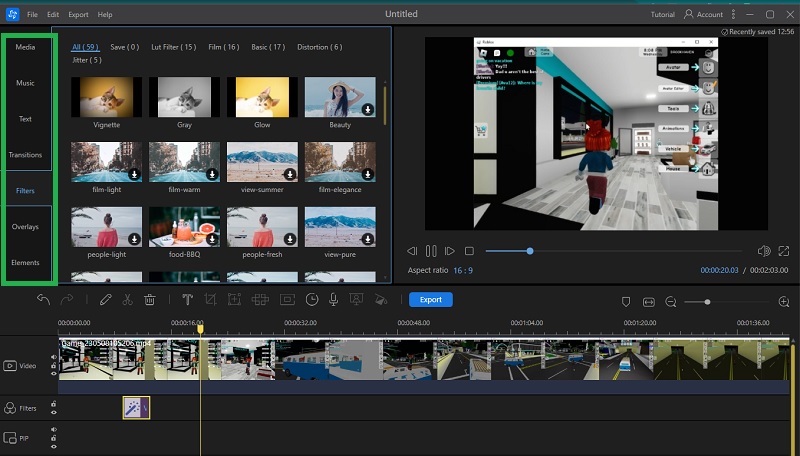
Step 3 Export and Preview the Video
Finally, save the video by clicking the Export button above the timeline panel. A new dialogue box will provide an option to set the output folder. Choose or create one and hit the Export button once more. Then, go to the folder and preview the file if needed.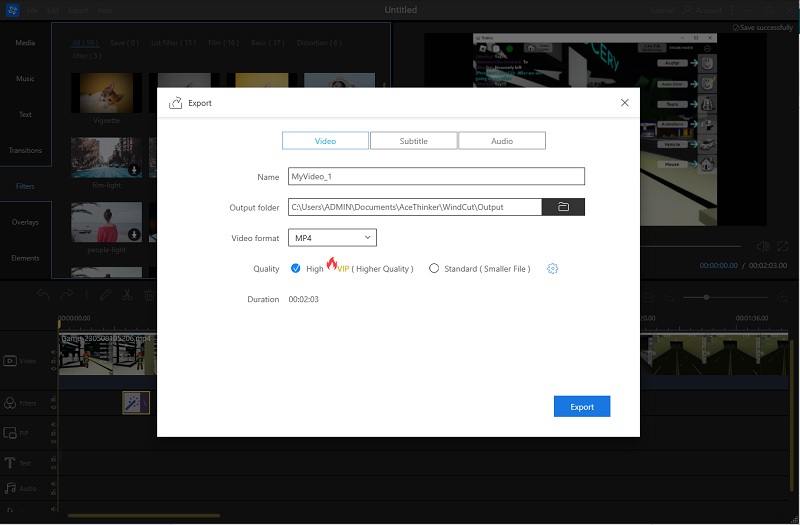
Conclusion
Reversing a video on iMovie is much easier to accomplish. Since it is a pre-installed application on Mac devices, editing files taken from your iPhone or Apple device is much easier to perform. However, when you have a Windows computer, iMovie is not available for you. That is why AceThinker Wind Cut was established to provide better editing functions for Windows and Mac devices. Its primary core function is its timeline panel, similar to iMovie. This panel can easily drag and drop functions and editing features that can enhance your video file.