How to Turn Off Windows Defender Firewall
Method 1: Turn it off via Control Panel
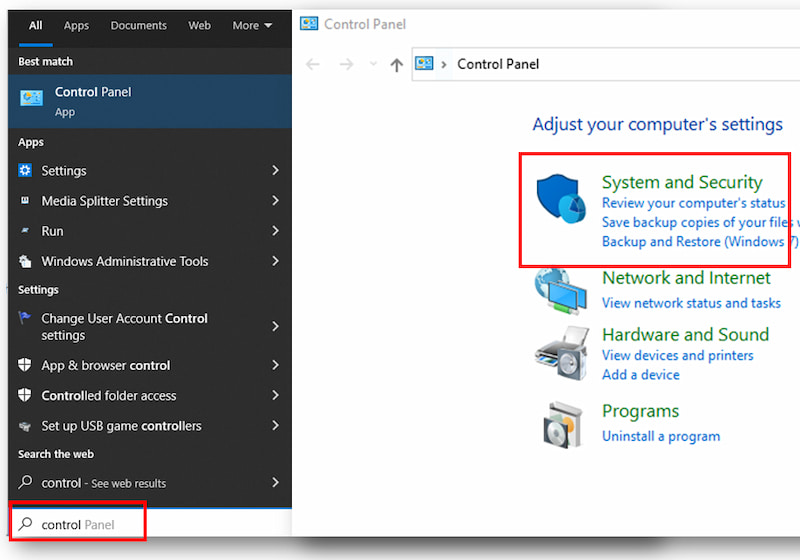
Step 1 In the search box, search for "Control Panel" and click the application to launch it on your screen. After that, click the “System and Security.”
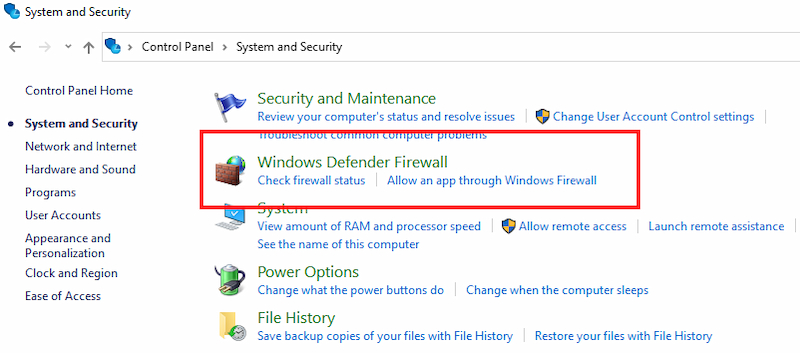
Step 2 Next select "Windows Defender Firewall". It will direct you to another window of the Windows Defender Firewall.
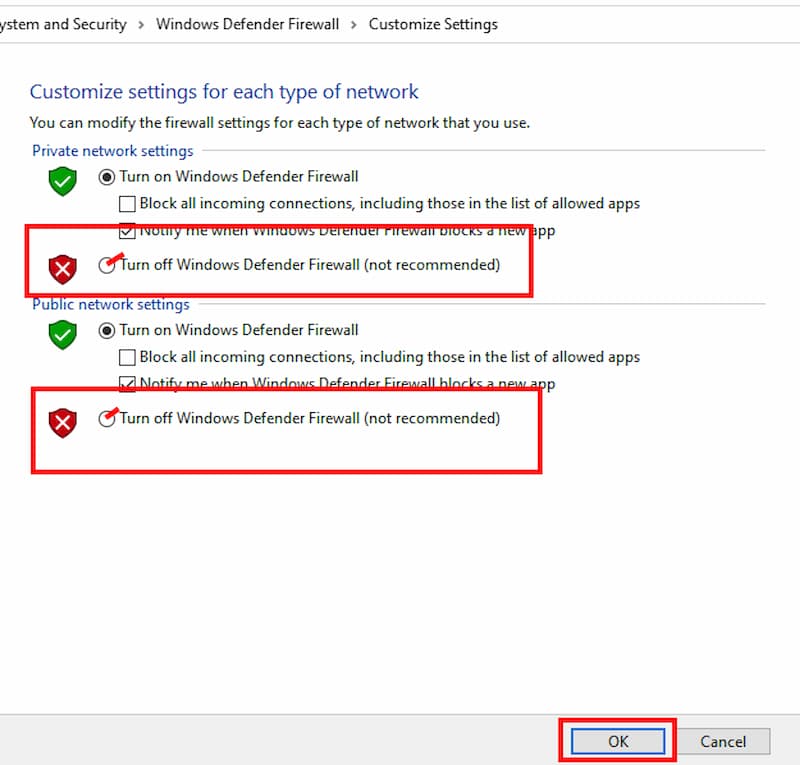
Step 3 On the left side of the window, click Turn Windows Defender Firewall on or off to change the Windows Defender Firewall status to off. Then tick the box beside the "Turn off Windows Defender Firewall" and click "OK" to confirm.
Method 2: Turn Off Windows Defender Firewall for a Program
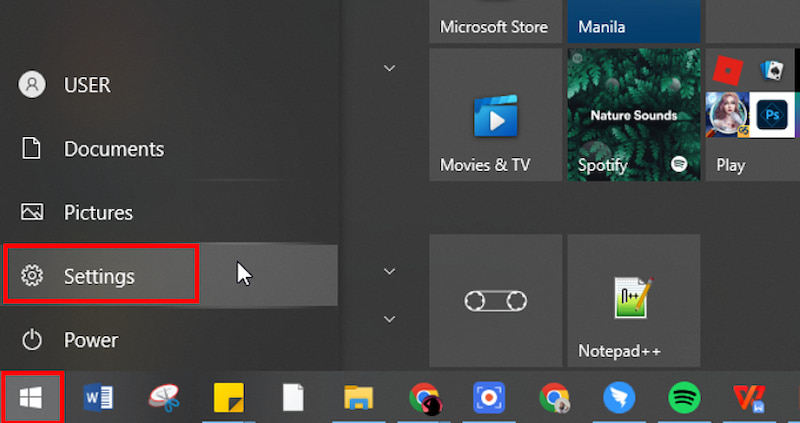
Step 1 Go to the Settings of your computer by clicking the "Start" button in the left lower corner of your screen, then click Settings.
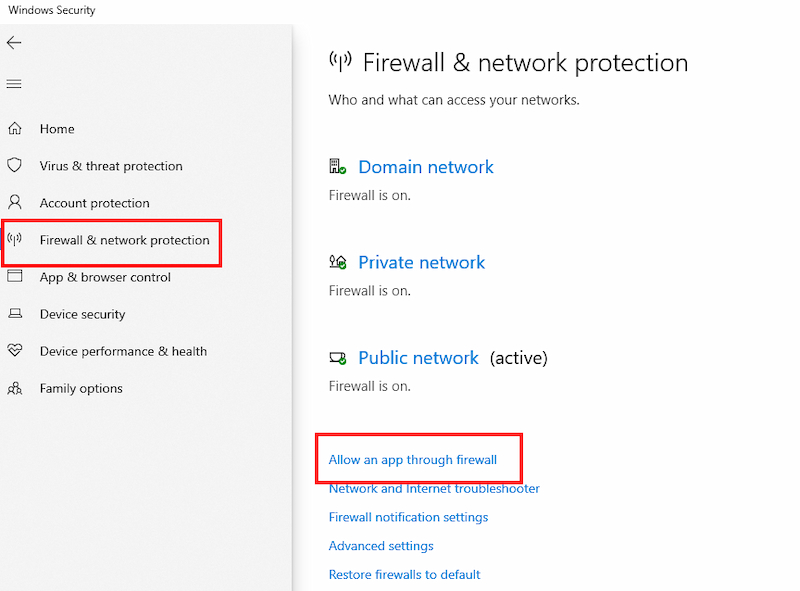
Step 2 After that, search for "Firewall & Network Protection" once the right panel is directed to the Firewall page, tick “Allow an app through firewall.”
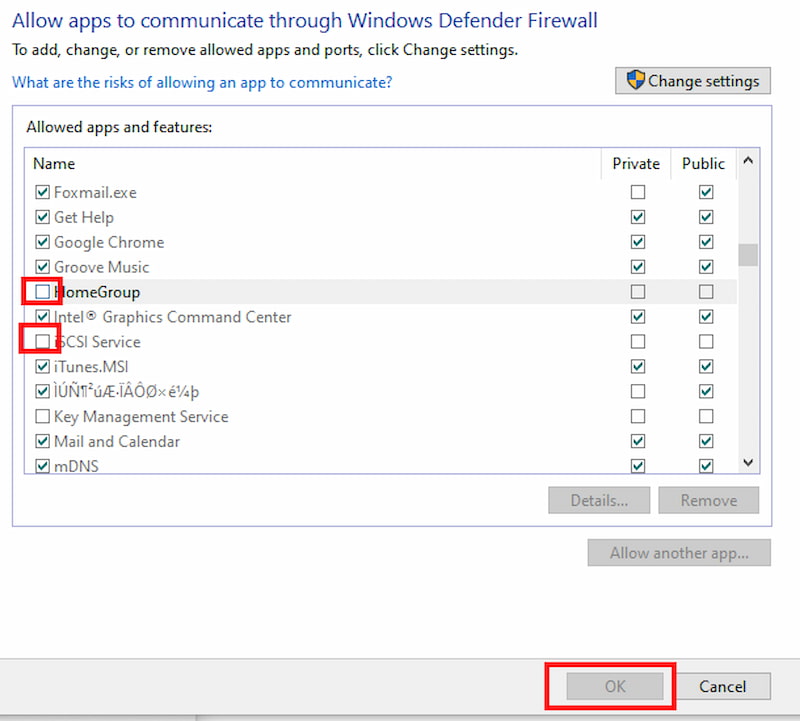
Step 3 Lastly, tick the box next to the program you want to have access to your computer, and after that, click the "OK" button.
Method 3: Turn Off Windows Defender Firewall via Command Prompt
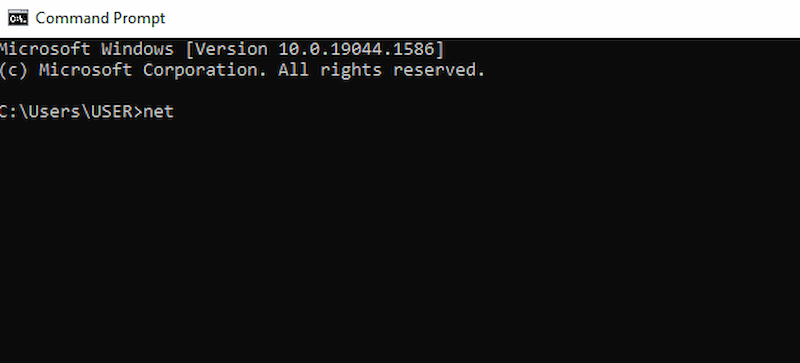
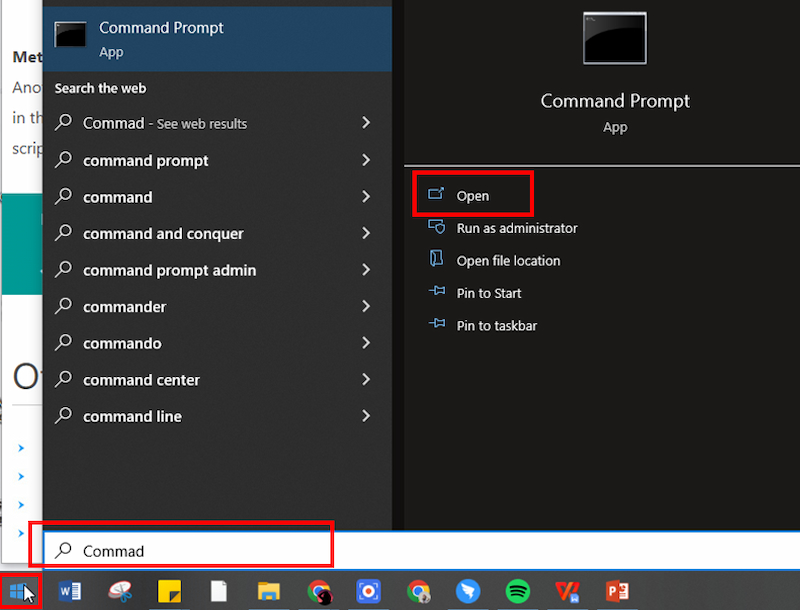
Step 1 Access the Comand Prompt using the search bar in the Start button. Type in "Command Prompt" in the search bar.
Step 2 Once the window of Command Prompt is launched, enter the "netsh advfirewall set allprofiles state off" command; then, the tool will process the command, and it will turn off the Windows Defender Firewall.