

AceThinker Fone Keeper for Android User Guide
As the name suggests, Android Data Recovery Software is used to recover lost data from android devices, including smartphones and tablets. With the help of this software, you can recover deleted and lost data, including messages, contact lists, videos, photos, audio files, Whatsapp data, and documents. Along with data recovery, this software also helps fix your android device against frozen, crashed, virus-attacked, or black-screen issues. Moreover, this software also aids in creating a backup for various applications. To know how this software works, check out the step-by-step guide tutorial below and download the software to give it a try.Download and Install
Click on the Free Download button to download the accessible version of Android Data Recovery Software on your computer. Then, open the downloaded file and follow the instructions mentioned in the installation file to install the software successfully.
Try it for Free
Free Download
Windows 8/10/11
Secure Download
Free Download
Mac OS X 10.15 and above
Secure Download
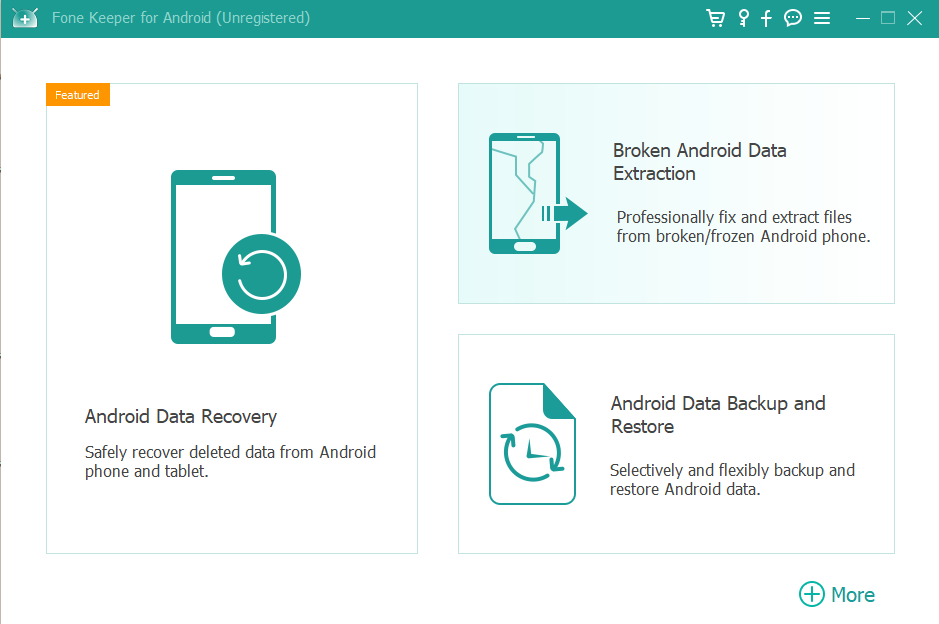
Once installed, double-click the program icon to run the software. This will take you to the main interface of AceThinker Android Data Recovery, as shown below.
Register the Program
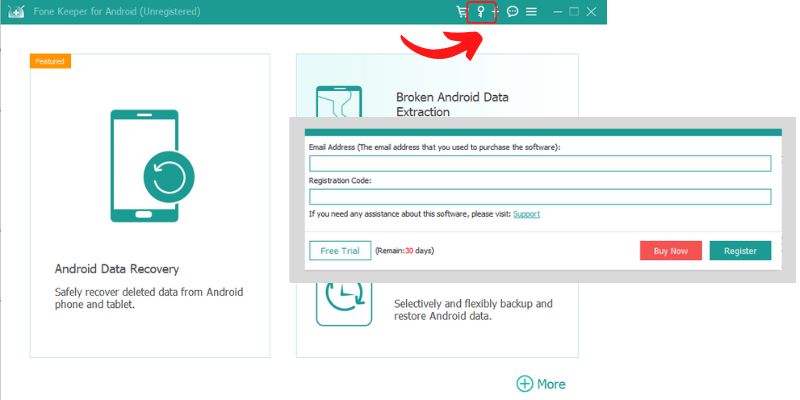
To access this software's features, you must complete the registration process. To register, you must click on the AceThinker Android Data Recovery Software again and click on the key icon on the top bar of the onscreen interface. This will take you to the registration window.
In the registration window, write your email address and registration code, then click on the register button, as shown below.
Check Update
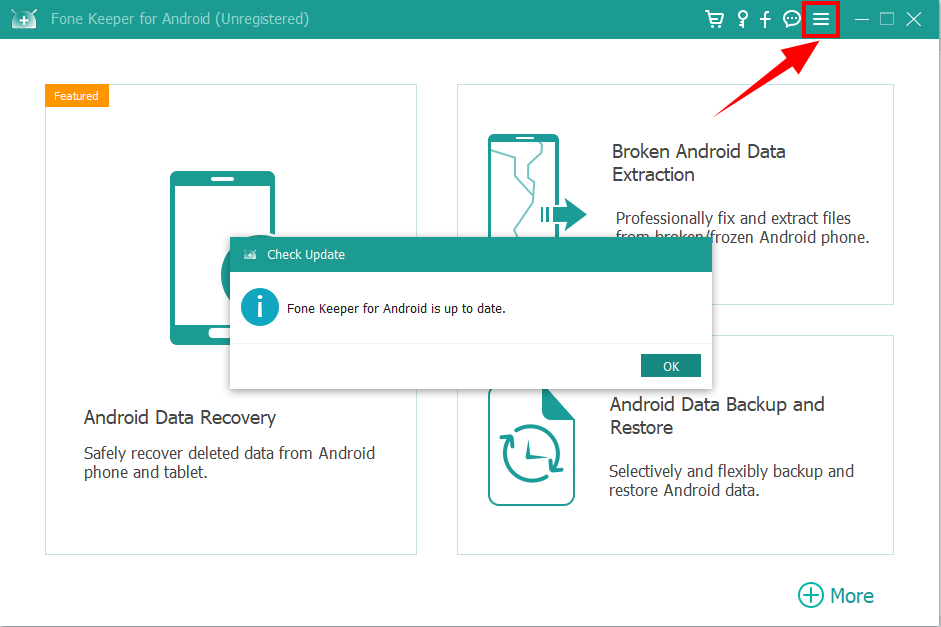
A fully updated software will get you access to the latest features. Do check under the Menu tab the option of Check Update to see if your software is updated or not. You can then download the available update to reap its benefits. You can also download the latest version from the official website.
Set Preferences
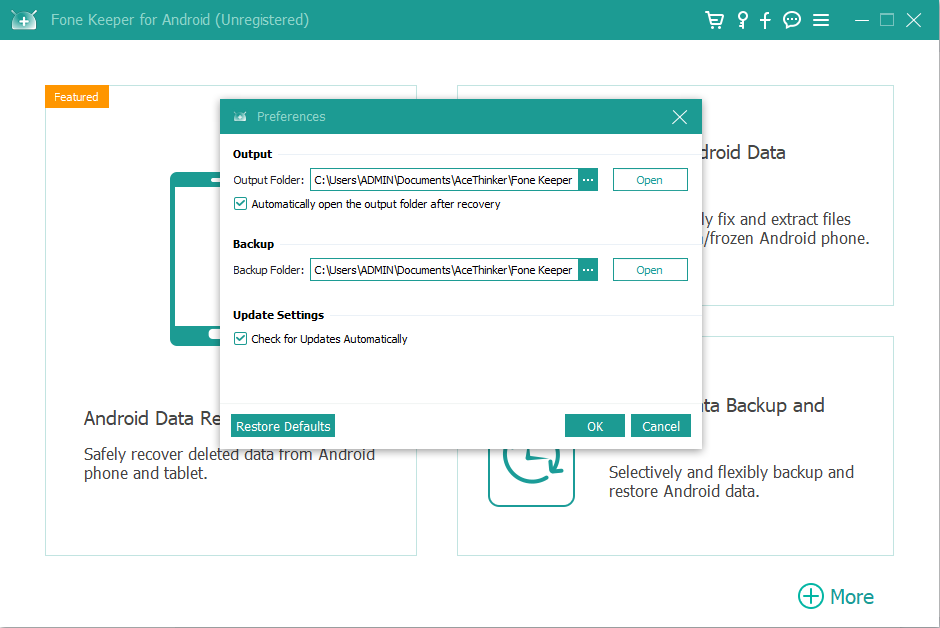
You can set your preferences before recovering your android data, whereby you can define a suitable path for the recovered files.
You can click the Preferences button under the Menu tab to set your backup and output folder for recovered files. You can also click on the box for Check for Updates Automatically to get a prompt for the software update.
How to Recover Android Data
It's only human to lose data stored in an android device. Some people get too lazy to create a backup and delete some applications by accident, while others can lose their data to some virus, while others smash their android devices in an accident and lose all stored data. No matter how you lose the data, you crave to get it back. Well, you don't have to worry about data loss anymore because AceThinker Android Data Recovery is here for the rescue to help you retrieve your lost data. All you need is to follow the following steps.
Step 1 Launch AceThinker Android Data Recovery Software
To initiate data recovery, launch the software on your computer and click on Android Data Recovery

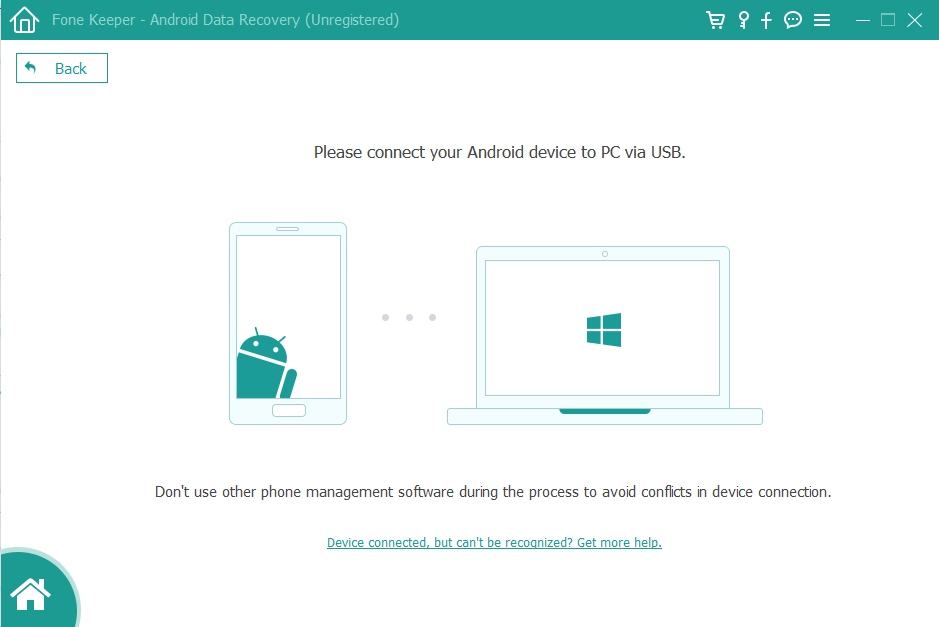
Step 2 Connect the android device to the computer
You have to connect the android device to your computer from which you want to retrieve data. If you fail to connect your device to the computer, install a USB Driver.
The software will ask for your authorization permission to connect to the android device. The software will also share the current version of the android device and the USB debugging details on the android device (smartphone or tablet). After connecting the phone as per shared instructions, you must click on the OK button on the onscreen software interface.
You also have to click OK on your android device when it asks permission to connect your device to the computer.
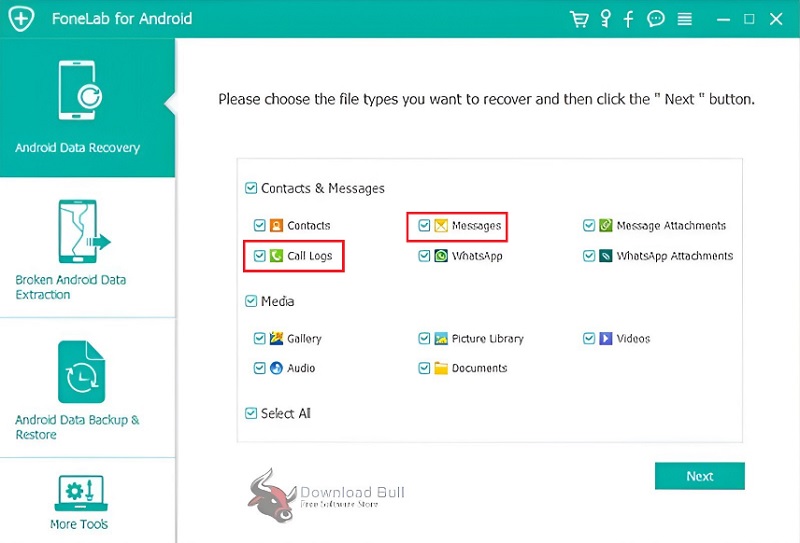
Step 3 Choose the data type you want to recover
Once your android device is connected, you will see a list of all file types on the screen, and you have to choose the type of files you need to retrieve and then click on Next.
The program will ask your permission to allow the FoneGo application to scan your android device and gain access to your photos, contacts, call records, etc. Click on the Always allow option on your android device and the I Have Authorized option on the prompted message to allow the program to scan your device.
Step 4 Preview and choose what to recover
After scanning your device, the software will share a list of all data items so you can check the preview. If the data you are looking for is not listed, you can ask for further scans by clicking on the Deep Scan option. Among the list of deleted items, select the ones you want to retrieve and then click on Recover.
Afterward, define the path to save your recovered files in your chosen location and again click on the Recover option. Once files are recovered, they will be saved in your chosen location, and the folder will automatically prompt on the screen so that you can see it for yourself.
How to Use Broken Android Data Recovery
You must wonder if your screen is broken or frozen and if you cannot connect the phone via USB debugging. AceThinker Broken Android Data Recovery is there for your rescue to aid you in retrieving the data even when the screen is not working and is completely damaged.
1. Extract Data from Broken Screen Android Devices
Follow these steps to retrieve your data for a broken android device where the screen cannot be operated.
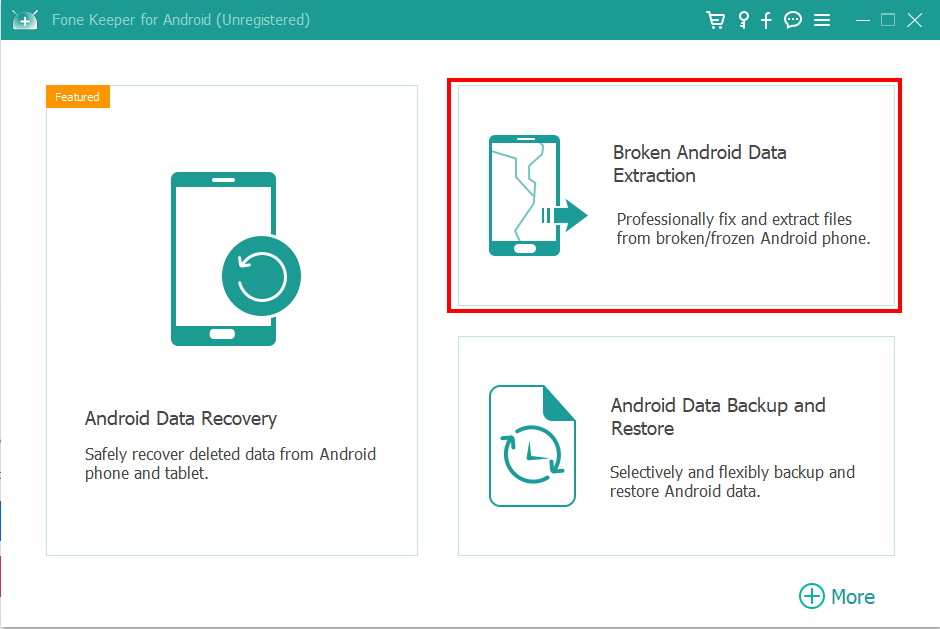
Step 1 Open the software and click on the program interface's Broken Android Data Extraction option.
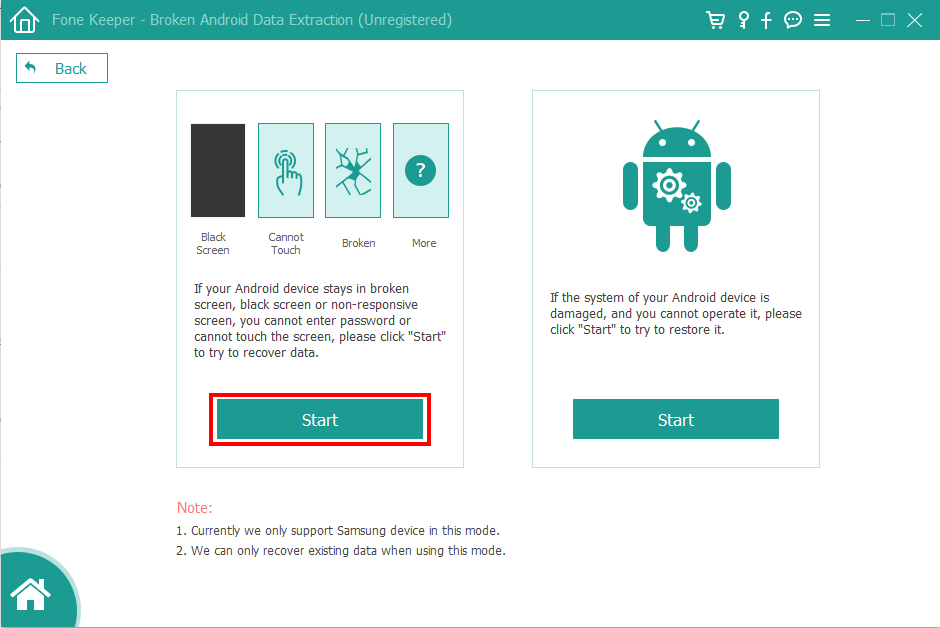
Step 2 Click on the Start button on the left side of the interface.
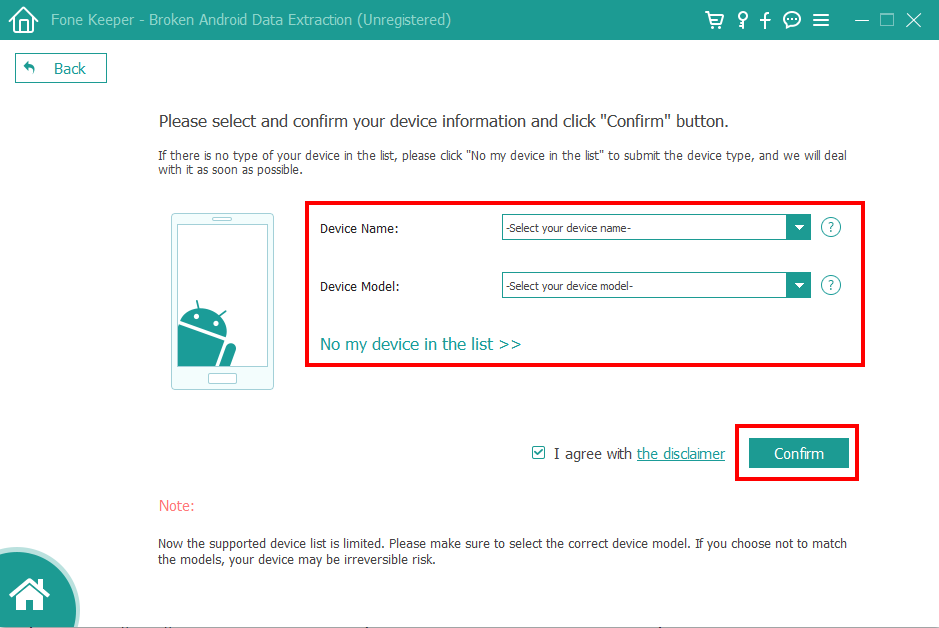
Step 3 Select the name and model number of your broken android device. The software supports Galaxy S6/S5/S4, SAMSUNG Galaxy Note 5/4/3, and Galaxy Tab only until now. Click on the confirm button to proceed.
If your device is not mentioned in the available list, click on No my device in the list option and enter the brand, model no., and name of the device so that this software can help you in the future.
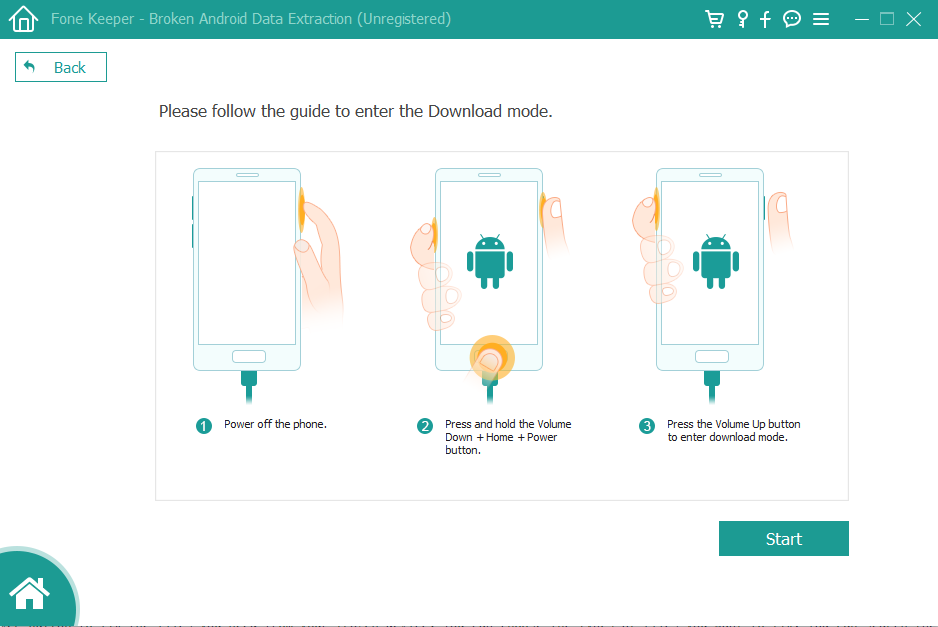
Step 4 Connect the broken android device to the computer, click the Start option, and turn off the device. After that, you have to press Volume Down, Home, and Power Key in the same instant, and then you have to press the Volume Up key to start downloading.
Step 5 The completion of step 4 will prompt a window of Recovering your device, whereby device scanning will initiate.
Step 6 Android data is of 11 types: messages, call logs, contacts, Whatsapp, Gallery, Whatsapp attachments, message attachments, videos, picture library, documents, and audio. After choosing the type of data, you desire to recover, click on the Recover option. You can search for an item by writing its name on the search bar. Moreover, you can also choose to view only deleted items from the selected type by clicking on only displaying the deleted item(s).
2. Extract Files from Damaged Software on Your Android Device
Even if your device is broken to the extent that its system does not respond, you can recover data by following these steps.
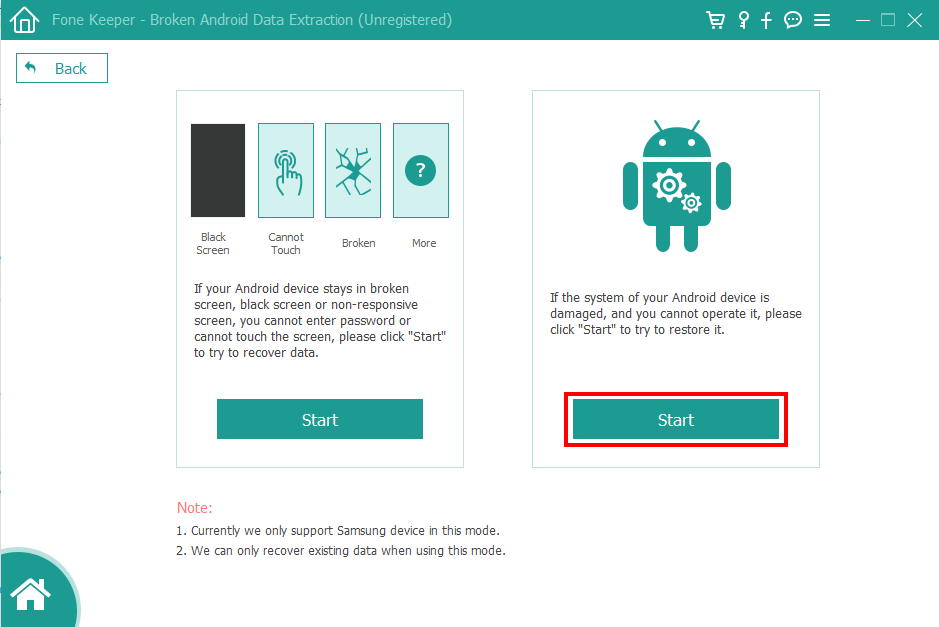
Step 1 Click on the Broken Android Data Extraction option
Step 2 If system issues are on your android device, click on the right start option.
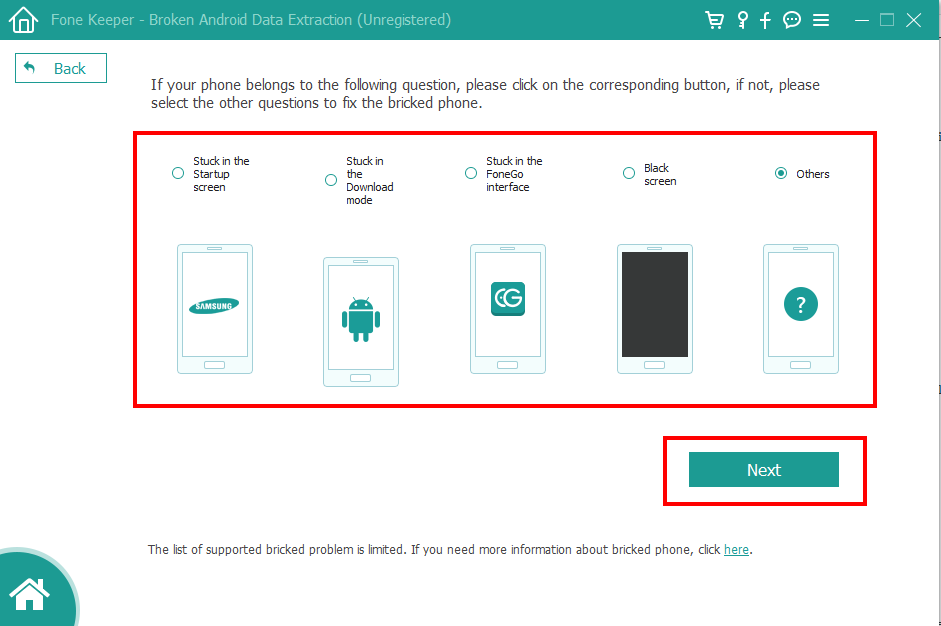
Step 3 This software looks into your Android's issues and helps you retrieve data. You have to specify what problem you are facing with this software which can include the device being held while on the startup screen, the device getting stuck in FoneGo connection, the device stuck while in download mode, or a Black screen issue. After choosing the issue, you have to click on the Next option. This will restart your device.
Step 4 Once your device is restarted, a screen will prompt showing that you successfully exited download mode. You have to click on the Next option to initiate data recovery of your frozen android device.
Step 5 Completion of step 4 will take you to this window showing that your device is connected to the computer.
Step 6 Choose the files you need to recover by checking its' adjacent box and then click the Next option. This will take you to data recovery.
Step 7 Click on the Recover button to fix the files you need from your frozen device. You can choose the types of files you want to fix. You can search the files in the upper search bar and click on the On-Off button to only display the deleted item(s). in case you want the software to display only the deleted files.
Backup And Restore Your Android Data
Losing data stored on an android device is quite common, and a physical accident can destroy your phone or tablet and all the stored data. Even people can delete the data by accidentally clicking the delete button and then regret it. Thus, it is always good to have backup storage where your data is constantly being saved so that you can easily access it in case of any unfortunate data incident. AceThinker Android Data Backup and Restore is here to aid you in this regard.
1. Backup Android Data
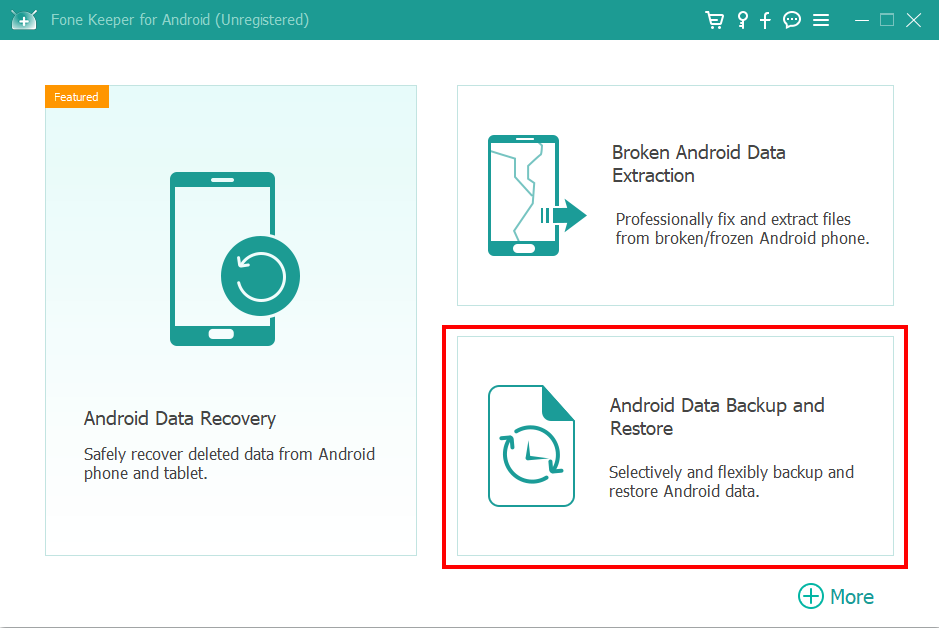
Step 1 Run the AceThinker software and click on the "Android Data Backup and Restore" button.
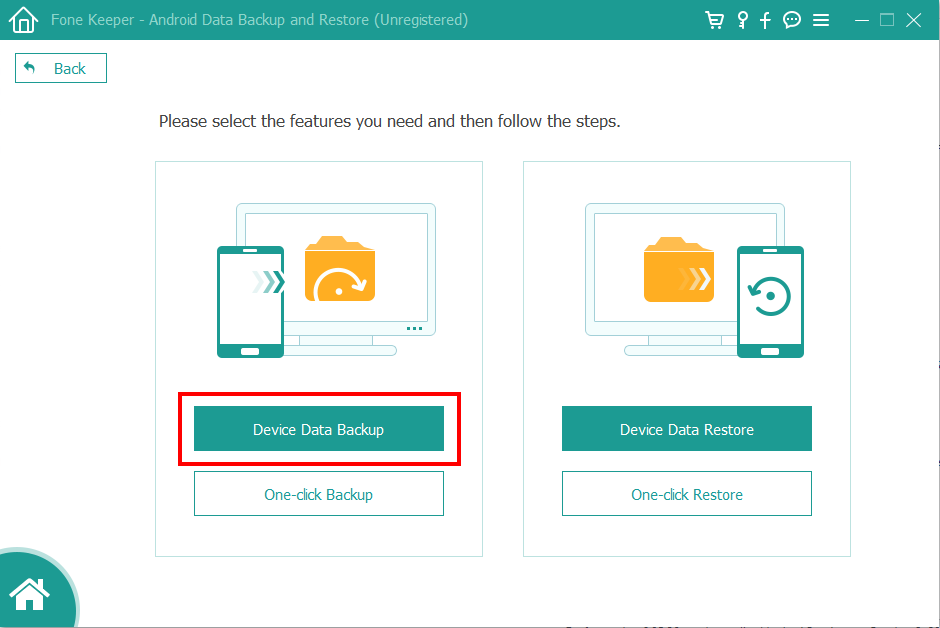
Step 2 Choose the "Device Data Backup" option
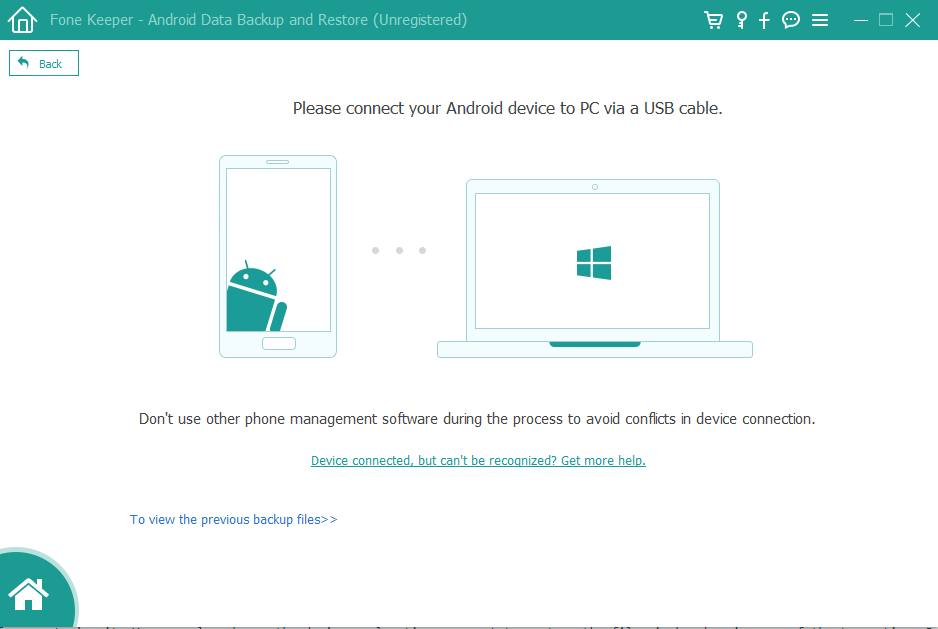
Step 3 Attach your android device to your computer through a USB cable.
When connecting the android device with a computer system for the first time, a window will pop up asking you for your permission for Connection Required. It will ask you to open USB debugging mode and give you instructions to do so. All you have to do is follow the instructions, and when you are done, click on the OK option to proceed further.
Step 4 You can choose the data you want to back up for the future, including gallery, audio, video, call logs, messages, contacts, and documents. You can choose more than 1 type and even all of these if you want to have backup data of all these data files. For the safety of your backup, you can also check the Encrypted Backup box and enter a password of your choice. After that, you have to click on the Start option.
After clicking start, you must wait a while to let the system create a backup copy of your chosen data files. Wait until the following window appears. If you want to create a backup for all files without selecting a few, you can save time by clicking on One-click Backup and letting the software create a backup.
2. Restore Android Data
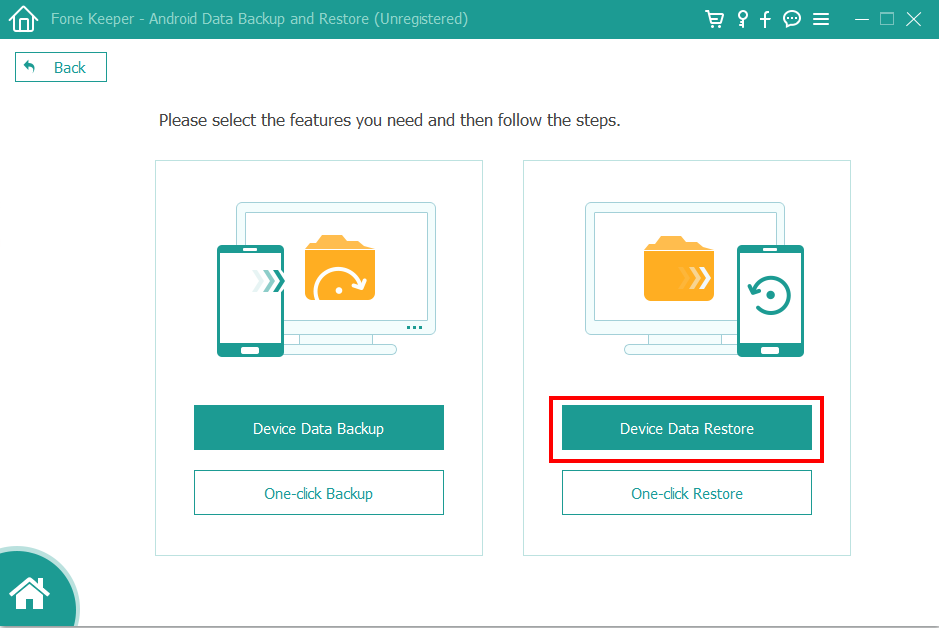
Step 1 Run the software and click on the "Android Data Backup and Restore" option.
Step 2 You have to click on the "Device Data Restore/One-click Restore" option
Step 3 Select the data file to restore
You can choose the backup file you want to restore. You can also click the Select option to choose files if your desired file is not on the list. Afterward, you have to click on the Start option.
Step 4 Preview and choose the file to restore
The software also allows you to preview the file before restoring it. You can also choose the device or location you want to restore the files in by choosing one of the two options Restore to Device or Restore to PC. If you want to restore the entire backup instead of choosing specific files, you can click on One-click Restore instead.