What is a split screen video? Split Screen is a video composition technique that displays two or more video clips simultaneously. It is essential in video production to enable storytelling and convey more information simultaneously. Moreover, suppose you are a podcaster, musician, video influencer, or content creator. In that case, the split screen can help show different perspectives, create engaging interviews or discussions, and enhance your content's visual appeal. Furthermore, it is visually appealing and offers an effective way of presenting different aspects of a topic in a single frame. The split screen also helps to save time during the video editing by avoiding repetitive cuts and transitions between shots. Luckily, this article helps you learn how to create split-screen videos and incorporate them into your content to elevate it to the next level.
Split Screen Advantages
In the age of online video content, video creators are always looking for ways to keep viewers engaged and entertained. One way to do this is by applying a split screen to your video. Split screen video is one of the elements of an effective video that can enhance the viewer's experience. See the advantages of the split screen below.
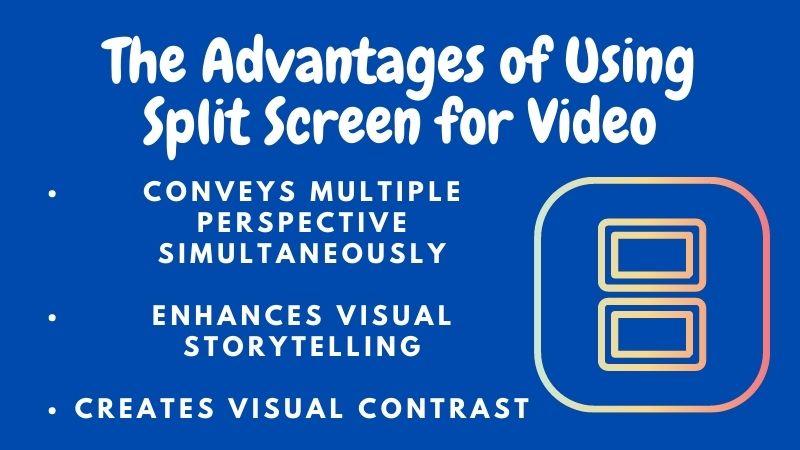
- Conveys Multiple Perspective Simultaneously The most popular way the split screen is used is to show actions in one frame but in different scenes or perspectives. Using a split screen effect, you can showcase several scenes with different information simultaneously. This greatly enhances the viewing experience and helps the audience understand multiple perspectives of a story without jumping or switching between different clips. Moreover, it can also be used to compare two or more things simultaneously. It makes it easier to show the similarities and differences between the objects.
- Enhances Visual Storytelling A split screen helps you to tell a better visual story. You can improve the viewing experience by simultaneously displaying multiple scenes or perspectives. This is useful for content creators who want to convey complex ideas or narratives requiring various information pieces. For instance, documentary filmmakers can use the split screen effect to show interviews with multiple people while highlighting the similarities or discrepancies in their stories.
- Creates Visual Contrast Applying a split screen to your video can also be used to create visual contrast. By putting two images side by side, you can create a striking and unique effect that grabs the viewer's attention. In addition, this contrast can also be used to highlight the difference in mood or tone between two scenes. For instance, you can contrast a happy moment with a sad moment or create tension by placing two opposing ideas aside.
Three Types of Split Screen
There are 3 types of split screens that you can apply to your video. Let's explore each type and see how to use them to enhance your videos.
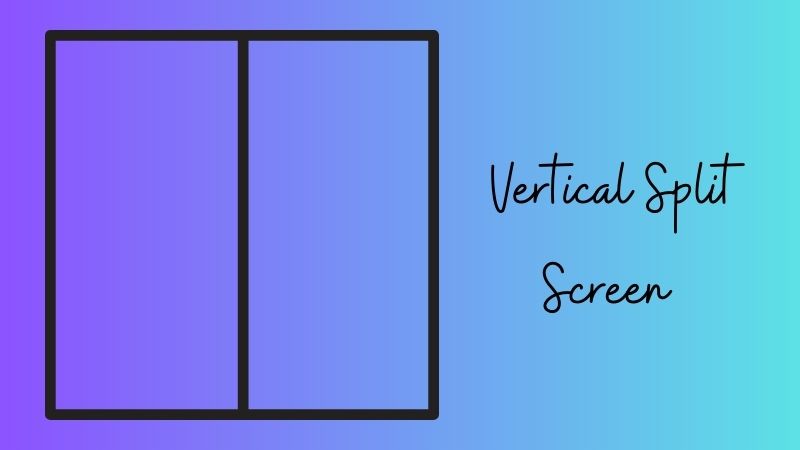
2.1 Vertical Split Screen
This split screen type divides the video into two halves, each showing a different scene. This technique effectively compares or contrasts two subjects, such as before-and-after shots, day vs. night scenes, or different perspectives of the same event. Utilizing a vertical split screen can create a dynamic visual experience for your audience and engagingly convey complex information. This split screen type is usually used in product comparison videos, tutorials, and demonstration videos.
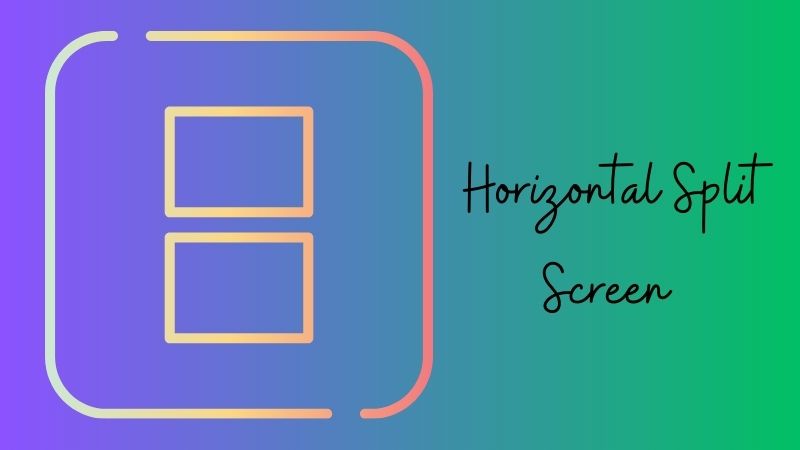
2.2 Horizontal Split Screen
The horizontal split screen divides the video into two equal parts, with each half showing a different perspective or angle of the same scene. This split screen type is ideal for displaying different views of the same thing. An example is a presenter and what they are presenting or two people conversing in different locations. By using this technique, you can add diversity to your visual storytelling and emphasize the importance of multiple perspectives.
2.3 Diagonal Split Screen
The diagonal split screen is a less commonly used type of split screen. It divides the video diagonally to create an angle division between two or more different scenes or perspectives. This type of split screen is suitable for showing conflict or contrasting ideas. And also can be used to create tension or suspense in your video. Moreover, this technique is used in action movies during fight scenes or when showing two characters pursuing different goals.
Split Screen in Various Forms of Media
Split-screen videos have become increasingly popular in recent years due to their ability to provide a unique viewing experience and convey multiple perspectives or information simultaneously. Examples of split-screen videos can be found in various forms of media, such as films, television shows, and music videos.
3.1 Film
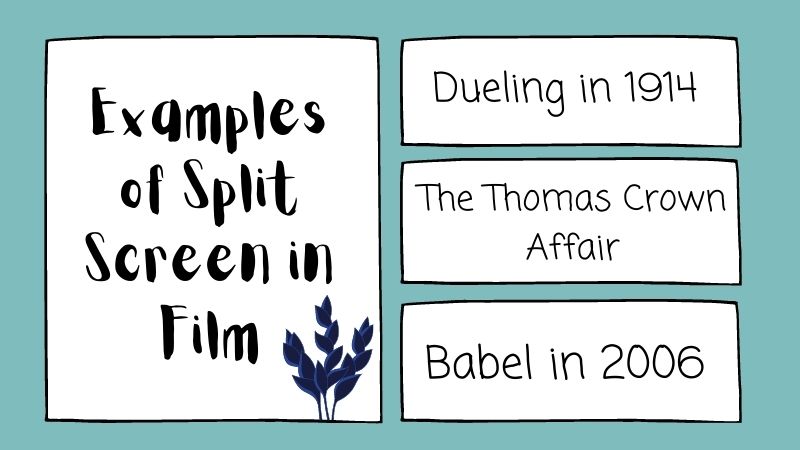
- "Dueling" was the first film to use a split screen in 1914.
- The 1968 film "The Thomas Crown Affair '' uses a split screen during the heist scene to show both Steve MacQueen's character executing the heist and Faye Dunaway's character simultaneously.
- The 2006 film "Babel" used a split screen to show parallel storylines and connect different characters in different countries.
3.2 Television
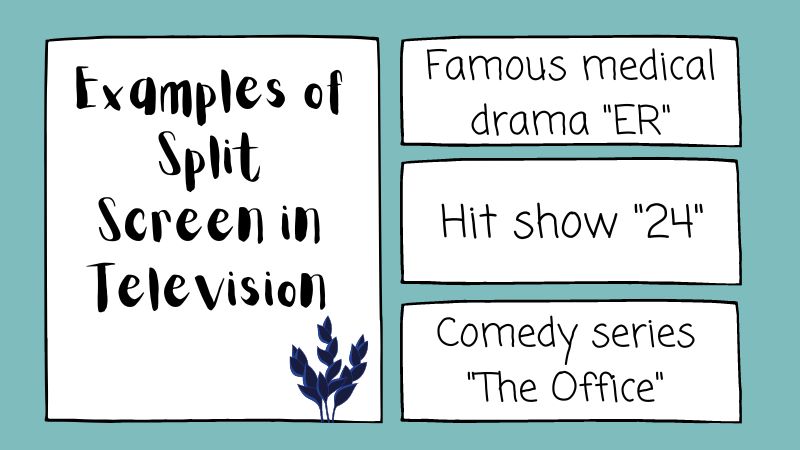
- The famous medical drama "ER" utilized split screens in various episodes to show different patients being treated by multiple doctors simultaneously.
- The hit show "24" used split screen extensively to provide multiple perspectives and storylines.
- The popular comedy series "The Office" used split screens to show different characters in different parts of the office reacting to a particular event or dialogue.
3.3 Music Videos
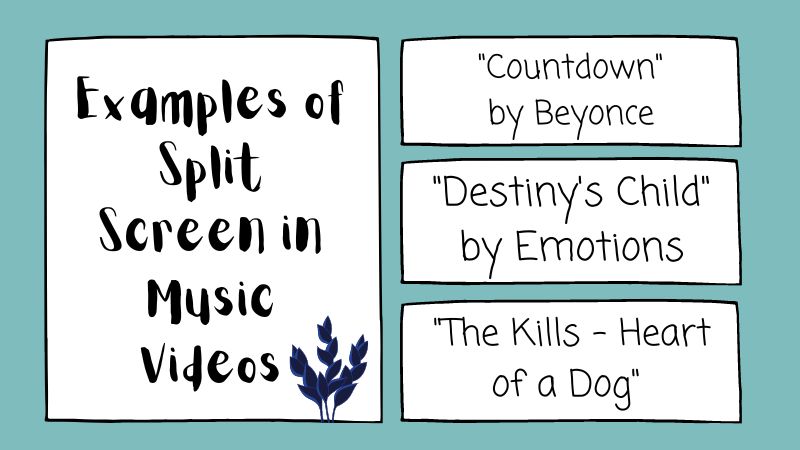
- The music video for Beyonce's "Countdown" used a split screen to simultaneously showcase the singer in multiple outfits and settings.
- "Destiny's Child" by Emotions uses split-screen effects to show different characters what they do in their daily lives.
- The music video "The Kills - Heart of a Dog" utilizes a split screen to show the two band members performing in different locations on the screen at the same time.
Best Video Editor to Add Split Screen Effect
A. Pre-production Planning
Before we apply the split screen effect to your video, it is essential to plan the pre-production stage. This is where you need to determine the purpose of your video and what message you want to convey. This planning phase has the largest impact on the video's engagement level, and organizing your content into pre-production documents will increase production and post-production efficiency. In addition, it is essential to consider the technical aspects of your split-screen video during pre-production planning.

B. Shooting Techniques
After the pre-production planning, it's time to move on to shooting your video. Properly place your cameras at different angles and prepare your script. Ensure that your cameras are of equal quality and use the same frame rate and resolution to avoid problems in the post-production phase. Afterward, you can proceed with how to split screen in Windows 10.
C. Edit Your Video with the Best Split Screen Video Editor
AceThinker Wind Cut is the video editor we recommend for you! This tool has a lot of visual effects, including the split screen effect. With it, you can add two to three videos in one frame to show the different perspectives of multiple characters. Moreover, you can also use this software to add video transitions, filters, overlays, and elements that can help to enhance your video. Furthermore, it also offers advanced editing features such as audio detach, voice enhancement, chroma cutout, and more. Now, let's see the tutorial below about how to split screen using AceThinker Wind Cut.
Try it for Free
Step 1 Obtain the Split Screen Video Software
Kindly choose the installer above to download the AceThinker Wind Cut automatically. After that, follow all of the setup to finalize installing the application. Run it after that and explore the user interface until you are comfortable navigating and using it.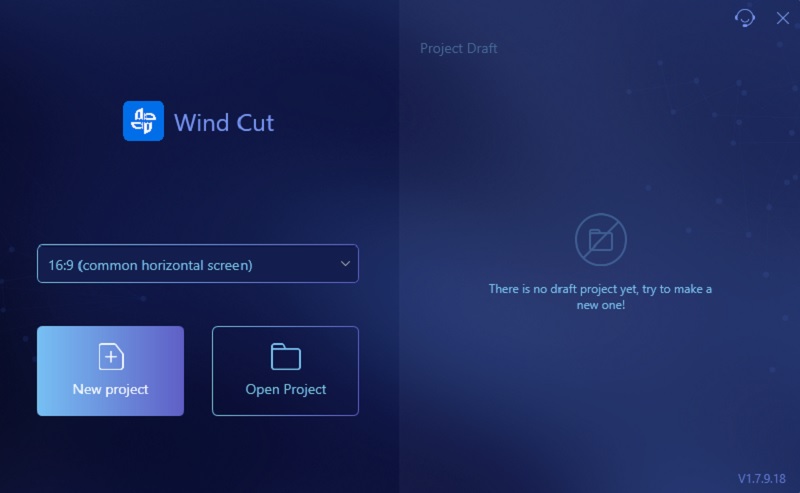
Step 2 Transfer the Videos
To import the videos, navigate to the "Import" button and choose the "Import File" option. Then, your files will show on your screen. Locate your videos in your folder and double-click on them once found to transfer them to the software. Next, you need to drag and drop the video into the timeline. One video drags it in the video timeline, and the other one is in the PIP timeline.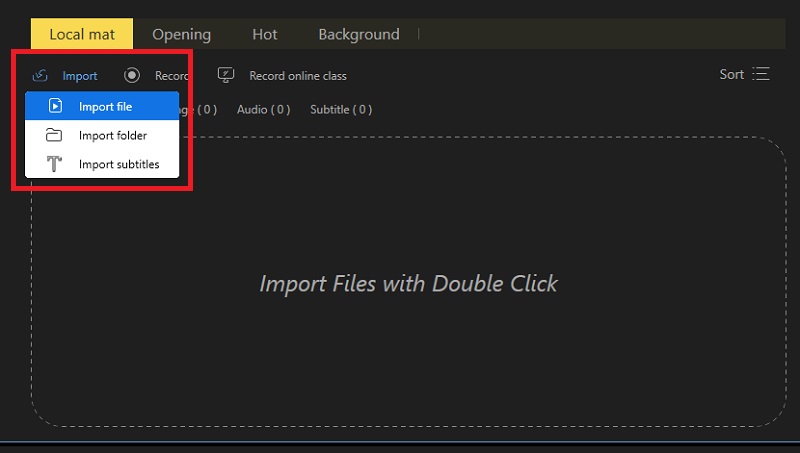
Step 3 Resize the Videos
To start resizing the videos, click the video on the "Realtime Media Preview," You will see a yellow box that you can use to resize the video. Toggle the edges of the frame until you find the correct size. Then, drag it to move it to the side. Repeat this process in the other video.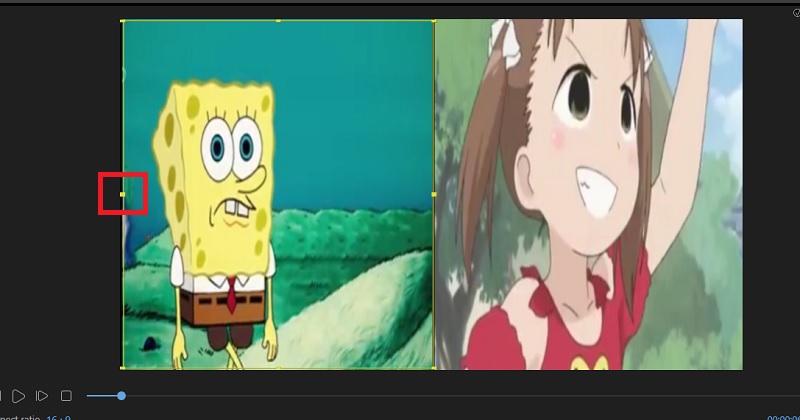
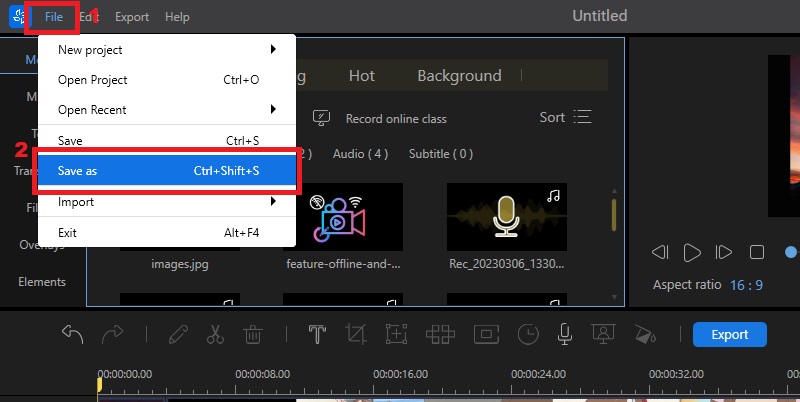
Step 4 Keep the Edited Video
Before saving the video, play and evaluate it first. You can save the result after you are happy with it. Then, in the tool's upper left corner, hit the "File" menu. Subsequent to that, click the "Save As" link underneath it, and your files will appear on the screen. Choose a video output folder to store your video in.