 VLC Media Player is a famous video player and converter. It is an open-source and lightweight media player that plays all media types without extra codecs and add-ins. VLC supports most in-demand video and audio formats, like MP4, AVI, WMV, MP3, and more. Yet, some people are not aware that it is also a helpful audio recorder. You can record audio with VLC and save it with a few settings configurations on your computer. The versatility of VLC makes it more convenient. It is reliable for quick recording and playing media files without installing separate tools. This article will help you to record audio with VLC and some of its best alternatives. Proceed to the next part to learn more.
Record Audio with Audio Recording Software
1. VLC Media Player
Distinctive Feature: It can stream and record media over computer networks. Also, it transcodes multimedia files.
Supported Audio Formats: MP3, AAC, AC-3, FLAC, and many more.
VLC Media Player is a reliable tool to record any computer screen activities. This tool is compatible with Windows, Mac, and Linux and supports mobile devices. It can record in full-screen, system audio, and even audio from the microphone. Furthermore, VLC has many attractive customized skins that you can use for a better user experience. However, editing of recorded files is not supported by VLC. To know more about how VLC record audio from microphone works, observe the easy guide below.
User-guide:
- First, launch VLC software and hit the “View” tab from the panel. Then, choose the “Advanced Control” from the options to enable the recording bar.
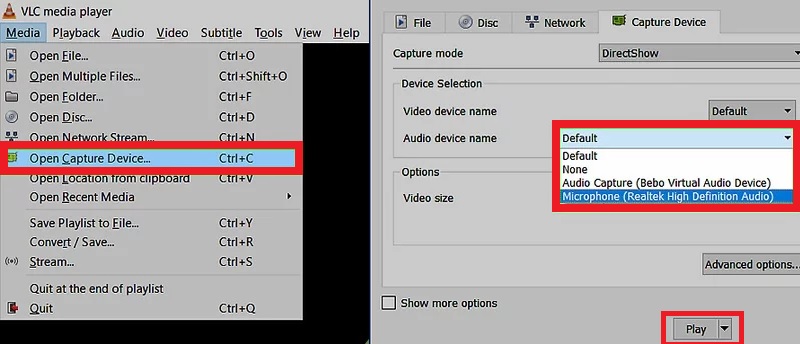
- Afterward, go to the “Media” menu and select “Open Capture Device.” A new window will appear. Here, you choose your preferred audio source. Make sure to tick the “Play” button to apply it.
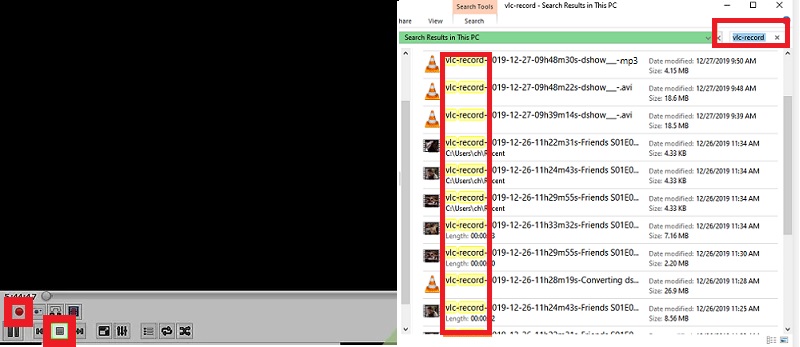
- Next, click the red “Record” icon to start recording. You can play the audio track if you want to capture the computer’s audio playback. Once done, tick the “Stop” button to end it.
- Then, launch the “Music” folder from your computer’s “File Explorer.” The audio recording will start the file name with “vlc-record-” and end it with the date and time the recording was made.
2. Audacity
Distinctive Feature: Audacity supports plugins like LV2, LADSPA, VST, and more. This can help to preview the recordings in real-time.
Supported Audio Formats: MP3, WAV, FLAC, OGG, and more.
Audacity is a good alternative for the VLC record audio process. Compared to VLC, Audacity offers many professional audio features that you can use. It offers editing functions like cut, copy, pastes, or delete options necessary for editing audio files. Also, it can record live audio through a microphone or digitize recordings from other media. Plus, it allows you to track and select audio and other functions through many keyboard shortcuts. Furthermore, Audacity supports 16 to 32-bit conversion through high-quality resampling and dithering. You can go along with the steps below to know how to record audio with Audacity.
User-guide:
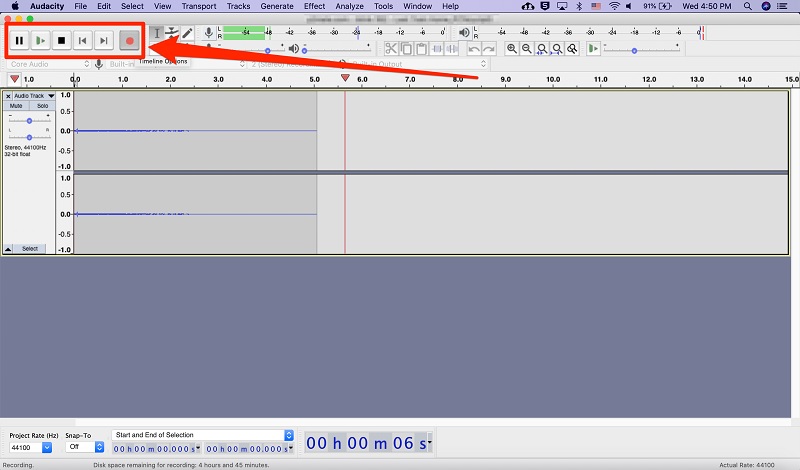
- Open Audacity and hit the dropdown menu under the “Audio Host.” From here, select “Windows WASAPI.” Proceed to the “Recording Device” dropdown menu afterward.
- Choose your preferred computer’s default headphones or speakers. Depending on your layout, you might also need to choose the option labeled “Loopback.”
- Then, make a new track and begin recording. Start the audio and let the tool record it for you. After recording, you can end it by hitting the “Stop” icon from the recording bar.
3. AceThinker Aqua Demo
Distinctive Feature: It has a built-in media player that you can use to listen first to the recorded audio before saving it.
Supported Audio Formats: MP3, M4C, WMA, and AAC.
Another program that you can use as a VLC capture audio alternative is AceThinker Aqua Demo. This tool is dedicated to recording the computer screen. Still, it is also equipped to record internal sound or record the screen and audio at the same time. With its “Audio Recorder” feature, you can record audio from many music streaming sites. That includes Spotify, YouTube, Tidal, Amazon Music, and a lot more. Aside from that, you can record your voice from the microphone that you can overlay on your screen recordings. Besides, the tool has a trimming function to remove unwanted audio parts from the recording. Moreover, the tool allows setting up scheduled tasks with a specific time and date to begin the recording initially, unlike VLC.
Try it for Free
Step 1 Install the VLC Audio Recorder Alternative
First, get the correct installer for your computer by hitting one of the “Download” buttons displayed above. Then, go along with the command from the dialogue box and let the computer and let the computer analyze the tool. After installing, start the tool to see its main interface, navigations, and other functions.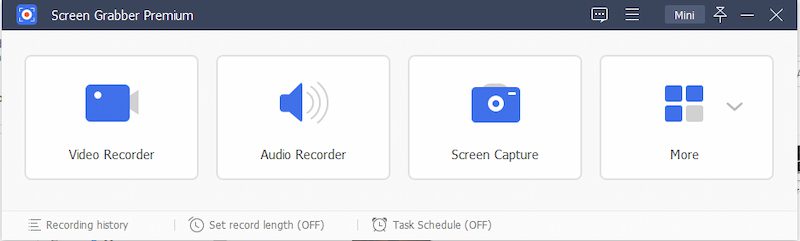
Step 2 Setup the Audio Settings
Afterward, choose the “Audio Recorder” as the recording mode. Hit the “gear” beside it, and the “Preference” window will pop out on your screen. Under it, choose the “Output” button and set the audio format to “MP3” while the audio quality to “Lossless” to record in high-quality. You can also change the system sound to record the highest audio volume available. Then, hit the ”OK” button to keep the changes.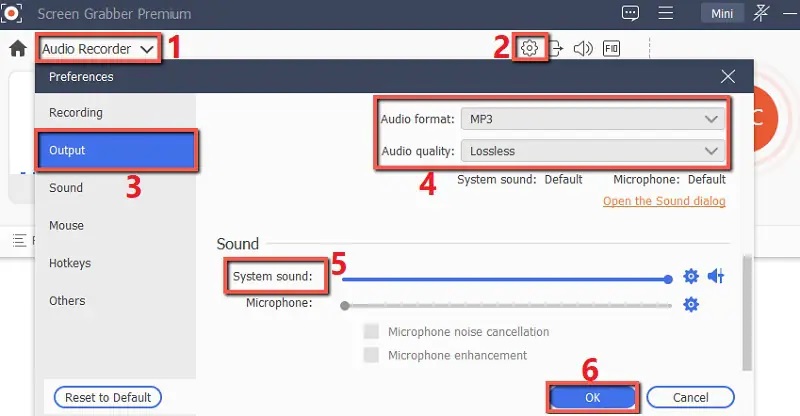
Step 3 Initiate the Audio Recording
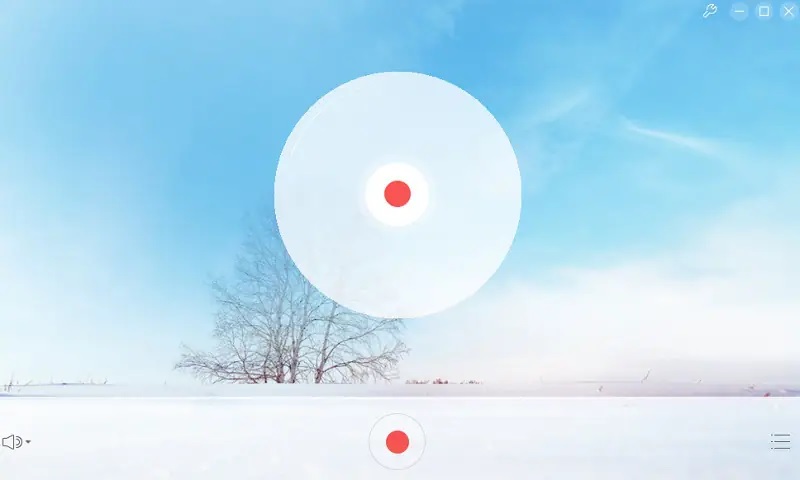
Next, go to the audio you want to record and relaunch the tool. Before recording, make sure to toggle “ON” the “System Sound” to record the audio. Now, hit the huge “REC” button to begin the recording process. If you are satisfied, click the red-square “Stop” button from the floating toolbar to finish the recording.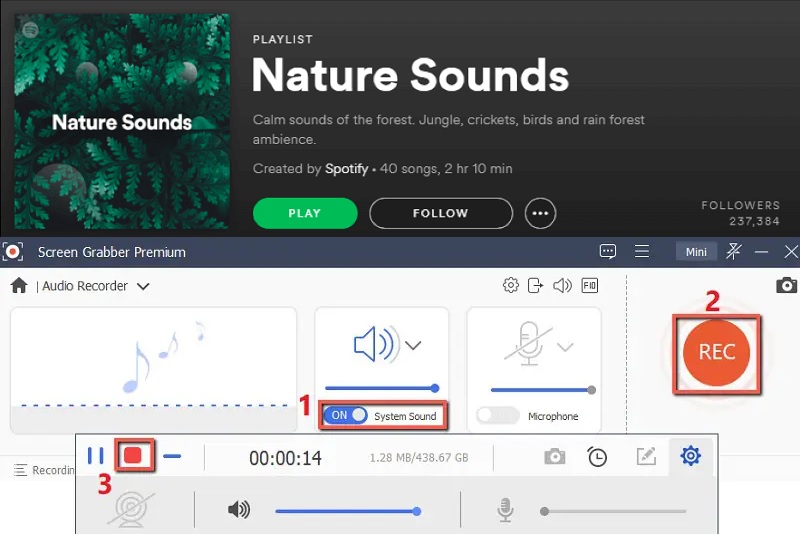
Step 4 Save the Recorded Audio
The tool’s media player will appear on your screen. This allows you to play the recording and trim unnecessary parts according to your liking. Once content with the outcome, hit the “Save” button at the bottom right part of the media player to keep the recorded audio on your computer.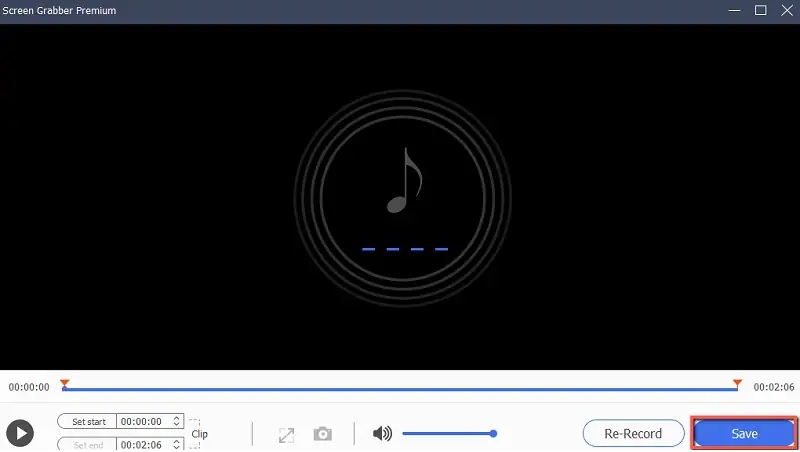
Alternative Tools to Record Audio
1. AceThinker Free Audio Recorder Online
Distinctive Feature: It allows editing ID3 tags or putting ID3 information from your computer. So, you can organize your recordings that are not available on VLC.
Supported Audio Formats: It supports saving audio recording to MO3 format.
The first web-based that you can use to record audio is the AceThinker Free Audio Recorder Online. It provides advanced functions that can help you record the internal sound and microphone or even both. With this VLC record audio stream alternative, you can record audio's original quality, which means the file is as good as the sound you hear live. Furthermore, the tool can record music from almost all music platforms. Some examples are Apple Music, VEVO, YouTube, Spotify, and many more. The good thing about it is it's accessible on any web browser like Chrome, Firefox, Safari, and many more.
User-guide:
- Go to the AceThinker Free Audio Recorder Online official website. Hit the "Start Recording" button from the landing page that requires you to download the tool's launcher.
- Download the launcher to access the audio recorder. Once the recorder appears on your screen, hit the "Audio" icon on the bottom left corner of the tool.
- Choose your audio source and hit the "Record" button to start. Then, hit the same button to complete the recording. The recorded audio will go to the tool's library, where you can edit its ID3 tags.
2. Rev Online Voice Recorder
Distinctive Feature: It has a “Transcribe” feature that you can use to translate the recorded audio to text.
Supported Audio Formats: The tool saves recorded audio to MP3 format.
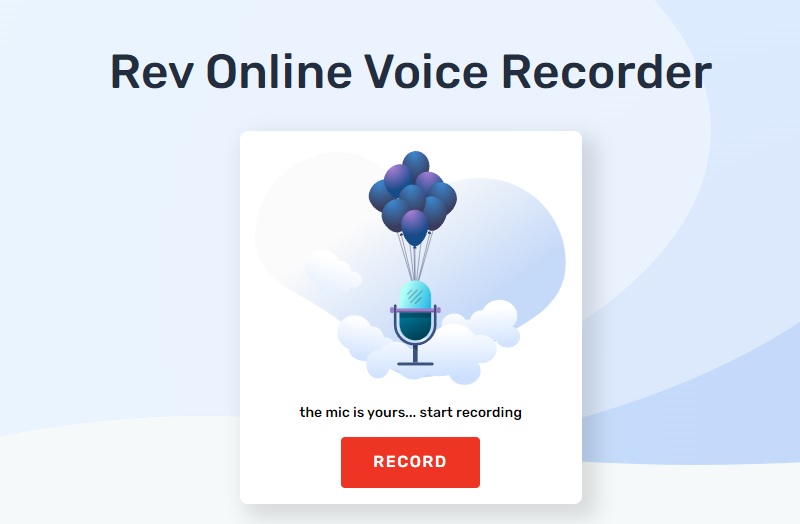
If you are searching for a program like a VLC voice recorder, then we recommend Rev Online Voice Recorder. It is a straightforward online tool that only requires a few clicks to record your voice through a microphone. Even though it’s an online tool, Rev Online Voice Recorder has a “Preview” feature to playback your recorded audio with a waveform. With that, you can listen to the entire recording and edit it with the tool’s essential editing function. You can trim your audio, fast forward, rewind, or re-record the audio. Moreover, the tool supports Chrome and Safari web browsers. Learn more on how to operate this tool through the steps below.
User-guide:
- Launch Rev Online Voice Recorder to your web browser. Then, the tool is available to use within its web page. So to start hit the “Record” button.
- Then the recording process will begin. Make sure that the animation will show that the audio is being recorded. While recording, you can pause whenever you want to stop the audio.
- Hit the “Resume” button to proceed to the recording. Once done, hit the “Preview” button to listen to the recording. Finally, click the “Download” button to keep the recording to your computer.
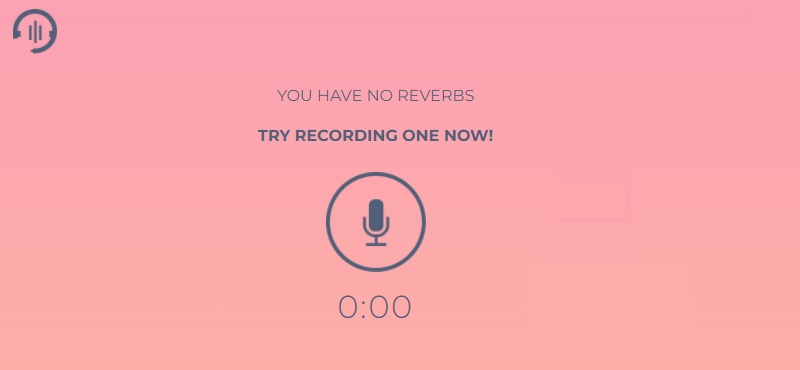
3. Reverb Record
Distinctive Feature: While recording, this tool allows users to retitle the clip to organize its list of recordings.
Supported Audio Formats: It supports MP3 and AAC formats.
Reverb Record is the online voice recording utility that works as a record streaming audio VLC alternative. It is packed with notable audio recording features; one of these is its capability to modify metadata. This function enables users to retitle recordings, delete recordings, and create a direct link on your recorded audio. This direct share link option can enable users to send audio recordings with different platforms. These include Email, LinkedIn, Twitter, Slack, Facebook, and more. Aside from that, this tool is available on web extensions. This function will make the tool easy to access and convenient to use. It will enable users to record any audio files on any web page.
User-guide:
- Open the Reverb Record on your computer and hit the “Record Now” button on the left part of the landing page.
- Then, connect your microphone to the computer and click the “Microphone” icon to record your voice. Once you want to end the recording, hit the same button.
- A preview option is available once you end the recording. You can put the recording title and save it on your device.