
 Wii U is the home video game console developed by Nintendo as the successor to the Wii and released in late 2012. It also became the first eight-generation video game console and competed with Sony's Playstation 4 and Microsoft Xbox One. Also, it is the first Nintendo console to support HD graphics. Most gamers are fond of playing Wii U games because of their basic game instructions and HD quality graphics. With those features, you can enjoy playing Wii U, especially if you are with your friends. There are times that you want to record your gameplay on Wii U to share them on your social media account or with your friends. Actually, there are two ways to get Wii U gameplay: a capture card or a third-party app. So with that, Let's start with here to learn what they are and record Wii U gameplay with 60 fps of high quality.
Best Way to Record Wii U Games on PC
In this part, we will show you how to record Wii without a capture card; instead, use the Acethinker Aqua Demo. This is one of the powerful screen recorders that let you grab Wii U gameplay in just a few clicks. Using its simple user interface, you can easily record Wii U gameplay in just a few clicks. Also, you can add annotations while recording, such as lines or shapes. Aside from recording your Wii U gameplay. This tool also allows you to record live streaming videos from most used video streaming sites. Sites like YouTube and capture online lectures which is perfect for offline viewing. Meanwhile, it has an audio recorder that enables you to record songs or music if you want to. Below are the easy steps to capture gameplay on Wii U:
Try It Free
Step 1 Save the tool and launch
First and foremost, you have to set up the application on your personal computer to use it. Just point and hit the right "Download" button for your operating system provided above, choose either Mac or Windows, depending on your OS. Open the installment wizard and proceed with its instructions to save the software on your computer ultimately. Access it afterward.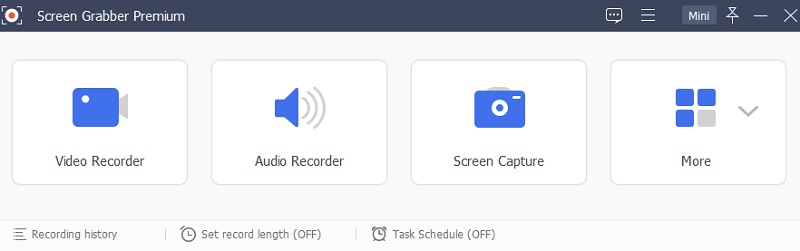
Step 2 Customize the recording settings
To get a better recording, you have to customize the tool's settings to the best one. Hit the "Triple-line" situated oon the upper right part of the settings, then choose "Preferences" to see all the tool settings. Afterward, select the "Recording" panel, then change or customize the recording depending on your preference. Click "Ok" to apply changes.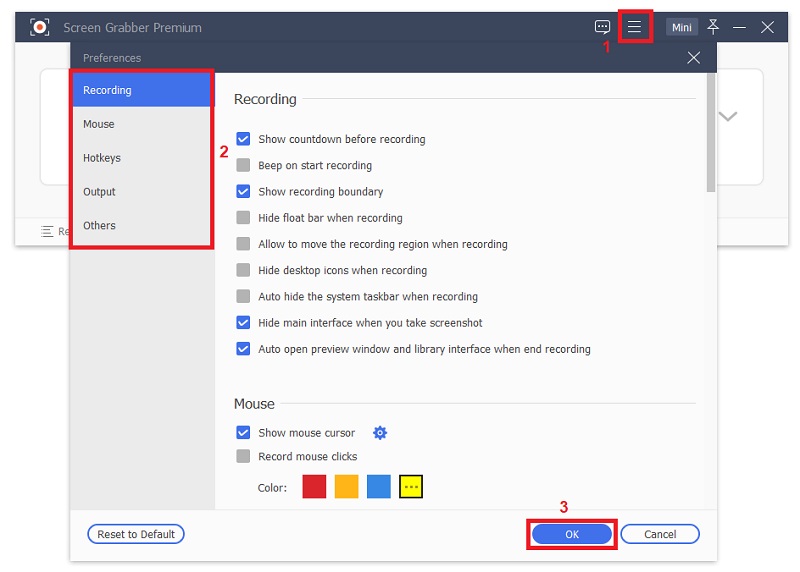
Step 3 Start recording Wii U gameplay
Next, connect the game console to your computer to access the Wii U. After that, launch a game that you want to record. From the main interface of the Screen Grabber, choose the "Video Recorder" button. Take note that the "Microphone" and "System Sound" are turned for better recording. Once all setup, hit the "Rec" button to start recording.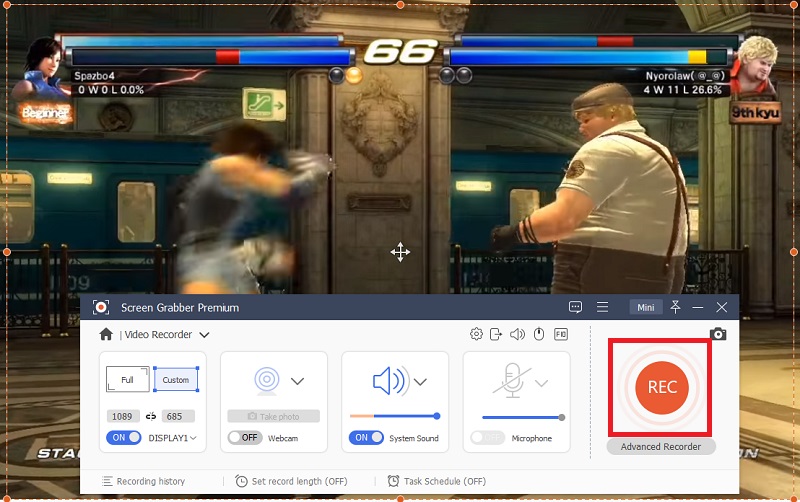
Step 4 Stop the recording
This is the process on how to record Wii U gameplay on this tool. To stop recording the Wii, hit the "Stop" button on the toolbar floating. Then, a window will appear showing your video recording. Here, click the "Save" button that you can see from the tool's lower part on the right.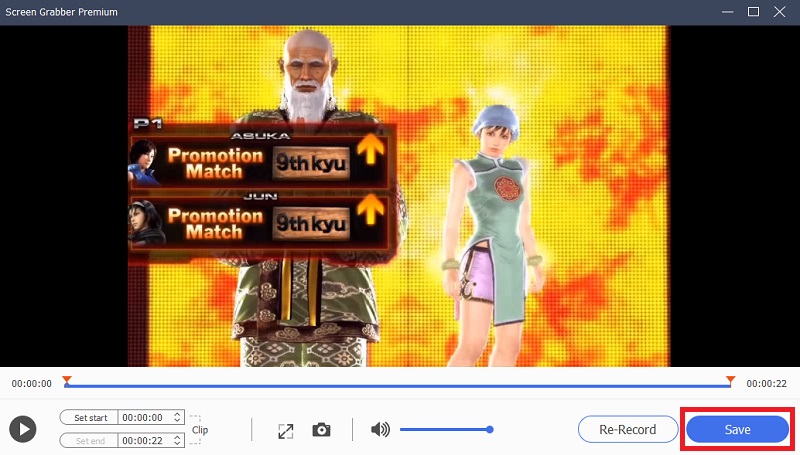
Step 5 Play the recorded Wii U gameplay
Once done, click the destination folder on your computer and choose the recorded Wii U gameplay. Right-click the file, then click "Play" to preview the video. Otherwise, you can go to the history from the tool to view all the recorded videos.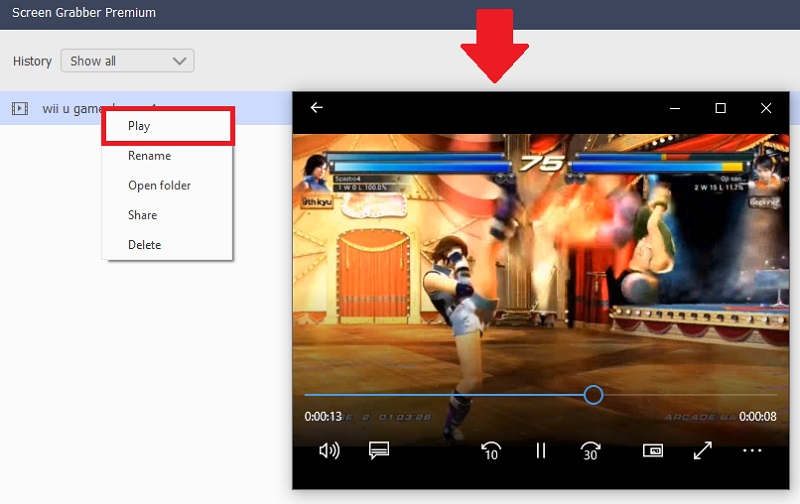
- Allows you to customize the designated recording area
- Supports various multiple output formats like MP4, MOV, WMA, and more
- It has a recording annotation feature that is suitable for editing videos
- Smooth recording process depends on the speed of the internet connection
How to Record Wii U Gameplay with a Capture Card
Another way to save Wii U gameplay is by using a capture card. Since Wii U doesn't have built-in game recording features, recording Wii U gameplay with a laptop is complicated. Fortunately, as written above, there are two ways to grab Wii U gameplay: a capture card and without one. So, in this case, we will record the Wii U gameplay with a capture card. But before that, you need to prepare the HDMI cables, Wii U game console, and a capture card. Here are the listed steps on how to record Wii U gameplay with USB and a capture card.
Step 1 Connect Wii U game console and your computer
First, insert the HDMI cable to your Wii U game console and connect the HDMI IN port along with the capture card. Then, insert the other HDMI port to the OUT port side of your laptop or PC and connect the HDMI IN port to your computer.Step 2 Turn on the Wii U game console and start record a game
Once it is all set, you have to turn on the Wii U game console and connect it to the computer. Then, set up the TV resolution settings and make sure to choose the "EDTV or HDTV" for better resolution. After that, launch the capture card on your computer, then play a game that you wish to record. Then the capture card will automatically record it.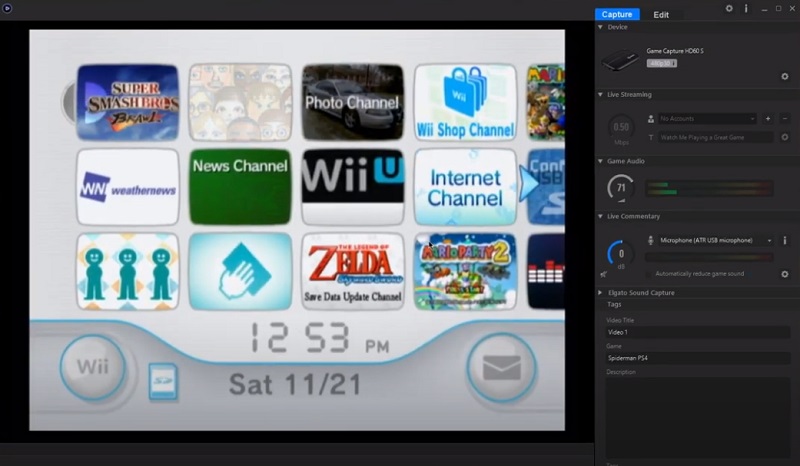
Step 3 Play the recorded Wii U gameplay
Once done recording, the Wii U gameplay will automatically be saved on your computer. Select a file folder on your computer to save the recorded file. From here, right-click the filename, then click open to preview the recorded video.
Frequently Asked Questions
1. What is the suitable capture card for Wii U?
Selecting a capture card for Wii U is vital for capturing your gameplay videos. You must consider different aspects, including frame rate, input type, resolution, and more. The two of the most well-known capture card manufacturers are AVerMedia and Elgato.

2. Can you record Wii U Without the help of a capture card?
Yes, you can record Wii U without needing a capture card. AceThinker Aqua Demo is a powerful tool that allows you to record Wii U games on your computer. It comes with a function that allows users to change Frame rate, modify video codecs, and tweak some audio and video output which is favorable for recording gameplay videos.
3. How can you play Wii U games on PC?
You can play Wii U games on your computer without casting or needing a Wii u console. You have to download an emulator on your PC, and you can get the Wii U games you want to play. You can also record your screen and capture your gameplay videos on your computer.