
 Are you interested in creating high-quality gaming videos using the Oculus Quest 2 screen? Your wonders won't be tricky here since many people have now developed and utilized screen recorders. One of the most popular VR headset devices is the Oculus Quest. The Oculus VR equipment series has provided the best virtual reality (VR) experience for over five years and is recognized as reliable and competent. Then Oculus Quest 2, part of the new generation of VR equipment, was released. Suppose you are someone who really adores playing online games. You will wish to record them. With that, we suggest you stop your search right now. In this article, We'll provide you tips on how to record Quest 2 gameplay, as well as stream or cast your gameplay for your internet channel. Check out the solutions below.
Four Ways to Capture Oculus Quest 2 Gameplay
1. Screen Record Oculus Quest 2 with the Built-in Recorder
Playing Oculus Quest 2 can be recorded in several simple ways. Using the Oculus Quest 2 headset, you may record videos at their best quality without needing any connections. It has a sharper screen, a lightweight design, and a powerful processor that gives users an immersive experience. It is an excellent menu for those who desire to record game action without lag, and you can use its integrated recording and sharing feature without hassle. In addition to collecting screenshots, it enables you to cast images on your TV, computer, or smartphone. With some of these features, learning how to record Oculus Quest 2 Gameplay would fascinate you. Now let us look more deeply into its details.
User Guide:
- In order to access the main Quest menu, you must first hit the "Oculus" button on your headset's right controller. To access the "Sharing" option, click the "Share" option on the right corner of the screen.
- On the next screen, you'll see four options: "Record Video," "Capture Photo," "Go Live," and "Chat." Click "Record Video" to start recording video, but remember that you need to have voice commands enabled to take screenshots, stream, or cast while playing.
- You must select the "Cast" option to broadcast videos using the Oculus application on a LAN network or gadgets such as a PC, Mac, TV (through Chromecast), or even a phone. You can stream gameplay footage online using the "Go Live" feature, but only on Facebook.
- Users can view all recorded videos by pressing the "View All" button on the headset. However, connecting Quest 2 to your computer allows you to save these films for sharing or editing purposes on a PC.
2. Record Oculus Quest 2 Gameplay on Windows/Mac using Aqua Demo
Best For: This tool is best for creating personalized video content with its multiple recording preferences and annotation feature.
Price: You can access this tool's advanced features at $19.95 per month.
AceThinker Aqua Demo is the solution to get one if you're looking for how to record videos in high quality. With the help of this feasible screen recorder, you may record your gaming without losing the video's quality. There are several recording modes available for reliable recording. Some of the options include full-screen, region mode, webcam, around the mouse, follow the mouse and others. This screen recorder allows you to record Oculus Quest 2 gameplay with audio and video simultaneously. With this program, you may simultaneously record and screenshot. Additionally, you can add text, arrows, and shapes to your screenshots and recordings as annotations. The detailed steps are given below to help you set up an excellent recording using this app.
Try it for Free
Step 1 Launch the Oculus Quest 2 Gameplay Recorder
The first step to start how to record Oculus Quest 2 gameplay on PC is to install the recording utility by clicking the download icon above. Make sure the platform you select supports the operating system you have. Then, follow the window wizard's instructions to complete the installation procedure. Launch the tool to familiarize with its features.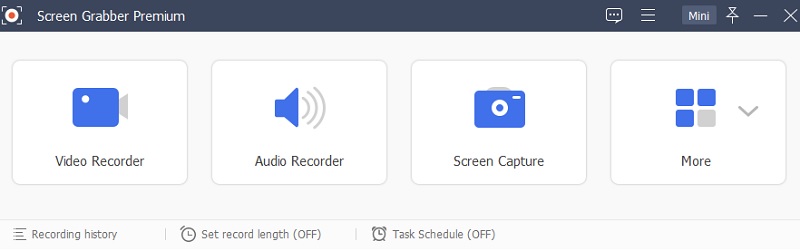
Step 2 Access the video recording
Click "Video Recorder" on the app's main menu. Next, choose your audio source. You have the option to record your voice in addition to computer sounds. Toggle the System Sound button or the Microphone's slide button by pressing them simultaneously. Select an area/window by choosing "Custom" and then "Customize" your region to capture the window game.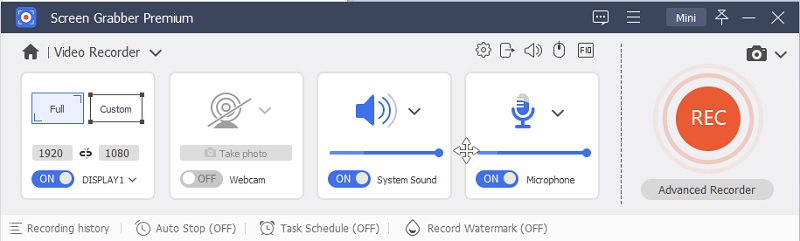
Step 3 Modify your Recording Preferences
Navigate to Recording Setting and modify your preferred output. Locate the file destination for your recorded videos. Choose a video format that will suit your needs, including MP4, MOV, WEBM, and more. Then, proceed with the Video quality and Frame Rate. Finalize your options and go back to the Video recording to initiate the recording.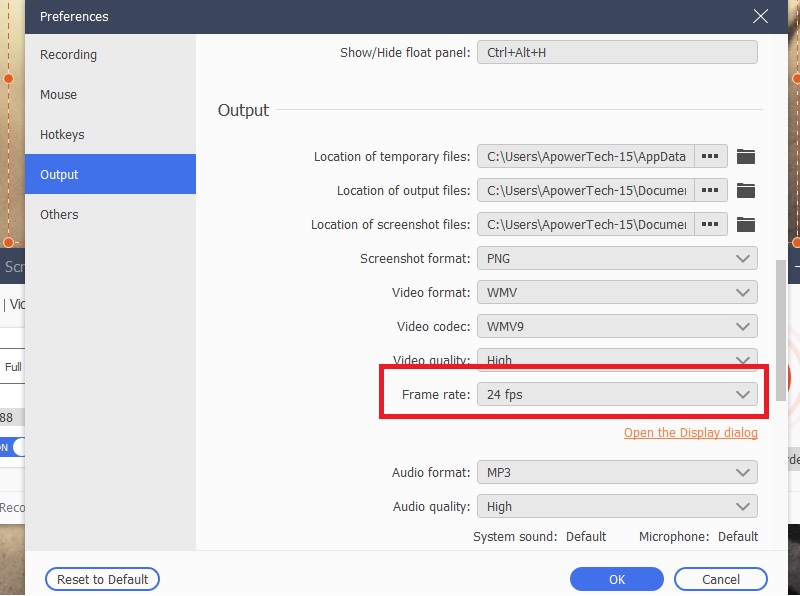
Step 4 Start and Finished Gameplay recording
Go to your Oculus Quest 2 and begin playing your gaming after pausing the tool for a moment. To begin recording, return to the app and select "Rec." When the countdown ends, it will start. Click Stop on the floating toolbar once your captures are finished.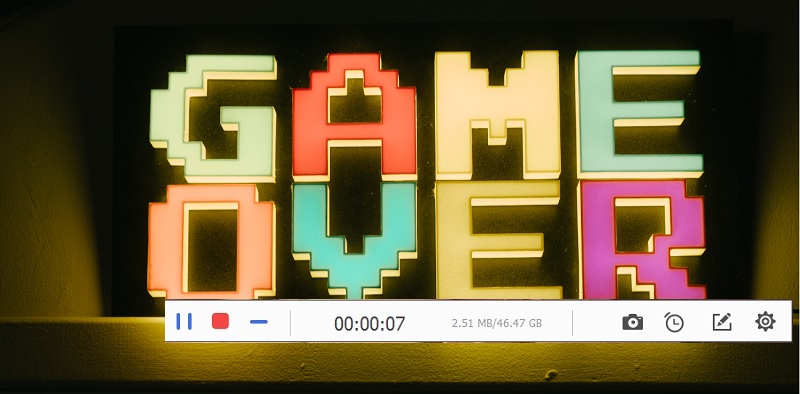
Step 5 Save or Share your Recorded Gameplay
Eventually, once you stop recording, the preview screen of your recorded file will show up. However, these recorded files are stored in "Recording History." Select your previous recorded video from the list of files. The left-side corner has a selection of tools that you can use. You have the option to play, edit, share, or delete. To upload your video to the internet, do this by clicking the "Share" button. However, if you want to save your file locally on your computer, click the "Import" button.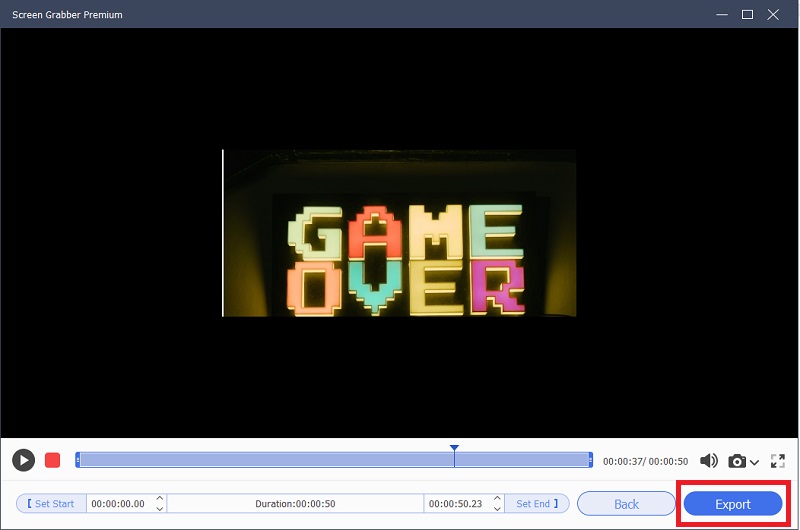
3. Record Oculus Quest 2 Gameplay on Windows/Mac using OBS
Best for: This tool is best for recording screens that allow different media sources for recording.
Price: This tool is an open-source program, which means it is free to use.
OBS Studio is one of the top solutions for capturing gameplay with simultaneously recording the screen and camera. You can download and use this software for free by visiting the website for the OBS program. The main functions of OBS Studio include encoding, screen recording, text and graphic overlays, managing various stream sources, and other tasks. You can quickly add a screen and source for screen recording with a few clicks. Additionally, this software makes it simple to produce videos with virtual backgrounds utilizing the Green screen feature. It also has an excellent audio feature that you may use to capture sounds from your PC and Microphone instantly.
User Guide:
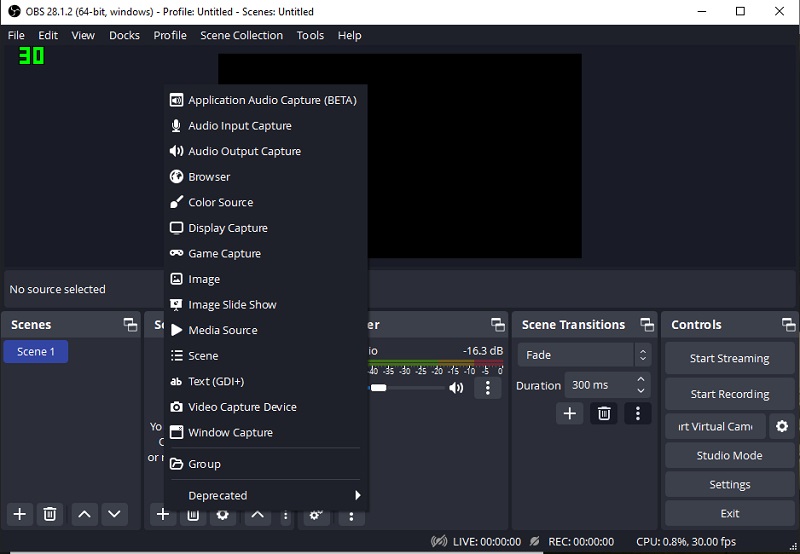
- Install OBS Studio on your computer. Open the program to access its main interface and begin by adding a Scene to the interface. From the “Sources,” click the (+) plus sign and select “Display Capture .”A new screen window will show afterward, then “Create New .”Choose the display source from the drop-down menu and click “OK.”
- To initiate the recording on how to record gameplay on Oculus Quest 2, press the “Start Recording” button from the “Controls .”You can minimize OBS windows and begin recording your gameplay on Oculus Quest 2.
- If you like to end the recording, you need to select click the “Stop Recording” menu of the tool. Navigate to the “File” menu tab and look for “Show Recording .”You can watch your recorded file and share it anytime you want.
4. Record Oculus Quest 2 Gameplay on Windows/Mac using Bandicam
Best for: This tool is best with its game recording feature that can add text and logos to the video.
Price: You can access its full version for $33.26 a year.
Bandicam is one of the best apps for recording video games. It can record a range of 2D and 3D gameplay in 4K UHD at up to 144 frames per second. Additionally, Bandicam may record video from other sources like a camera or gaming console, as well as video in partial or full-screen modes. With its simple user interface, you can manage a smooth way to record Quest 2 gameplay. Apart from this, Bandicam offers features to draw, add text, and take screenshots while recording. Using and adding mouse click effects and animation cover also of this app. You can put a logo on your video to personalize output and voice mixing, as it is a lightweight package. To learn more about this tool, read the user guide below.
User Guide
- The initial procedure on how to record Quest 2 gameplay is to use the Bandicam game recorder. You must first download the tool on your computer and run the installation afterward. Open the tool once the installation is done.
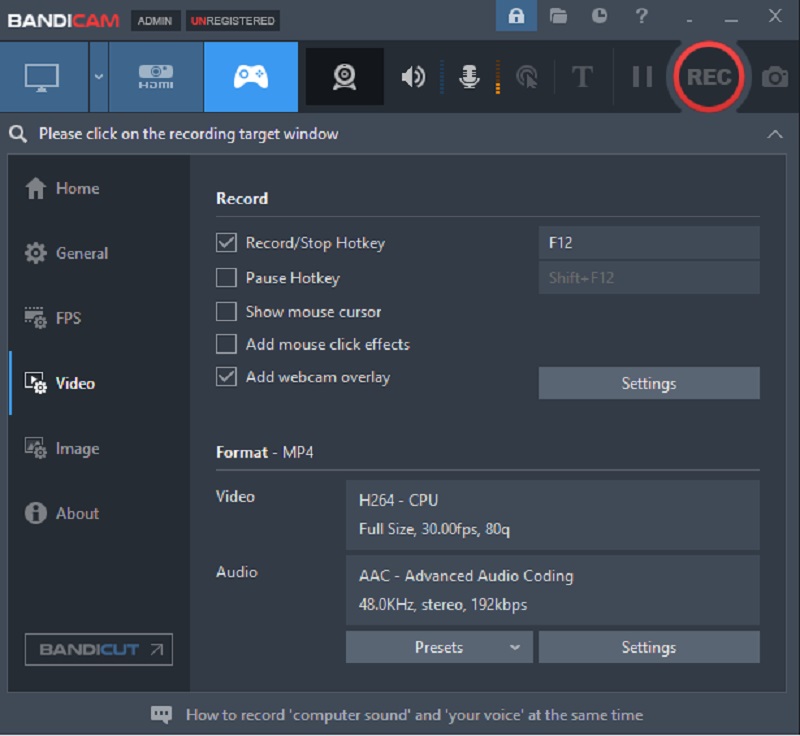
- On its main interface, choose “Game Recording .”Start the Oculus Quest 2 Gameplay on your screen and prepare it for recording. Make sure you have your mic open, or the system sounds before recording.
- Then, you can start recording your screen by pressing the “F12” key or clicking the “Rec” button directly from the app's main interface. You can stop your recording by clicking on the same F12 key on your computer keyboard. The recorded video will be saved as a Video file, which can view from the “Home.”
Comparison of Screen Recorders
| Tools | Systems Compatibility | Interface Language | Time Limitation |
|---|---|---|---|
| AceThinker Aqua Demo | Windows, Mac, and Android | English, Portuguese, Spanish, French, and more | 3 mins maximum time for its trial version |
| OBS | Windows, Mac, and Linux | 50+ languages including English, Portuguese and French | No Time Limit |
| Bandicam | Windows | 50 + languages including English, Spanish, and French. | 10 mins maximum time for its trial version |
Frequently Asked Questions
- Ready the Oculus Quest 2 gameplay that you want to record. Next, launch AceThinker Aqua Demo and choose "Video Recording" from the menu. Choose "Full-screen recording" to capture the entire screen or "Select an Area" to capture just a portion.
- Enable the System sounds and Microphone. You can start the recording if you wish to start by clicking the “Start Recording” button. Otherwise, navigate the recording settings to modify your desired video output.
- While on screen recording, you can add text, shapes, ellipses, and more from annotation. Press the "Pause" icon to hold the recording or the "Stop" button to end it. You can trim the video or click the "Export" button to save or share the recorded video.