Screen Grabber Pro on Windows
Step 1 Get the Screen Recorder
You can download the computer application by clicking the download button presented above. A file installer will then be saved on your computer; run it and pass through the installation prompts. Once completed, you can launch the tool on your PC.Try It Free
Free Download
Windows 8/10/11
Secure Download
Free Download
Mac OS X 10.15 and above
Secure Download
Step 2 Locate Task Scheduler
You can familiarize the tool once the main interface prompts on your screen. You can quickly locate the Task Scheduler option on its interface, which sits together with other functions, including the Recording button, Screenshot, and Audio input.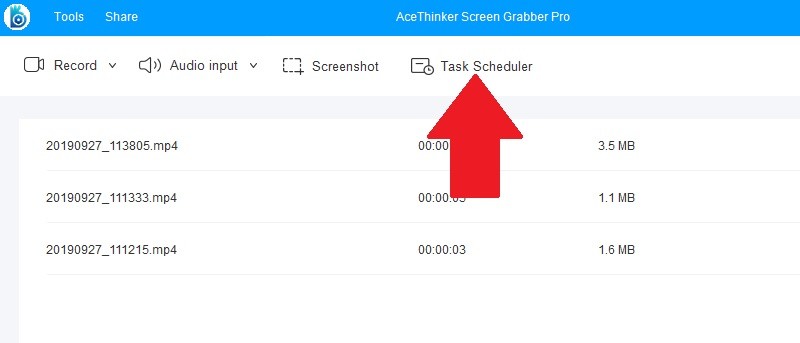
Step 3 Set a schedule
After clicking the "Task Scheduler," a new window will pop-up. Then, to create a task set the "Name" of your task, "Time," and "Duration." To record your task, you can click whether in "Full Screen or Select Region." Lastly, click "Create," and then "OK" to schedule your task.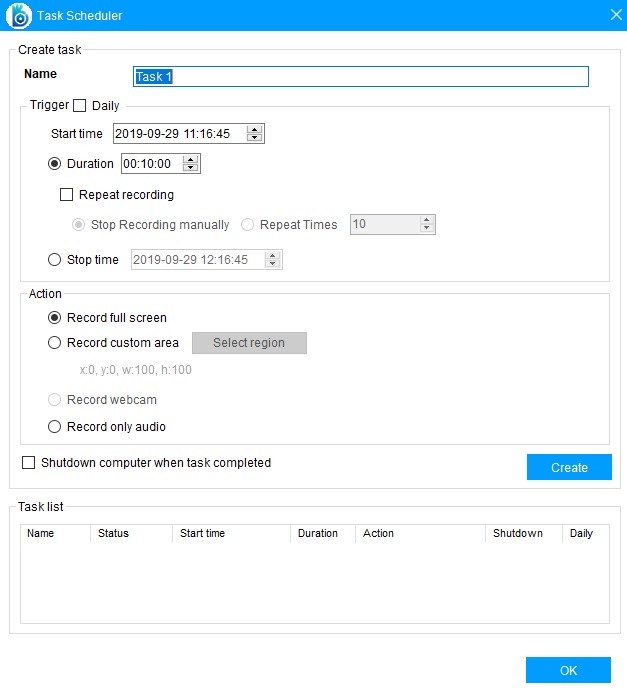
Screen Grabber Pro on Mac
Step 1 Open the task scheduler
After tool installation, launch the app, and then, from the tool's main interface, click the "Task scheduler" icon.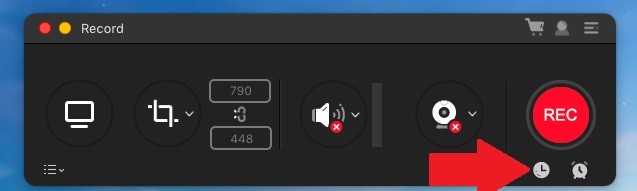
Step 2 Create the task
After clicking the icon, the Task Scheduler window will appear. From the new window, click the "Create task" button to open another window.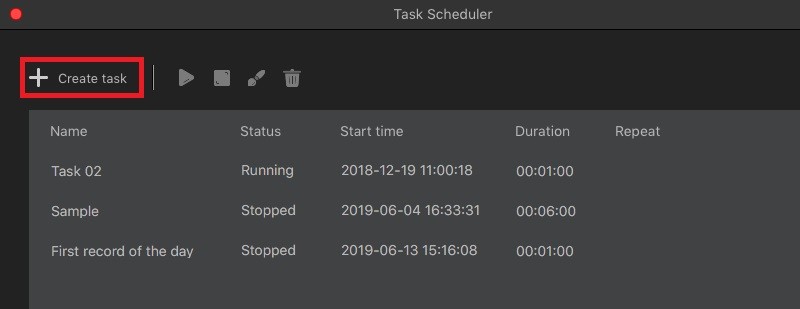
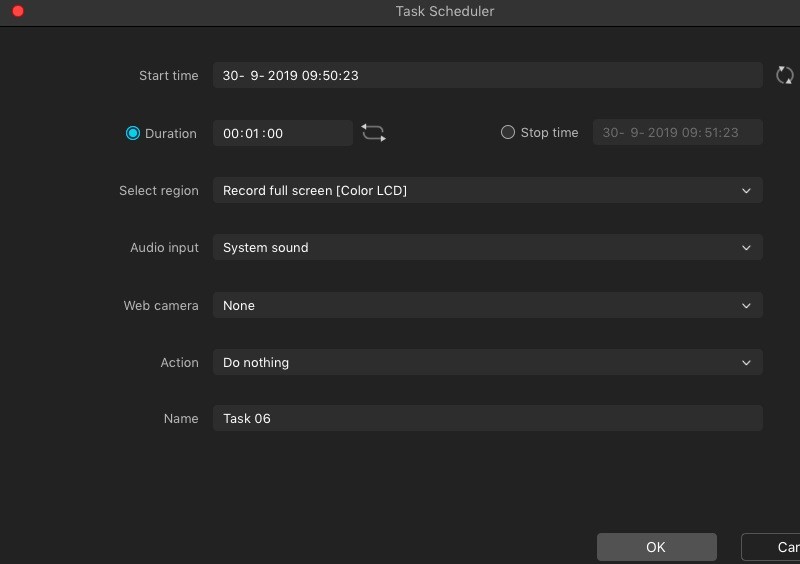
Step 3 Set the task time
The new window will set the timer for a start and end time of the task schedule. There also other options that can be used from the task scheduler window.